
Tortilla Hotteok
No Flour, No Sugar Keto Hotteok | Tortilla Hotteok Recipe

Craving a warm, sweet snack on a chilly day? You can now make delicious Hotteok using keto-friendly tortillas! This recipe is perfect for those looking for a healthier alternative.
Sweet & Nutty Hotteok Filling- Monk Fruit Sweetener (Gold) 50g (for sweetness)
- Walnuts 20g (finely crushed)
- Sunflower Seeds 15g
- Ceylon Cinnamon Powder 1/2 tsp (for aroma)
Chewy & Soft Hotteok Dough- Warm Water 300ml (to make the dough)
- Extra Virgin Olive Oil 4 Tbsp
- Coconut Flour 100g
- Psyllium Husk Powder 30g (for texture)
- Salt 1/2 tsp (to enhance flavor)
- Ghee Butter Spray (approx. 5-6 sprays for cooking)
- Warm Water 300ml (to make the dough)
- Extra Virgin Olive Oil 4 Tbsp
- Coconut Flour 100g
- Psyllium Husk Powder 30g (for texture)
- Salt 1/2 tsp (to enhance flavor)
- Ghee Butter Spray (approx. 5-6 sprays for cooking)
Cooking Instructions
Step 1
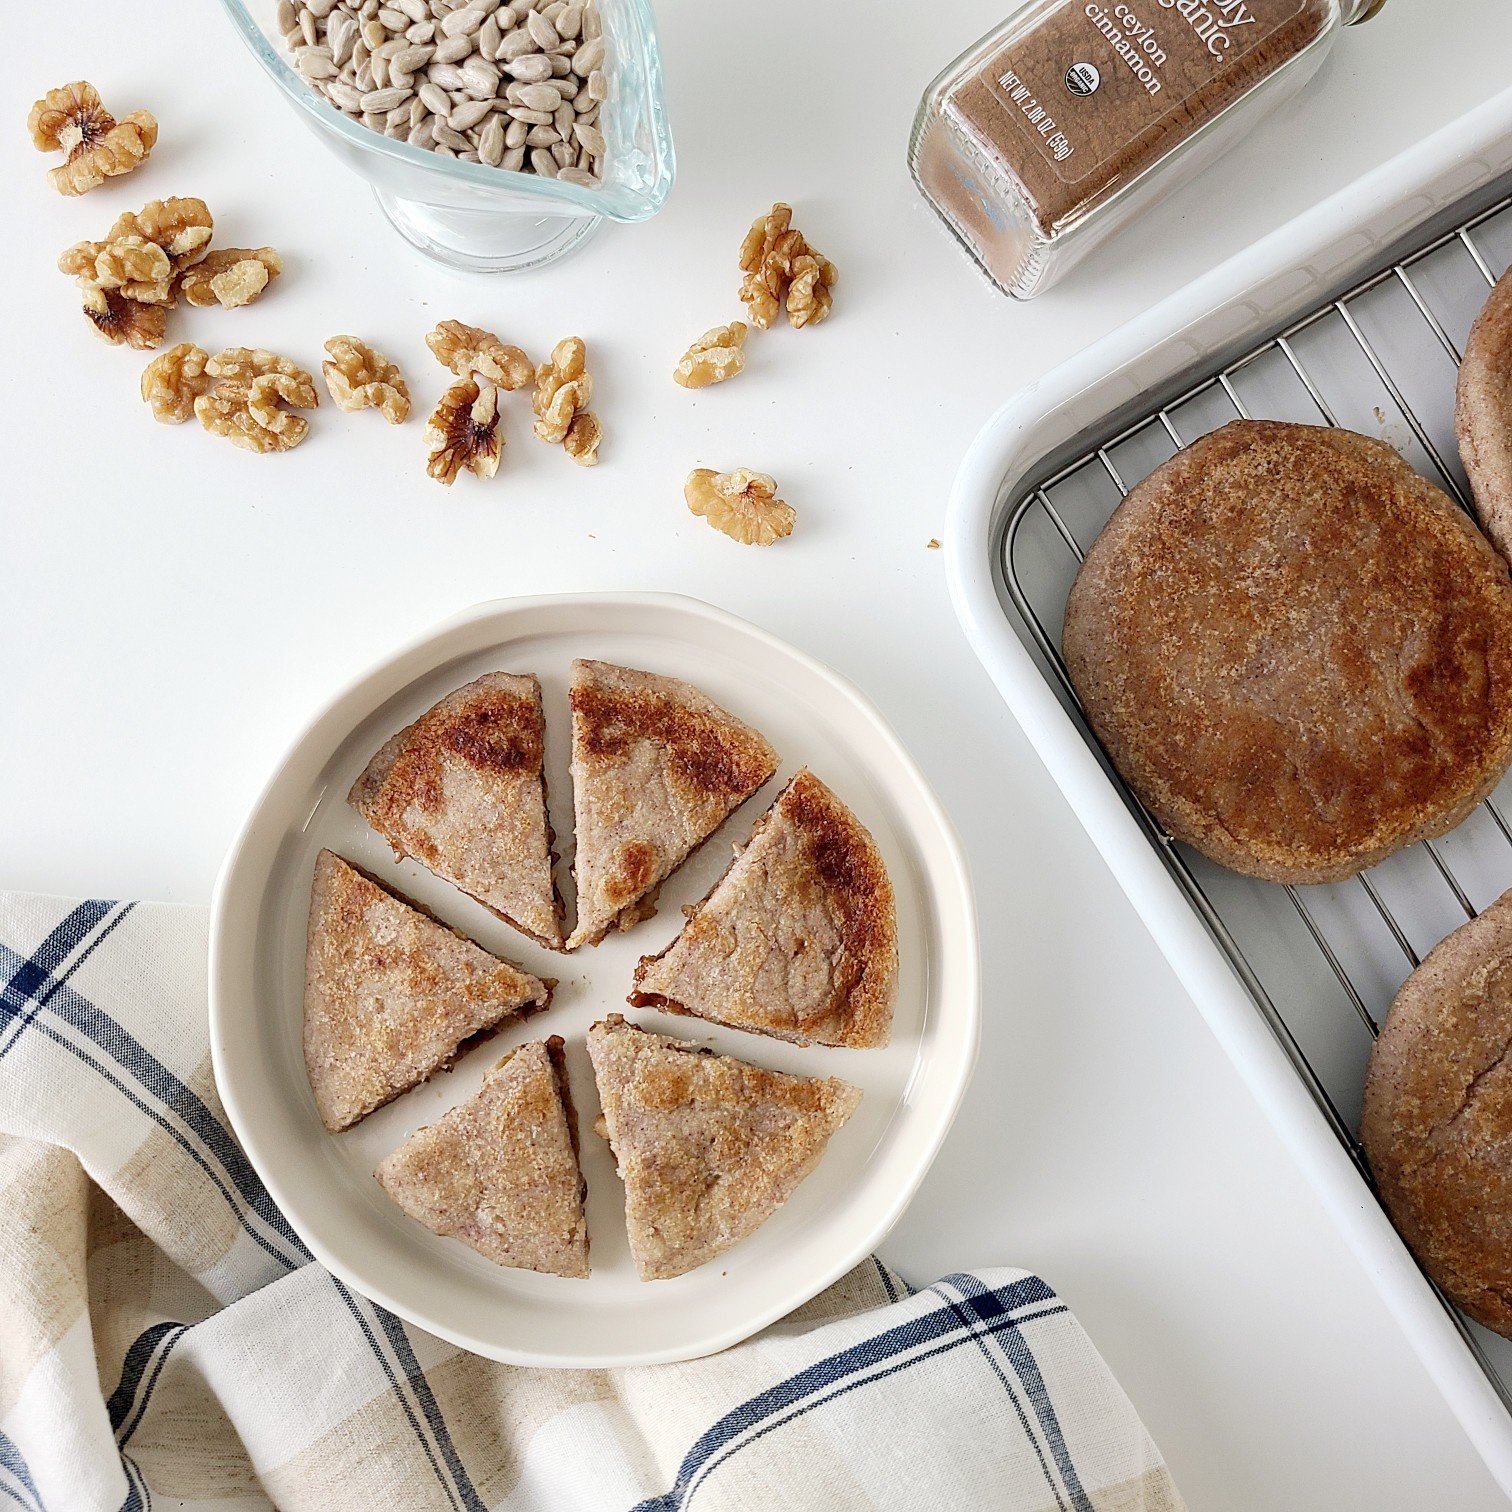
Let’s start by preparing the Hotteok filling. In a bowl, combine 50g of Monk Fruit Sweetener (Gold) and 20g of finely crushed walnuts. Add 15g of sunflower seeds and 1/2 tsp of Ceylon cinnamon powder. Mix everything thoroughly until well combined. Set this filling aside.

Step 2
Next, prepare the Hotteok dough. Pour 300ml of warm water into a mixing bowl. Add 4 Tbsp of Extra Virgin Olive Oil to the water and stir well. The warm water and oil will help create a softer dough.

Step 3
In a separate bowl, measure out 100g of coconut flour and 30g of psyllium husk powder. Sifting these dry ingredients together will ensure a smoother dough with no lumps. Sifting is a great tip for a better texture!

Step 4
Add 1/2 tsp of salt to the sifted coconut flour and psyllium husk mixture. Give it a light stir to distribute the salt evenly.

Step 5
Now, gradually pour the warm olive oil and water mixture (from step 1) into the dry ingredients (from step 3). Use a whisk to mix everything together until a dough begins to form. The mixture will start thick, as the psyllium husk absorbs the liquid, eventually becoming a cohesive dough.

Step 6
Once the dough starts to come together, knead it with your hands. Continue kneading until it forms a smooth, manageable ball. If it’s too sticky, you can add a tiny bit more coconut flour; if too dry, a splash of water. Divide the dough into approximately 4 equal portions.

Step 7
Take one portion of dough and flatten it using a rolling pin. Aim for a thin, round shape, similar to a tortilla. You can use a small amount of extra flour or place a piece of plastic wrap over the dough to prevent sticking. Rolling it thinly is key for even cooking.

Step 8
Spoon about 1.5 Tbsp of the prepared filling into the center of the flattened dough circle. Don’t be shy with the filling – it’s the heart of the Hotteok!

Step 9
Carefully gather the edges of the dough up and over the filling, pinching them together to seal the Hotteok. Ensure there are no gaps where the filling can escape. A helpful tip is to lightly moisten your fingers with water when pinching the seams; this helps the dough seal securely.

Step 10
Gently flatten the sealed dough ball with your hands, then use the rolling pin again to shape it into a flat, round Hotteok. Be careful not to press too hard, as this might cause the filling to burst out.

Step 11
Time to cook! Heat a non-stick pan over low heat and generously spray or brush it with ghee butter. Place the shaped Hotteok onto the pan. Cook for about 2 minutes per side, pressing down gently with a spatula to create a nice, crisp exterior. Maintaining low heat is crucial to ensure the inside cooks through without burning the outside.

Step 12
After the first 2 minutes per side, add a little more ghee butter to the pan. Continue cooking for another minute on each side. This final sear will give your Tortilla Hotteok a beautiful golden-brown color and a perfectly crisp texture. Enjoy your delicious homemade keto treat!
