
Sweet & Tangy Pickled Shallot Bulbs (Rakkyo)
Homemade Pickled Shallot Bulbs (Rakkyo): A Sweet and Tangy Delight

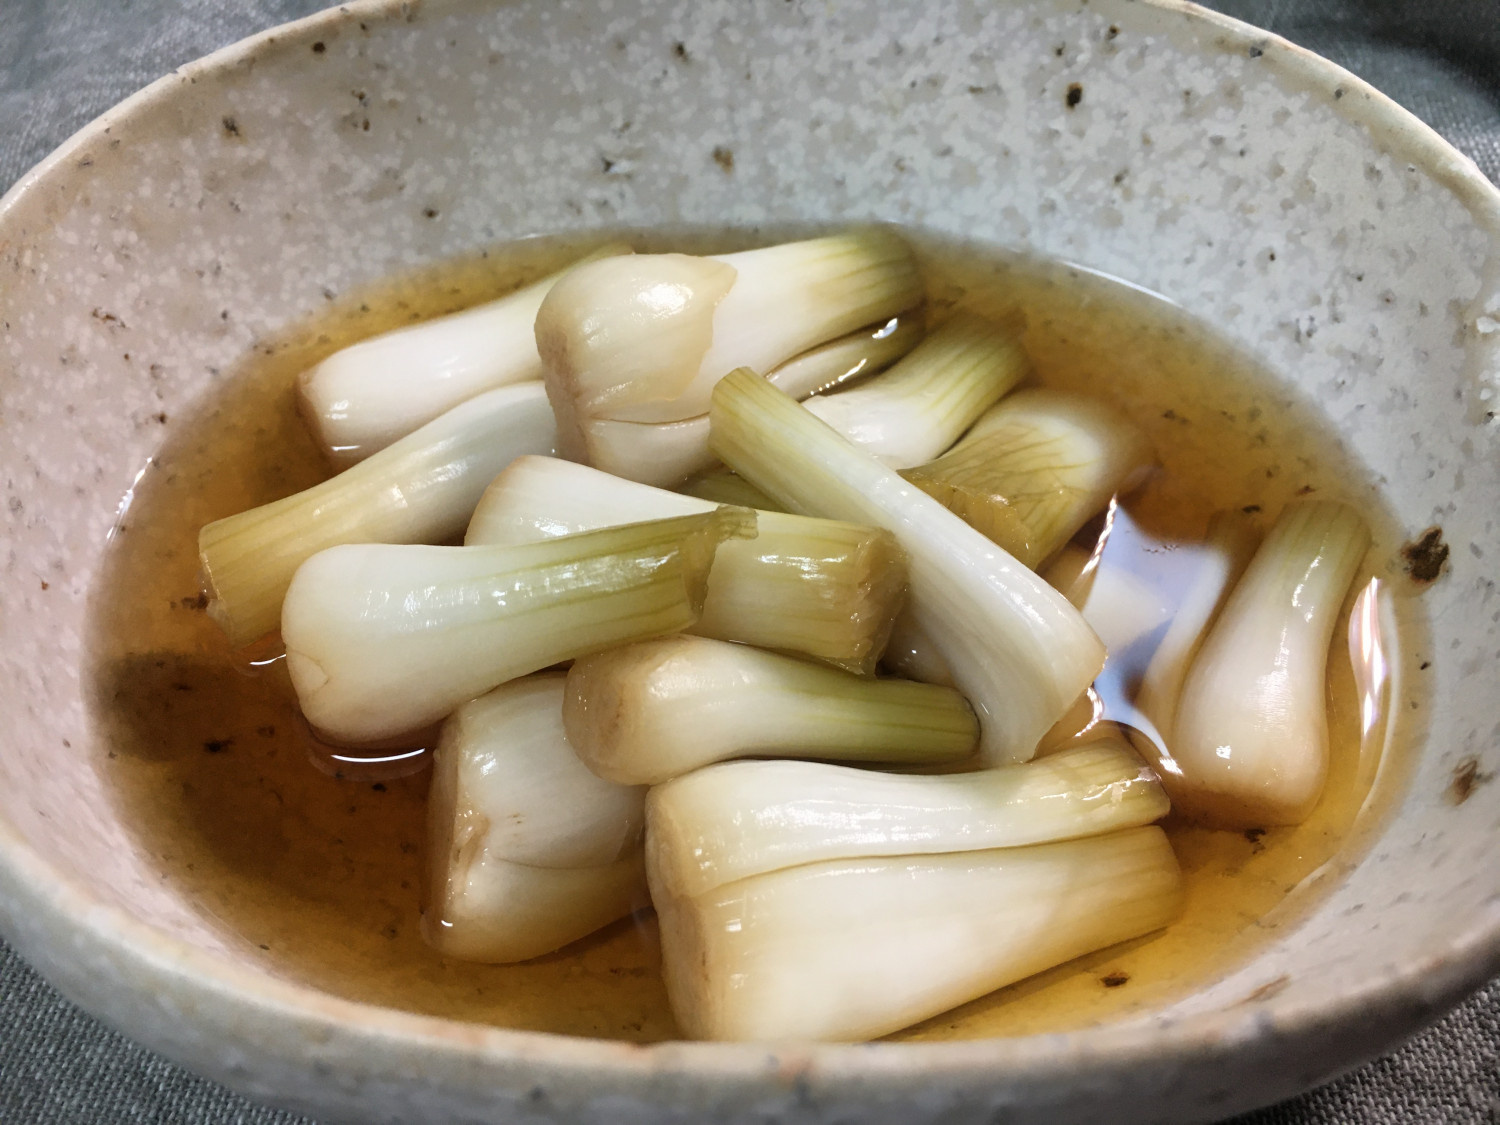
We have an abundance of plump shallots, so we’ve used the bulbous ‘heads’ to create this delicious Rakkyo pickle. It’s wonderfully sweet and tangy, perfect for sushi, kimbap, or even raw fish. A must-have condiment!
Main Ingredients- 3 bunches of shallots (choose plump ones)
Pickling Brine- 1 1/2 cups vinegar
- 1 cup soju (measured with a soju shot glass)
- 1 Tbsp salt
- 1 cup soy sauce
- 1/2 cup sugar
- 4 cups water
- 1 1/2 cups vinegar
- 1 cup soju (measured with a soju shot glass)
- 1 Tbsp salt
- 1 cup soy sauce
- 1/2 cup sugar
- 4 cups water
Cooking Instructions
Step 1
Carefully prepare the fresh shallots. Clean off any dirt from the roots. We’ll be cutting off just the plump ‘bulb’ or ‘head’ part of the shallot. (Tip: Traditionally, only the white part is used, but if the green tops are visually appealing, you can cut them a bit longer to showcase their vibrant color.)

Step 2
Rinse the cut shallot bulbs thoroughly under running water to ensure no soil or debris remains. After washing, drain them well in a colander, making sure to remove as much excess water as possible. (Tip: Trimming 3 bunches of shallots yielded about 400g of bulbs, which might seem like a small amount, but the flavor is truly concentrated and delicious.)

Step 3
In a pot, combine the pickling brine ingredients: vinegar, salt, soy sauce, sugar, and water. Bring the mixture to a boil over medium-high heat, stirring until the salt and sugar are dissolved. Once boiling, immediately turn off the heat. (Tip: This recipe uses a higher water ratio than many pickles, resulting in a pleasant, not overly salty flavor. Crucially, allow the hot brine to cool down significantly before pouring it into the glass jars to prevent them from cracking.) (Extra Tip: The leftover brine from this Rakkyo is fantastic drizzled over blanched bean sprouts when eating grilled meats – it adds a wonderful, unexpected twist!)

Step 4
Sterilize your glass jars beforehand. Carefully place the well-drained shallot bulbs into the clean, sterilized jars. Pour the cooled brine over the shallots, ensuring they are fully submerged. Seal the jars tightly with lids and store them in the refrigerator. Your delicious Rakkyo pickles will be ready to enjoy after approximately 2 weeks of maturation.

Step 5
Don’t discard the leftover shallot stems! They can be a valuable ingredient. If you find you don’t use fresh shallots much as the weather warms up, finely chop or slice the stems and freeze them for later use in cooking. (Tip: Make sure the stems are completely dry before freezing to prevent them from clumping together. This way, they’ll be ready to use straight from the freezer.)

Step 6
While Rakkyo is best after 2 weeks, I couldn’t resist trying one the very next day! The shallots weren’t fully infused with flavor yet, but they were already wonderfully crisp and had a delightful sweet and tangy taste. I’m confident that after a few more days of pickling, these will develop an even richer and more complex flavor. I can’t wait!
