
Sweet & Salty Soy Sauce Chicken: Homemade Delight
Master the Art of Homemade Soy Sauce Chicken with this Flavorful Sauce Recipe

I made homemade chicken with a special soy sauce glaze! It was incredibly delicious with its perfect balance of sweet and salty flavors.
Chicken Ingredients- 1 whole chicken, cut into pieces
- 5 cups frying powder
- 1 cup water
- 3 tsp lemon juice
- 1 handful nuts (optional)
Soy Sauce Glaze Ingredients- 1.5 tsp soy sauce
- 1 tsp oyster sauce
- 3 tsp minced garlic
- 2 tsp vinegar
- 3 tsp corn syrup (oligosaccharide)
- 2 tsp cooking wine
- 3 tsp olive oil
- 0.5 tsp sesame oil
- 2 ladles dashi broth
- 3 tsp brown sugar
- 1.5 tsp soy sauce
- 1 tsp oyster sauce
- 3 tsp minced garlic
- 2 tsp vinegar
- 3 tsp corn syrup (oligosaccharide)
- 2 tsp cooking wine
- 3 tsp olive oil
- 0.5 tsp sesame oil
- 2 ladles dashi broth
- 3 tsp brown sugar
Cooking Instructions
Step 1
First, soak the cut chicken pieces in cold water for about 20 minutes to remove any blood and impurities. This step helps to get rid of any gamey odor from the chicken.

Step 2
Rinse the chicken thoroughly under running cold water multiple times. After rinsing, place the chicken in a colander to drain excess water. Ensuring the chicken is well-drained is crucial to prevent oil splattering during frying.

Step 3
Drizzle 3 teaspoons of fresh lemon juice over the drained chicken. Lemon juice is excellent for neutralizing odors and also helps to tenderize the meat, resulting in a more tender texture. Let it marinate for about 20 minutes.

Step 4
Now, let’s prepare the delicious coating for our chicken! Using a pre-made chicken frying powder can make the process easier and ensure a crispy finish.

Step 5
In a bowl, combine 3 cups of chicken frying powder with 2 cups of regular frying powder. Adjusting the ratio of these powders can help achieve an extra crispy texture.

Step 6
Pour in 1 cup of cold water and mix well until there are no lumps, creating a thick batter. The amount of water might need slight adjustment depending on the frying powder; aim for a consistency slightly thinner than pancake batter. If it’s too thin, it won’t adhere well to the chicken; if it’s too thick, the coating will be heavy.

Step 7
Dip the marinated chicken pieces into the batter, ensuring each piece is evenly coated. Make sure the batter adheres well to the entire surface of the chicken.

Step 8
Arrange the battered chicken pieces on a baking sheet for oven baking. If you don’t have an oven, heat a generous amount of cooking oil in a deep pan to 180°C (350°F). Then, deep-fry the chicken in batches for about 7-8 minutes per side, frying twice for optimal crispiness and even cooking.

Step 9
If using an oven, select the ‘Healthy Fry’ or a similar automated cooking course and cook for 20 minutes. It’s helpful to flip the chicken pieces halfway through to ensure even cooking. After 20 minutes, flip them again and continue to bake for another 15 minutes until golden brown and crispy.

Step 10
While the chicken is frying, let’s make the flavorful soy sauce glaze. In a pan, combine 1.5 tsp soy sauce, 3 tsp minced garlic, 1.5 tsp oyster sauce, 3 tsp olive oil, 3 tsp corn syrup, 2 tsp cooking wine, 0.5 tsp sesame oil, 2 tsp vinegar, and 3 tsp brown sugar. You can adjust the amount of oyster sauce to your preference.

Step 11
In a separate pot, bring water to a boil with kombu (kelp) and dried anchovies to create a rich and savory dashi broth. Once the flavors have infused, strain out the solids, leaving a clear broth. Using homemade broth significantly enhances the dish’s flavor.

Step 12
Add 2 ladles of the prepared dashi broth to the pan with the glaze ingredients. Let it simmer and cook together, allowing the sauce to thicken.

Step 13
Prepare a handful of nuts for added texture and flavor. You can use your favorite nuts like walnuts, almonds, or peanuts.

Step 14
Grind the prepared nuts into a fine powder using a blender or food processor. Adding ground nuts will give the sauce a nutty aroma and a slightly thicker consistency.

Step 15
Add the ground nuts to the soy sauce mixture in the pan and let it simmer together. Stir occasionally over low heat to prevent sticking, allowing the nuts to meld into the sauce.

Step 16
Toss the well-fried chicken pieces into the prepared soy sauce glaze and stir-fry briefly. The goal is to coat the chicken evenly with the sauce without making the coating soggy. Avoid overcooking at this stage.

Step 17
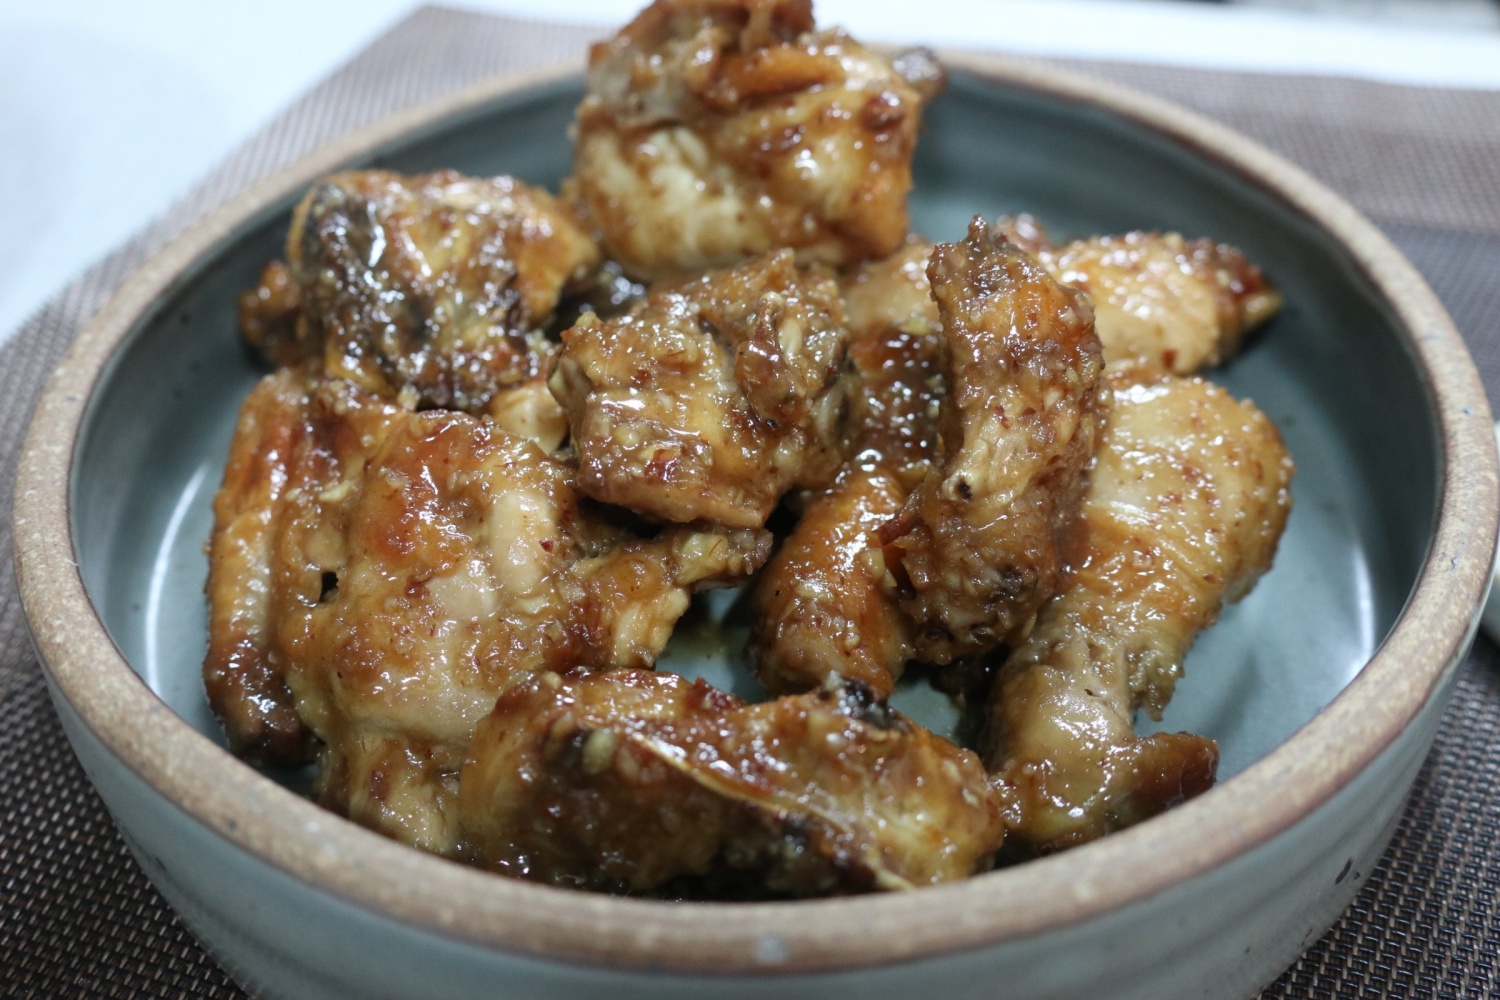
Arrange the glazed chicken attractively on a serving plate. The appealing presentation will surely whet your appetite.

Step 18
At this point, you can further reduce the remaining soy sauce glaze by simmering it slightly to achieve a thicker consistency. This will result in a richer and more concentrated flavor.

Step 19
Generously drizzle the thickened soy sauce glaze over the fried chicken. The sweet aroma rising from the dish will be irresistible.

Step 20
For variety, you can choose to plate about one-third of the fried chicken as is (plain fried chicken) without the glaze. This way, you can enjoy both the crispy original flavor and the glazed version.

Step 21
Coat the remaining two-thirds of the chicken with the soy sauce glaze to create the delicious soy sauce chicken. Now, enjoy your special homemade chicken and beer feast!
