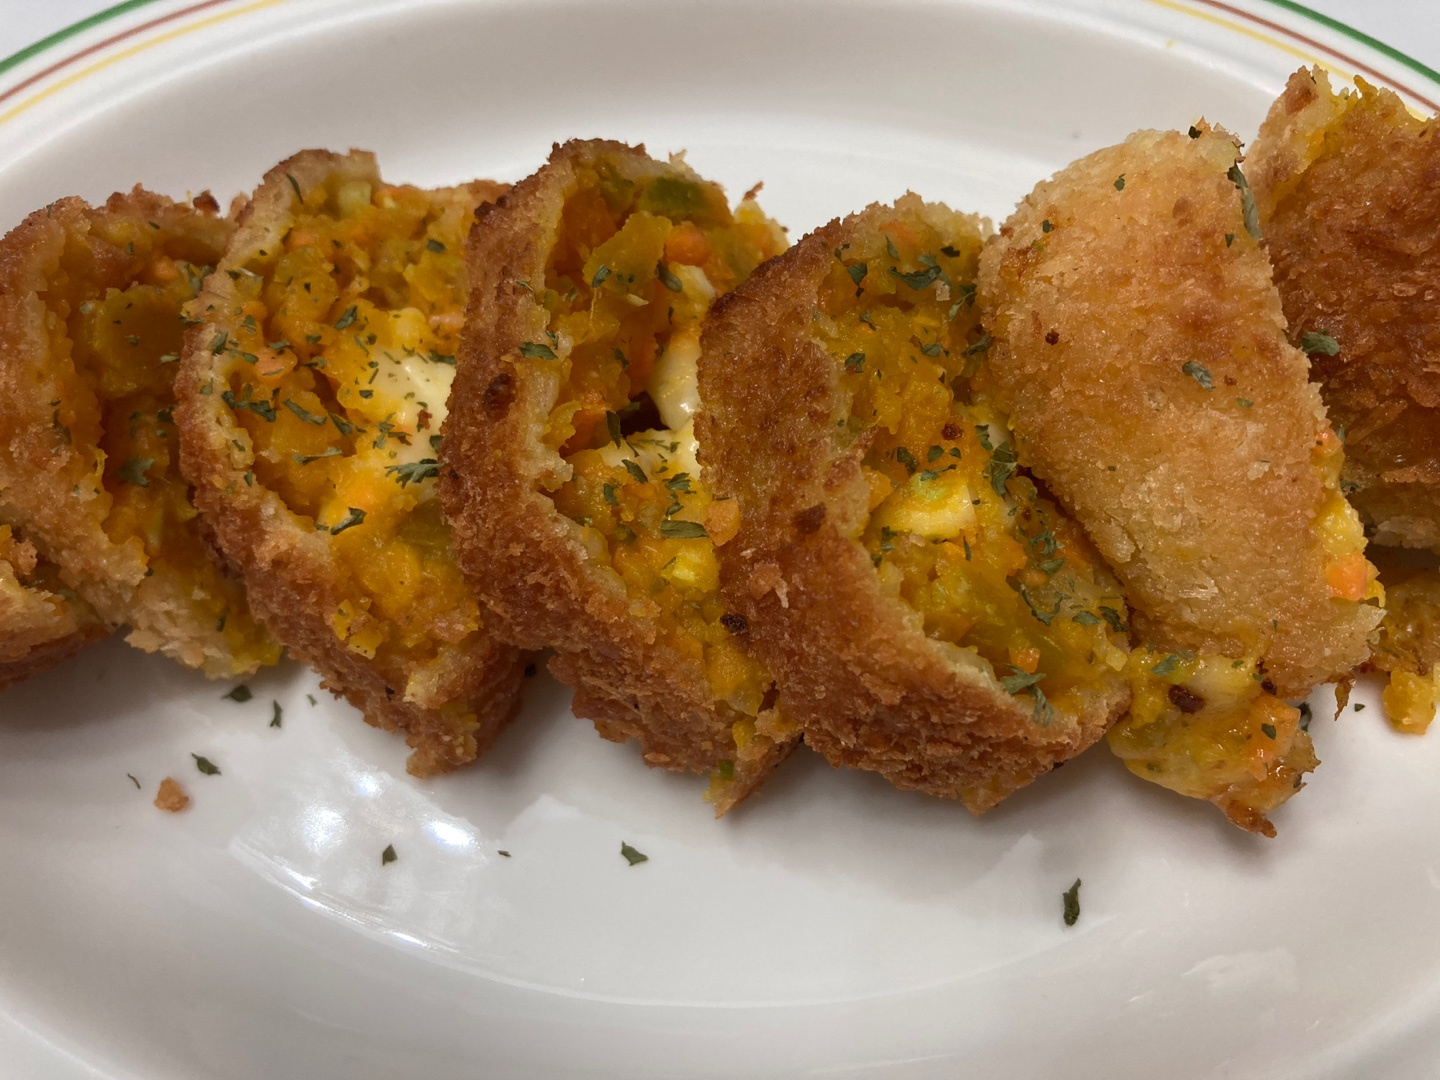
Sweet and Crispy Pumpkin Cheese Croquettes
Your New Favorite Snack! Sweet Pumpkin & Chewy Cheese Croquettes Recipe – Perfect for Kids, Adults, and Healthy Snacking!

Hello everyone! This is Jinah, your cooking enthusiast. Today, I’m excited to share a simple yet incredibly delicious snack recipe using cozy mini pumpkins – a recipe that everyone, young and old, will adore. Its sweet and mild flavor makes it a satisfying option, perfect even as a meal replacement. Plus, it’s not too high in calories, making it a fantastic choice for those mindful of their diet! Elevate your everyday moments with these delightful homemade treats.
Ingredients for Delicious Pumpkin Cheese Croquettes- 1 mini pumpkin (approx. 300-400g)
- 1 handful of mozzarella cheese (approx. 100g, generous amount)
- 2 eggs
- 5 Tbsp all-purpose flour for frying (or pancake mix/all-purpose flour)
- 5 Tbsp breadcrumbs (have extra on hand)
- 2 Tbsp finely minced onion
- 2 Tbsp finely minced carrot
Cooking Instructions
Step 1
Alright, let’s get started preparing for our delicious pumpkin cheese croquettes! Gather all your fresh ingredients first.

Step 2
Wash the mini pumpkin thoroughly. Place it in a steamer basket with a little water, cover, and microwave for about 10 minutes until tender. Steaming makes the pumpkin soft and easier to handle.

Step 3
Be careful, as the freshly steamed pumpkin is very hot! Let it cool slightly, then cut it in half and scoop out the seeds cleanly. If you prefer an even smoother texture, you can remove the skin entirely.

Step 4
For a more flavorful filling, finely mince some onion and carrot. Adding vegetables gives a wonderful texture and enhances the umami, complementing the pumpkin’s sweetness. It’s definitely worth adding!

Step 5
In a bowl, combine the steamed pumpkin, minced vegetables, and a pinch of dried parsley if desired. Parsley adds a lovely color and a touch of fragrance. Look at that vibrant mix!

Step 6
Now, add a generous amount of mozzarella cheese to the pumpkin mixture. Carefully enclose the cheese completely within the pumpkin mixture, shaping it into balls to prevent the cheese from oozing out during frying. Form them into neat, round croquettes.

Step 7
It’s time to coat the croquettes for frying! We’ll follow the order: ‘Flour (all-purpose/frying) → Egg wash → Breadcrumbs’. Make sure to coat them generously. (Refer to the photos below for visual guidance!)

Step 8
First, take the formed pumpkin balls and coat them evenly with flour (or frying flour/pancake mix). Gently shake off any excess flour.

Step 9
Next, dip the floured croquettes into the beaten egg mixture, ensuring they are fully coated.

Step 10
Finally, coat them generously with breadcrumbs! A good coating of breadcrumbs is key to achieving that wonderfully crispy exterior. Gently press the breadcrumbs onto the croquettes to help them adhere well.

Step 11
Now, let’s prepare for frying. Pour enough oil into a pan for deep frying and heat it over medium heat. To check if the oil is hot enough, drop a tiny piece of breadcrumb into it. If it sizzles and floats up immediately, the oil is at the perfect temperature for frying!

Step 12
Carefully place the breadcrumb-coated pumpkin croquettes into the hot oil. Fry them until they turn a beautiful golden brown and the breadcrumbs are crispy. Since the pumpkin is already cooked, you only need to fry them until the exterior is golden and crisp. Don’t over-fry!

Step 13
Wow! Look at these golden, appetizing pumpkin cheese croquettes! Once fried, place them on a wire rack to drain off excess oil. This ensures they stay extra crispy and not greasy.

Step 14
Let the hot croquettes cool slightly, then cut them in half to reveal the delicious filling. See how the cheese starts to melt? It’s mouthwatering!

Step 15
Cut into bite-sized pieces and arranged on a plate, they look like elegant cheese cutlets! Your sweet pumpkin cheese croquettes are now complete! They look absolutely irresistible.

Step 16
The exterior is wonderfully crispy, while the inside is soft and fluffy pumpkin, bursting with natural sweetness. You won’t believe there’s no added sugar! This natural sweetness is what makes them so good and healthy. Kids will absolutely love the sweet and crunchy texture. Enjoy these delightful homemade treats!


