
Springtime Delight: Zesty Wild Chive Jangajji
Experience Spring’s Essence! Flavorful Wild Chive Jangajji

Here’s a recipe for Wild Chive Jangajji, a savory and sweet-and-sour side dish perfect for those times when your appetite is low. Living in the countryside grants me access to an abundance of fresh ingredients, allowing me to create healthy and delicious meals readily. Wild chives are rich in Vitamin C and calcium, beneficial for loss of appetite and spring fatigue. They also contain a good balance of minerals and vitamins, aiding in anemia relief and the prevention of arteriosclerosis. To preserve their nutrients best, it’s recommended to consume them raw. Enjoy this healthy ingredient that spring offers by making delightful Jangajji!
Main Ingredients- 260g wild chives (preferably with thick roots)
Brining Liquid- 2 cups soy sauce
- 2 cups water
- 1 cup vinegar
- 1 cup sugar
- 2 cups soy sauce
- 2 cups water
- 1 cup vinegar
- 1 cup sugar
Cooking Instructions
Step 1
Transforming from a city dweller to a country lady, I’ve discovered immense joy in foraging for healthy ingredients around my home. Today, I’ll be making a delicious Jangajji using wild chives with thicker roots. (Finer rooted chives are often used for fresh salads.)

Step 2
First, it’s crucial to thoroughly clean the soil off the wild chive roots. Soak the chives in cold water and rinse them several times, ensuring all dirt between the roots is removed. Afterwards, drain them well. Tip: Bunching about half a handful of chives together and gently rolling them makes them easier to handle and serve later.

Step 3
Let’s prepare the brining liquid for the Jangajji. Combine the soy sauce, water, vinegar, and sugar in the specified proportions in a pot. Bring the mixture to a rolling boil, then reduce the heat and let it simmer briefly before turning off the stove. Allow the liquid to cool completely. This step is vital for achieving the perfect Jangajji flavor.

Step 4
Now, carefully place the prepared wild chives into a sterilized jar, packing them neatly. Arranging the thicker root ends downwards can create a visually appealing presentation and help the brine penetrate evenly.

Step 5
Pour the completely cooled brining liquid over the packed wild chives, ensuring they are fully submerged. This step is key for the brine to evenly infuse the chives.

Step 6
To prevent the wild chives from floating to the surface, place a heavy plate or a weight on top to keep them submerged. This completes the Wild Chive Jangajji preparation! Now, all that’s left is to wait for it to mature beautifully.

Step 7
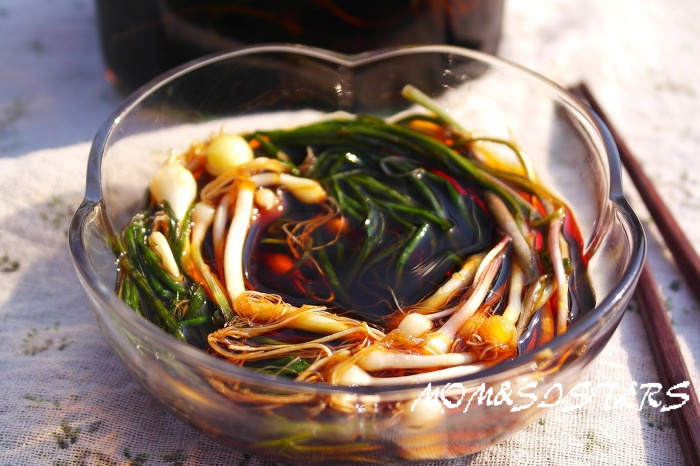
After a full two days, the Jangajji brine has had ample time to infuse the wild chives. I’ve taken out a small portion to taste, anticipating the delightful blend of savory and zesty flavors.

Step 8
The salty, yet sweet and tangy taste! Combined with the unique, zesty aroma of wild chives, it truly awakens the palate. This makes for an excellent side dish, especially when your appetite is lacking. Embrace the precious gift of spring with this delicious Wild Chive Jangajji, and enjoy a healthy, vibrant season! Its invigorating flavor is truly exceptional. 🙂
