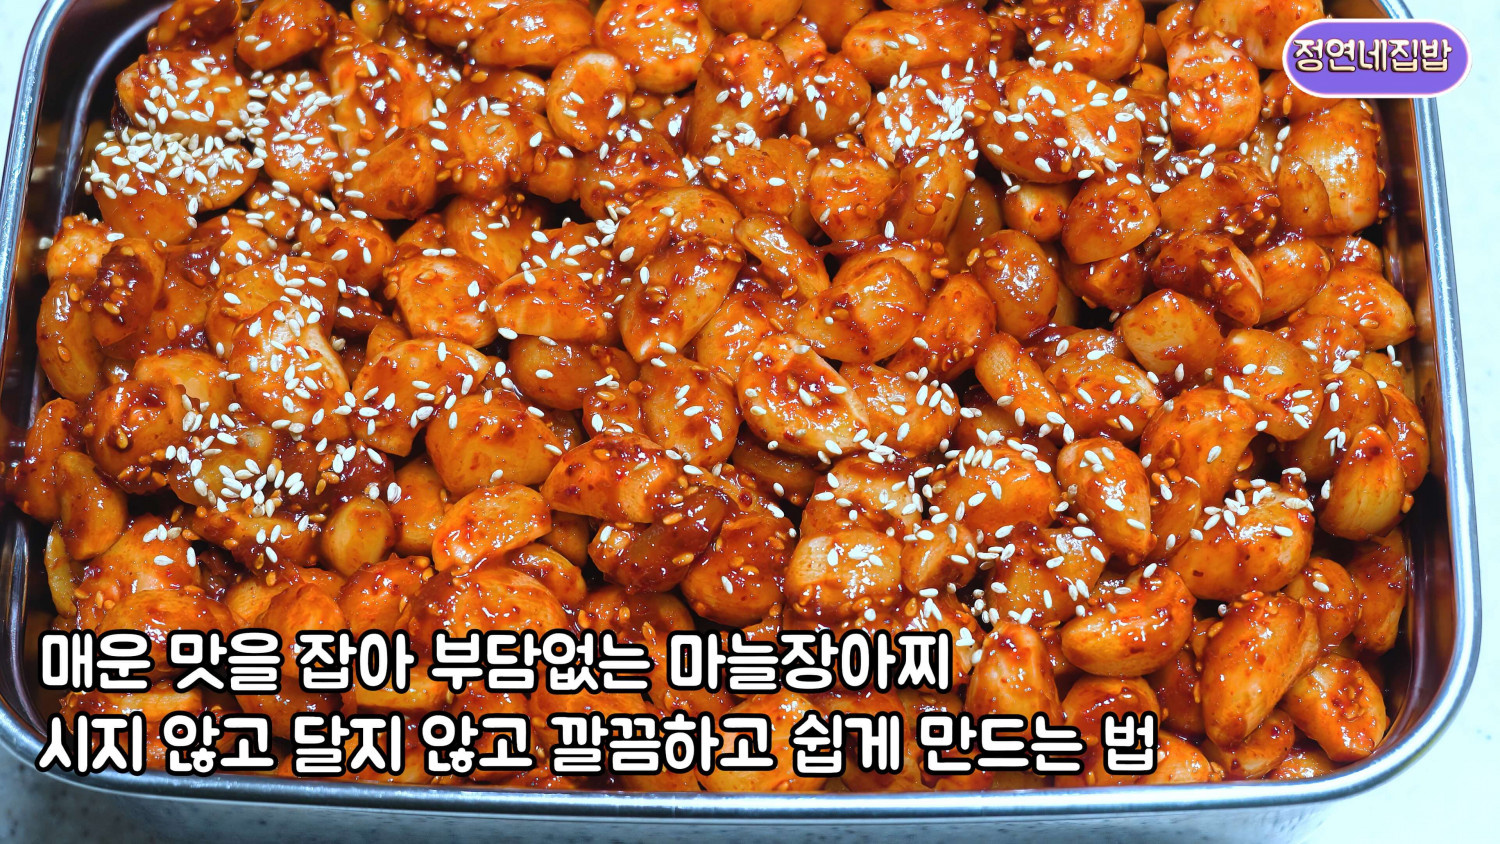
Spicy & Sweet, Clean Gochujang Pickled Garlic
Taming the heat of spring garlic for a delicious, non-sour, non-sweet, and clean Gochujang Pickled Garlic recipe.

Using fresh, seasonal spring garlic, this recipe reduces its spiciness to create Gochujang pickled garlic that is not sour, not too sweet, and has excellent shelf stability. It’s also a great way to use up leftover garlic after making kimchi! Let me guide you through the easy and delicious process of making this flavorful pickle.
Ingredients for Draining Garlic and Initial Seasoning- 2.5kg Corn syrup
- 100ml Apple concentrate (or any other fruit concentrate/syrup)
- 200ml Soju (acts as a preservative)
- 3 Tbsp Coarse sea salt
- 200g Sugar
Gochujang Pickled Garlic Seasoning Ingredients- 400g Commercial Gochujang (Korean chili paste)
- 2 Tbsp Toasted sesame seeds
- 2 Tbsp Red chili powder
- 3 Tbsp Pear concentrate (or corn syrup/any other syrup)
- 400g Commercial Gochujang (Korean chili paste)
- 2 Tbsp Toasted sesame seeds
- 2 Tbsp Red chili powder
- 3 Tbsp Pear concentrate (or corn syrup/any other syrup)
Cooking Instructions
Step 1
1. Prepare the Garlic: Start with 3kg of garlic. Spring garlic is naturally moist and tender, making it easy to peel. There’s no need to soak it in water; simply wash it thoroughly and peel. Fresh garlic like this stores beautifully in the refrigerator, perfect for kimchi or pickles. Once peeled, set the garlic aside.

Step 2
2. Drain Garlic and Season: To reduce the garlic’s spiciness and speed up fermentation, it’s crucial to draw out its moisture using osmosis. In a large bowl, combine the peeled garlic with 2.5kg corn syrup, 100ml apple concentrate (or your chosen substitute), 200ml soju (which acts as a preservative and is recommended), 3 Tbsp coarse sea salt, and 200g sugar. Mix everything thoroughly to coat the garlic. Transfer the mixture to an airtight container and let it ferment at cool room temperature for about ten days. During this period, open the container every two days and gently stir or turn the garlic with a ladle to ensure even seasoning. If the garlic turns green or brown, don’t worry; this is a normal color change that can occur during refrigeration and doesn’t affect edibility. Simply continue with the process.

Step 3
3. Mix with Gochujang Seasoning: After ten days of fermentation, the garlic will have lost most of its moisture and achieved a pleasantly chewy texture. Do not wash the fermented garlic; instead, place it in a colander to drain any excess syrup. This drained syrup can be saved and used later in the pickling process or stored in the refrigerator for future use. In a clean bowl, combine the drained garlic with 400g gochujang, 2 Tbsp toasted sesame seeds, 2 Tbsp red chili powder, and 3 Tbsp pear concentrate (or syrup). Mix well until all the garlic pieces are evenly coated with the Gochujang mixture. Transfer the finished Gochujang pickled garlic to a clean jar and store it in the refrigerator. While reducing the spiciness takes time, the actual pickling process is surprisingly simple! Enjoying a few pieces with your meals is great for boosting immunity, so definitely give this recipe a try!


