
Spicy and Sweet Tteokbokki Without Gochujang
Make Deliciously Spicy and Sweet Tteokbokki Even Without Gochujang!

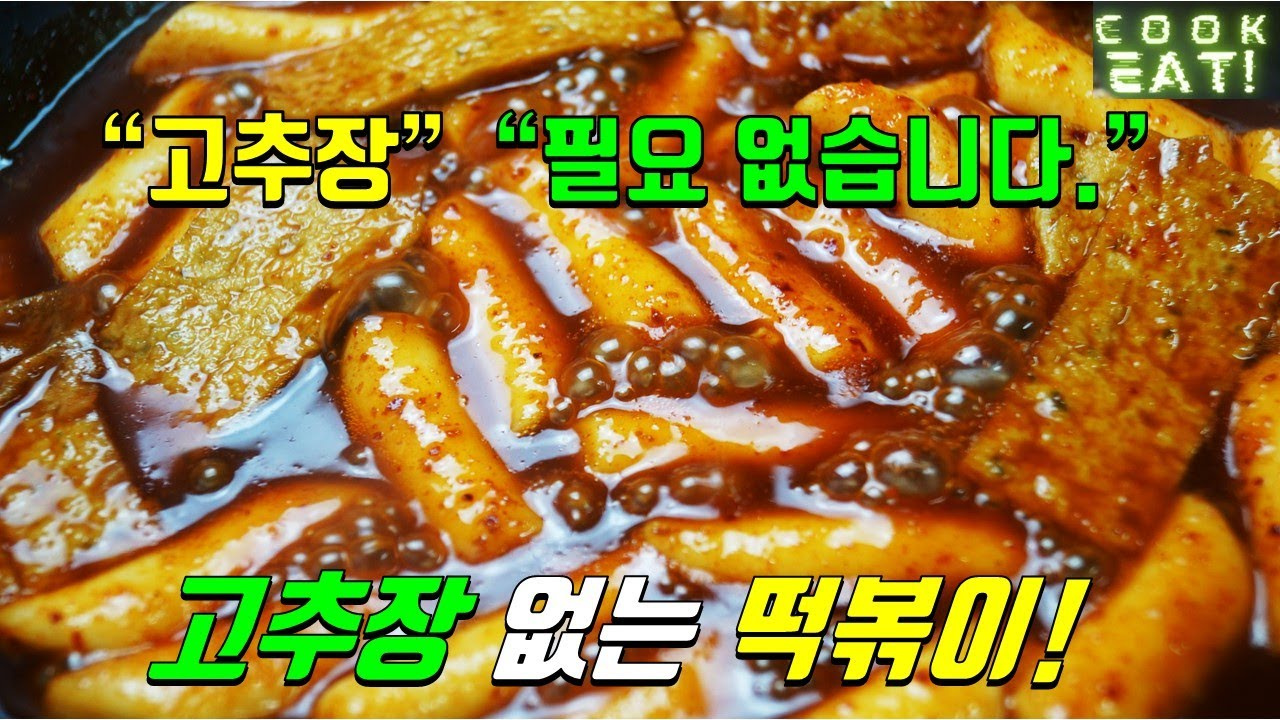
Craving tteokbokki but ran out of gochujang? You can make this delicious version using only chili powder! Here’s a simple and special tteokbokki recipe you can enjoy at home.
Main Ingredients- 300g Tteokbokki rice cakes
- 1 sheet of square fish cake
- 200cc water
Seasoning Ingredients- 1/2 Tbsp medium-grind chili powder (approx. 3-4g)
- 1 Tbsp fine-grind chili powder (approx. 8-9g)
- 1/2 Tbsp Cheongyang chili powder (approx. 3-4g)
- 1 Tbsp sugar (approx. 10g)
- 1/2 Tbsp Jjajang powder (black bean sauce powder, approx. 4-5g)
- 1/2 Tbsp beef seasoned stock powder (like Dasida, approx. 4-5g)
- 1 Tbsp oyster sauce (approx. 10-12g)
- 6 Tbsp corn syrup or rice syrup (approx. 60g)
- 4 Tbsp water (approx. 32g)
- 1/2 Tbsp medium-grind chili powder (approx. 3-4g)
- 1 Tbsp fine-grind chili powder (approx. 8-9g)
- 1/2 Tbsp Cheongyang chili powder (approx. 3-4g)
- 1 Tbsp sugar (approx. 10g)
- 1/2 Tbsp Jjajang powder (black bean sauce powder, approx. 4-5g)
- 1/2 Tbsp beef seasoned stock powder (like Dasida, approx. 4-5g)
- 1 Tbsp oyster sauce (approx. 10-12g)
- 6 Tbsp corn syrup or rice syrup (approx. 60g)
- 4 Tbsp water (approx. 32g)
Cooking Instructions
Step 1
The measurements are based on a standard Korean soup spoon, which is approximately 8cc. First, combine all the seasoning ingredients in a bowl to make the sauce. Let this sauce ferment in the refrigerator for about a day. This aging process helps to mellow the sometimes harsh taste of chili powder, resulting in a smoother and richer flavor. If you don’t have jjajang powder, you can substitute it with curry powder. If Cheongyang chili powder is unavailable, use more fine-grind chili powder. (For reference: medium-grind chili powder approx. 3-4g, Cheongyang chili powder approx. 3-4g, fine-grind chili powder approx. 8-9g, sugar approx. 10g, jjajang or curry powder approx. 4-5g, beef stock powder approx. 4-5g, oyster sauce approx. 10-12g, corn syrup approx. 60g, water approx. 32g). For a more visual guide, please refer to the linked video. You can find more recipes and the latest updates faster by visiting my YouTube channel, ‘Duyul’s Kitchen’. Subscribing would be greatly appreciated!

Step 2
After fermenting for a day, the sauce will become thick and rich, similar in consistency to gochujang. Your delicious tteokbokki is almost ready!

Step 3
Pour 200cc of water into a pot and add all of the fermented sauce, stirring well to combine.

Step 4
Begin by boiling the sauce and water together over high heat. Once the sauce starts to bubble vigorously, add the tteokbokki rice cakes and fish cakes, then reduce the heat to medium-low. From this point, it’s crucial to simmer gently and slowly over medium-low heat until the rice cakes are fully cooked. Make sure your rice cakes are pre-soaked or completely thawed before adding them. If you only have frozen rice cakes and are in a hurry, there’s a method described below to help with that! This slow cooking process allows the starch from the rice cakes to release gradually, helping the sauce adhere beautifully to the cakes. It also infuses the sauce with the savory flavor of the fish cakes without making them mushy, preserving their chewy texture.

Step 5
Here are some tips for adjusting the taste and texture to your preference!
1. If you added frozen rice cakes directly, the sauce might thicken too quickly before the cakes are fully cooked. In this case, add about 50cc of water at a time while simmering to maintain your desired consistency.
2. For a milder, less intense flavor, turn off the heat once the rice cakes are cooked and there’s still a bit of sauce left.
3. If you prefer a very thick and concentrated sauce, continue to simmer until almost all the liquid has evaporated, leaving a very dense consistency.
4. This recipe is designed to minimize waste. If you plan to dip fried foods into the sauce or add a fried egg to mix in, consider doubling the seasoning ingredients and increasing the water to 1.5 times the original amount.

Step 6
This photo is an example of the mildly seasoned tteokbokki made in the previous step. Enjoy your delicious homemade tteokbokki!
