
Spicy and Refreshing! Easy Dongchimi Recipe (Korean Radish Kimchi)
How to Make Delicious Dongchimi at Home – A Kimjang Season Special

Introducing a crunchy and refreshing Dongchimi that’s perfect to accompany your Kimjang (kimchi-making) feast. If you make a small batch, it’s great to enjoy occasionally like a water kimchi. The perfectly fermented radishes can even be shredded and tossed with sesame oil for a delightful side dish. Dongchimi radishes are smaller and firmer than regular ones, making them excellent for storage and often called ‘Cheonsu radish,’ popular for Kimjang. With this recipe, anyone can make delicious Dongchimi!
Dongchimi Ingredients- 5 Dongchimi radishes (small and firm)
- 1 thumb-sized piece of ginger
- 10 cloves of garlic
- 10 stalks of green onions
- 1 handful of crown daisy (a generous handful)
- 1/2 pear
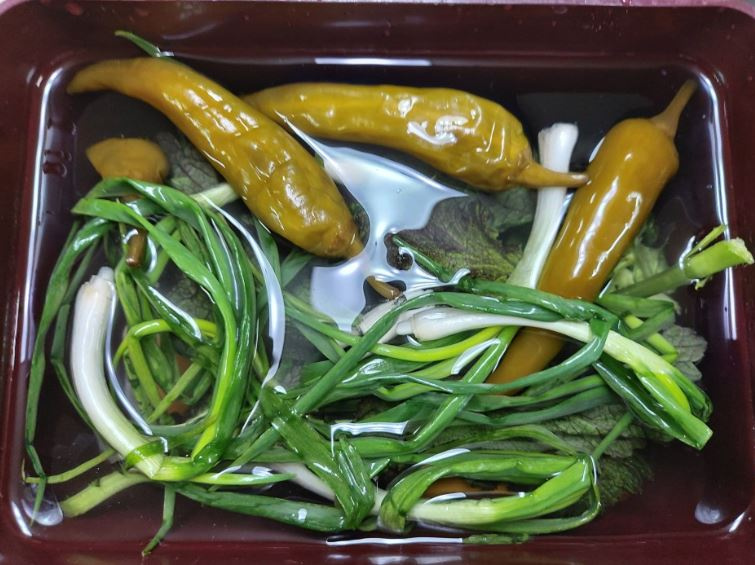
- 4-5 salted red chilies (adjust to taste)
- 100g coarse sea salt (for brining)
- 3L purified water
Cooking Instructions
Step 1
First, let’s prepare everything for making Dongchimi. Wash all fresh ingredients thoroughly. It’s helpful to have the purified water ready beforehand.

Step 2
Wash the Dongchimi radishes well, then cut them into bite-sized pieces. Sprinkle 20g of the coarse sea salt over the cut radishes and let them brine for about 20-30 minutes. After 20 minutes, flip the radishes to ensure even brining. Continue this process, flipping them 2-3 times over a total of 2 days, allowing sufficient liquid to be drawn out. This method keeps the radishes crunchy and seasons them appropriately.

Step 3
Peel and thinly slice the ginger. Leave the garlic cloves whole. Place the sliced ginger and whole garlic cloves into a cheesecloth or a tea bag. Cut the pear (after peeling and removing seeds) into about 6 wedges.

Step 4
After brining for two days, transfer the salted radishes and the brine they’ve released into a pot or a large bowl. Make sure to collect all the liquid that came out from the radishes.

Step 5
Add the prepared pear, the tea bag with garlic and ginger, crown daisy, green onions, and the salted red chilies to the bowl. Salted chilies are added to impart a unique spicy and zesty flavor to the Dongchimi; feel free to adjust the quantity based on your preference.

Step 6
Dissolve the remaining 80g of coarse sea salt completely in 3L of purified water. Stir well until the salt is fully dissolved without any clumps. This step is crucial for a clear brine.

Step 7
Pour the dissolved saltwater over the ingredients in the bowl. It’s best to make the brine slightly saltier than you think. A saltier brine helps preserve the kimchi, preventing spoilage and mold. You can always dilute it with a little more purified water when serving if it’s too strong.

Step 8
Transfer the Dongchimi into a kimchi container. You can place it directly into your kimchi refrigerator, or let it ferment at room temperature for 2-3 days before refrigerating. After about 15 to 20 days, your Dongchimi will be perfectly fermented and ready to enjoy! You’ll be surprised how easy it is to make.
