
Soft and Nutty Rye Bread
No Butter, No Sugar! Make Moist and Delicious Rye Bread with Grapeseed Oil and Honey

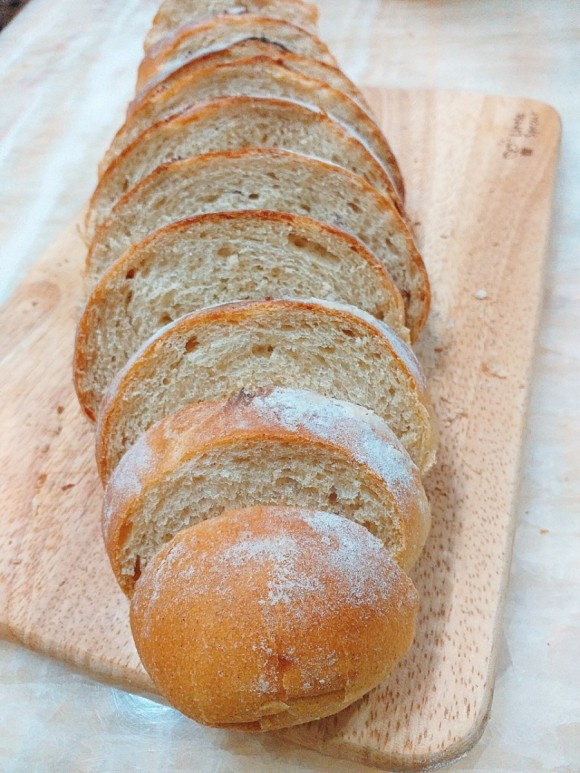
I’ve made a wonderfully soft and nutty rye bread using grapeseed oil and honey instead of butter and sugar, enriched with wholesome rye flour. Using only egg yolks seems to enhance the nutty flavor even further. The subtle sweetness from the honey, combined with a moist and tender texture that lasts even after a day, makes this bread a must-try! ^^
Ingredients- Warm Water 130g
- Honey 35g
- Egg Yolk 35g
- Rye Flour 80g
- Instant Dry Yeast 3g
- Salt 4g
- Grapeseed Oil 35g
- Bread Flour 170g
Cooking Instructions
Step 1
In a bowl, gently combine the warm water, honey, and egg yolk. Add all the other ingredients, being careful to ensure the yeast, salt, and honey do not directly touch each other. Mix until a cohesive dough forms. Knead the dough either by hand or using a stand mixer until it becomes smooth and elastic. This typically takes about 10-15 minutes.

Step 2
Shape the dough into a smooth ball and place it in a bowl or a sealed container. Cover with a damp cloth or plastic wrap and let it undergo its first fermentation (bulk fermentation) at room temperature for about 1 hour, or until it has doubled to two and a half times its original size. To check for readiness, gently poke the dough with a finger lightly dusted with flour; if the indentation remains without the dough collapsing, the first fermentation is complete.

Step 3
Gently deflate the dough and divide it into two equal portions. Shape each portion into a smooth ball. Cover them with a damp cloth or plastic wrap and let them rest for 15 minutes. This intermediate proofing (bench rest) relaxes the gluten, making the dough easier to shape.

Step 4
Using a rolling pin, flatten each dough ball into an even thickness, about the size of your palm. Then, starting from one edge, roll the dough up tightly, similar to rolling a sushi roll, gently pulling the dough towards you as you roll. This creates a nice spiral pattern inside.

Step 5
Place the shaped dough logs onto a baking pan, ensuring there is some space between them. Cover again with plastic wrap or a damp cloth and let them proof for about 50 minutes in a warm place. This is the second fermentation, where the dough will rise again.

Step 6
Once the dough has risen sufficiently after the second proof, lightly dust the top with bread flour. Using a lame (scoring knife) or a sharp cutter, make decorative cuts (coupes) on the surface of the dough. These cuts help control where the bread expands during baking and add a professional look.

Step 7
Lightly brush the scored lines with a little grapeseed oil or any neutral-flavored vegetable oil. This will help achieve a beautiful golden-brown crust and a slightly crisp texture on the cuts.

Step 8
Just before placing the bread into a preheated oven at 220°C (425°F), spray the oven walls and ceiling several times with water from a spray bottle to create steam. Then, reduce the oven temperature to 200°C (400°F) and bake for about 15 minutes, or until the bread is golden brown and sounds hollow when tapped on the bottom. Allow to cool on a wire rack.
