
Soft and Buttery Homemade Butter Rolls
Bake Perfect Butter Rolls: A Detailed Hand-Kneading Recipe for a Deliciously Soft and Rich Bread

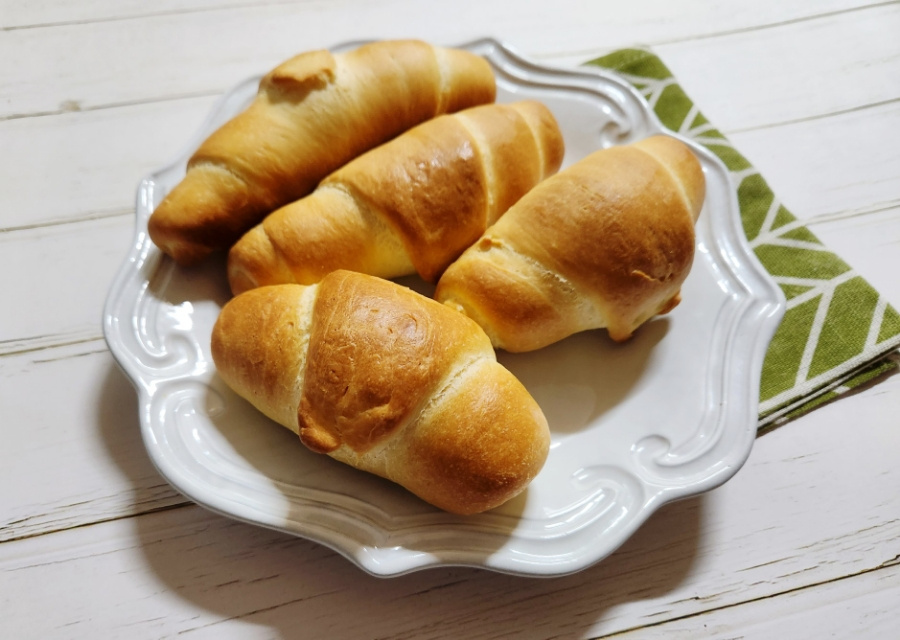
Discover the joy of baking with this easy-to-follow recipe for wonderfully soft and buttery dinner rolls. These rolls boast a delicate crumb and a rich, buttery flavor, making them perfect for any meal or as a delightful snack.
Butter Roll Dough Ingredients- 250g Bread Flour (sifted)
- 110ml Warm Milk
- 3g Instant Dry Yeast
- 3g Salt
- 5g Sugar
- 50g Unsalted Butter (softened at room temperature)
- 1 Large Egg (room temperature)
Cooking Instructions
Step 1
Begin by preparing your dry ingredients. Sift the 250g of bread flour into a large mixing bowl. Sifting ensures a lighter texture and removes any clumps.

Step 2
Create three small wells in the flour. In one well, place the 3g of instant dry yeast. In another, add the 3g of salt. In the central well, add the 5g of sugar. Keeping them separate initially prevents the yeast from being inhibited by the salt or sugar.

Step 3
Gently push some flour over the yeast, salt, and sugar in their respective wells. This creates a protective layer, ensuring the yeast activates properly when liquid is added.

Step 4
Lightly mix the flour with the ingredients in the wells. At this stage, just combine them superficially; don’t overmix yet.

Step 5
Pour in the 110ml of warm milk and crack the room-temperature egg into the bowl. Using a spatula or your hands, mix everything until a shaggy dough forms and no dry flour remains. Avoid overworking the dough at this point.

Step 6
Now, it’s time to incorporate the butter for that signature richness. Add the 50g of softened, room-temperature butter to the dough. Ensure the butter is pliable but not melted.

Step 7
This is where the hand-kneading happens. Knead the dough on a lightly floured surface for about 10 to 15 minutes. Stretch and fold the dough, pushing it away from you. The dough is ready when it becomes smooth, elastic, and you can see your fingers faintly through a thin piece stretched out (windowpane stage).

Step 8
Shape the kneaded dough into a smooth ball and place it back into the clean bowl. Cover the bowl tightly with plastic wrap. Let the dough rise in a warm place (around 25-30°C or 77-86°F) for about 1 hour, or until it has doubled in size.

Step 9
After the first rise, check the dough. Gently poke the center with a floured finger. If the indentation remains without the dough springing back, the first fermentation is successful. If it springs back, allow it to rise for a little longer.

Step 10
Gently punch down the risen dough with your fist or palm to release the large air bubbles. This process is called degassing and helps create a finer crumb structure.

Step 11
Transfer the degassed dough to your work surface. Using a bench scraper or a knife, divide the dough into 8 equal portions. Try to make them as close to the same size as possible for even baking.

Step 12
Shape each piece of dough into a round ball (pre-shaping). Cover the dough balls loosely with plastic wrap and let them rest for 15 minutes at room temperature. This ‘bench rest’ allows the gluten to relax, making the final shaping easier.

Step 13
After the bench rest, flatten each dough ball gently with your palm. Then, taper one end to make it thinner, which helps in creating a nice spiral when rolling.

Step 14
Using a rolling pin, roll out each piece of dough into a long, thin rectangular shape. Apply a light dusting of flour if needed, but avoid using too much. Aim for a consistent thickness.

Step 15
Starting from the thicker edge, roll up the dough tightly towards the tapered end, forming a croissant-like shape. Apply gentle but firm pressure as you roll to avoid gaps.

Step 16
Place the shaped rolls onto a baking sheet lined with parchment paper, leaving some space between them. Cover them again with plastic wrap and let them undergo a second proofing in a warm place for about 30 minutes, or until they have increased in size by about 50%.

Step 17
Just before baking, lightly brush the tops of the proofed rolls with a little milk. This will give them a beautiful golden-brown crust and a lovely sheen.

Step 18
Bake in a preheated oven at 200°C (390°F) for approximately 17 minutes. Keep an eye on them, as oven temperatures can vary. Bake until the tops are a rich golden brown.

Step 19
And there you have it! Your delicious, homemade butter rolls are ready. Enjoy the wonderful aroma and taste of these freshly baked treats!
