
Silky Homemade Custard Pudding
✨ No-Oven Custard Pudding Perfection! Make a Delicious Pudding Better Than Store-Bought ♥”♥

Craving something sweet and delightful? This homemade custard pudding is the answer! It’s so rich and creamy, you won’t believe it came from your own kitchen. Forget store-bought versions; this recipe delivers a smooth, luscious dessert that’s perfect for any occasion, from a special treat to an everyday indulgence.
Ingredients- Milk 400g (Use regular whole milk for the best creamy texture)
- Egg Yolks 8 (Fresh egg yolks contribute to a richer flavor)
- Granulated Sugar 140g (Adjust to your sweetness preference)
- Gelatin Sheets 5 sheets (approximately 10g, or 10g powdered gelatin bloomed in 50g water)
- Vanilla Extract or Vanilla Essence 2 tsp (for a fragrant aroma)
Cooking Instructions
Step 1
Prepare the Gelatin: If using sheet gelatin, soak the sheets in cold water for about 5-10 minutes until softened. If using powdered gelatin, dissolve it in 50g of water. I used sheet gelatin for this recipe.

Step 2
Combine Milk and Sugar: In a saucepan, combine the 400g of milk and 140g of sugar. Stir gently with a whisk or spatula until the sugar is completely dissolved. Avoid boiling the milk at this stage.

Step 3
Stir Continuously: Ensure the sugar is fully dissolved and the mixture is smooth. Keep stirring until no sugar granules are visible to achieve a silky texture.

Step 4
Add Egg Yolks and Vanilla: Once the sugar has dissolved, add the 8 egg yolks and 2 tsp of vanilla extract (or essence). Whisk gently until all ingredients are well combined and homogenous.

Step 5
Heat Gently Over Low Heat (Important!): Place the saucepan over low heat. Warm the mixture until it’s comfortably warm to the touch (around 60-70°C or 140-160°F) – test by dipping a finger in. Be very careful not to let it boil, as this will scramble the eggs. Skim off any foam that forms. Remember, gelatin can lose its setting power above 70°C (160°F), so keep the heat gentle.

Step 6
Skim Off Foam: Use a fine-mesh sieve or a spoon to carefully remove any foam that has risen to the surface. This step is crucial for achieving a perfectly smooth and clear pudding.

Step 7
Dissolve the Gelatin: Squeeze out any excess water from the bloomed gelatin sheets and add them to the warm milk mixture. The residual heat will quickly dissolve the gelatin. Stir just until the gelatin is fully incorporated, then immediately remove from heat. Do not overheat.

Step 8
Gelatin dissolves quickly: You’ll notice the gelatin disappearing rapidly into the warm liquid. Stir gently until it’s completely melted and invisible.

Step 9
Strain and Chill: Pour the custard mixture through a fine-mesh sieve into your serving ramekins or a larger dish. Straining ensures an incredibly smooth texture. Cover the containers tightly with lids or plastic wrap to prevent any refrigerator odors from tainting the pudding. For ramekins the size of store-bought ‘Petit Gel’ puddings, about 2 hours in the refrigerator should be sufficient for setting, but chilling time may vary depending on the size and depth of your container. (You can also add caramel sauce to the bottom of the dish before pouring the custard for a classic caramel pudding. I opted not to use caramel this time.)

Step 10
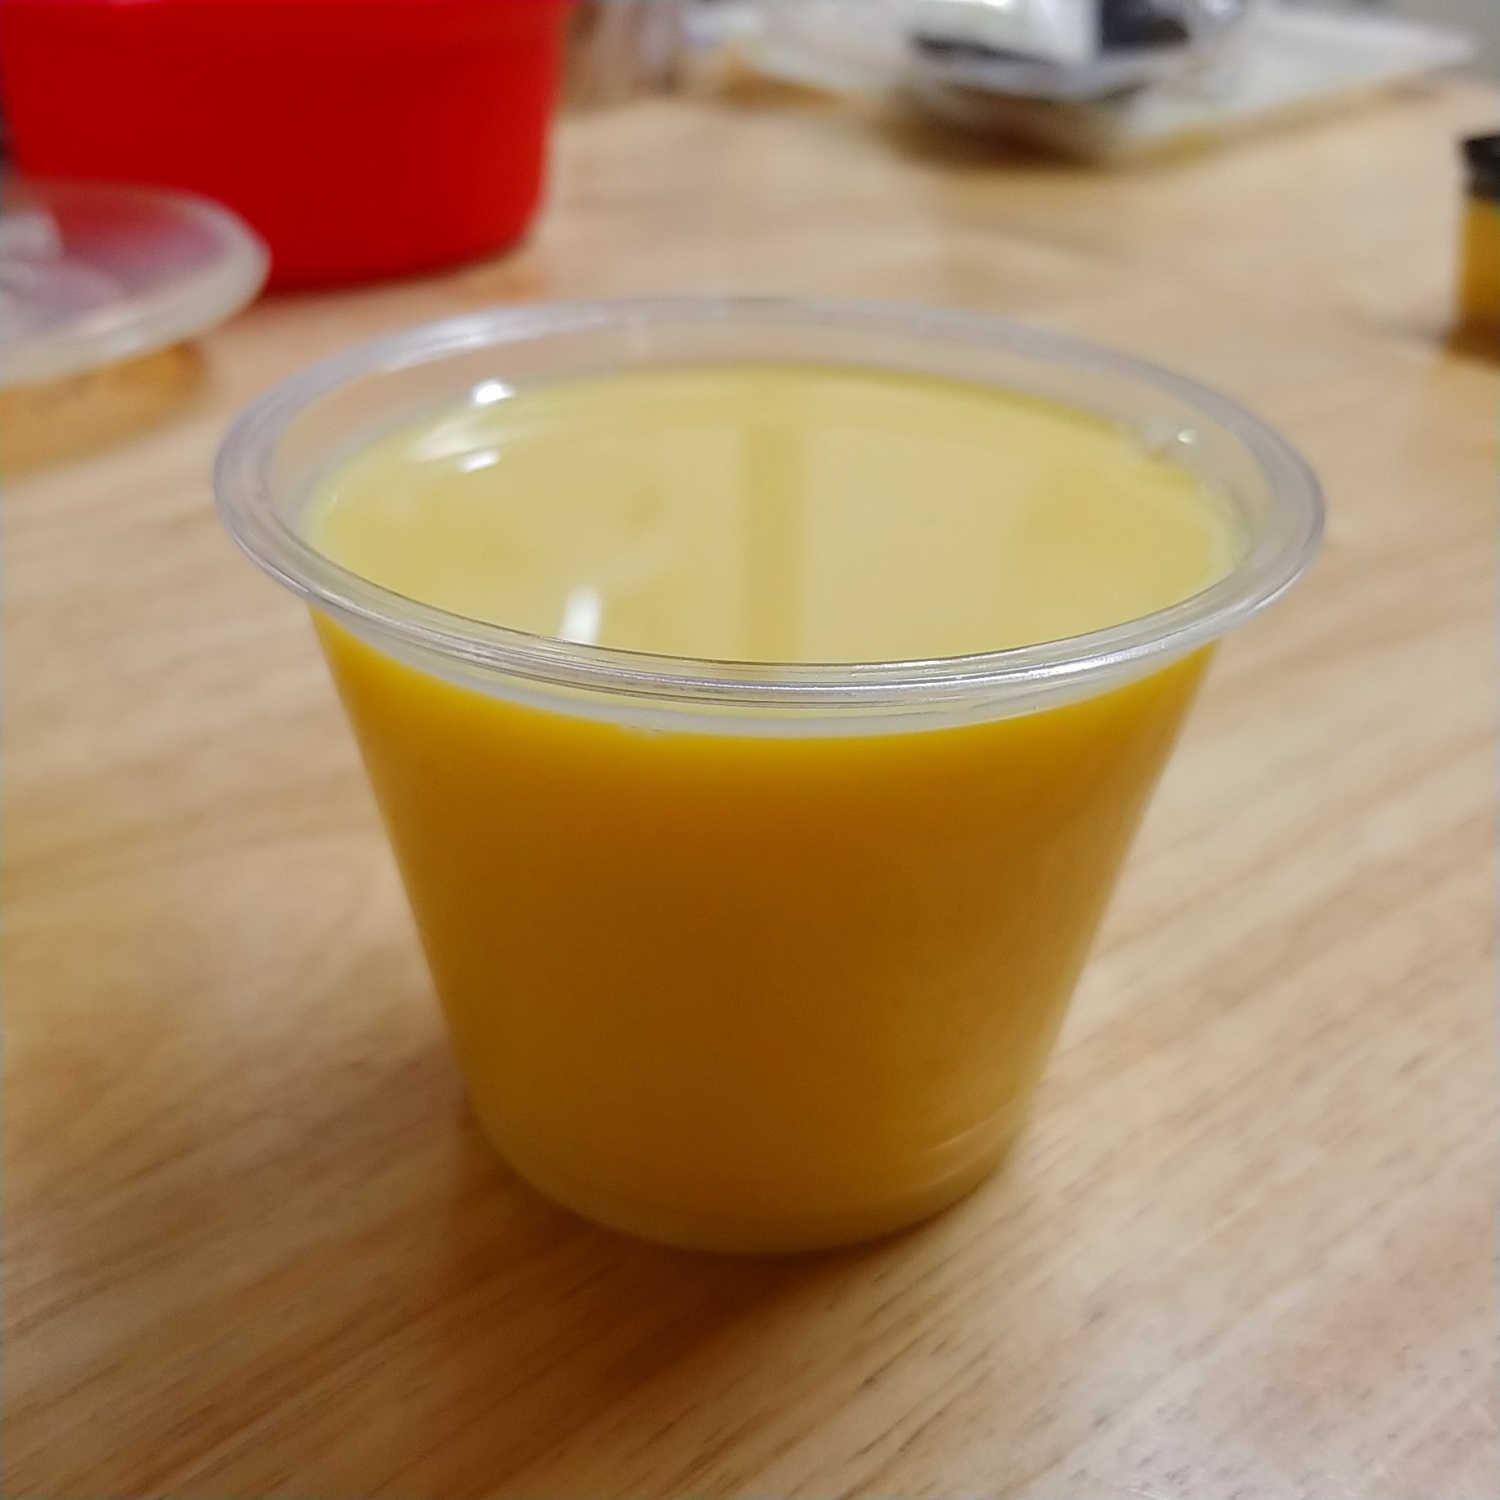
Filling the Large Container: Filling a large dish like this results in a generous portion of delicious pudding. Now, all that’s left is to wait for it to set in the fridge!

Step 11
Note on Using Vanilla Beans: If you were considering using a vanilla bean for extra flavor, I would personally advise against it for this particular recipe. (Reason: As you can see, it can lead to a less aesthetically pleasing finish). For a cleaner look and texture, sticking with vanilla extract is recommended. The vanilla bean seeds can create small lumps in the pudding, so beginners might prefer to skip them altogether.
