
Savory Chive Kimbap: Simple, Delicious, and Wholesome!
Delicate and Nutty Chive Kimbap: A Delightful Bite

Made with tender chives freshly grown in the garden, this kimbap features just chives and egg, resulting in a clean, satisfying flavor. The vibrant color and the combination of delicate yet nutty taste make it a perfectly wholesome and delightful meal. Enjoy a simple, healthy, and delicious kimbap!
Ingredients- 1 bowl of freshly cooked rice
- 2 sheets of gim (dried seaweed for kimbap)
- 5 large eggs
- 2 handfuls of fresh chives (approx. 100g)
- 1/2 tsp salt (for blanching chives)
- Pinch of salt (for seasoning)
- Pinch of black pepper
- 1-2 tsp sesame oil
- Sesame seeds, for sprinkling
- Cooking oil, for frying
Cooking Instructions
Step 1
Thoroughly wash the fresh chives under running water. Bring a pot of water to a boil, add 1/2 tsp of salt, and blanch the chives for 30 seconds. This step preserves the chives’ crispness while removing any raw odor.

Step 2
Immediately rinse the blanched chives in cold water to stop the cooking and cool them down. Gently squeeze out as much water as possible with your hands, then cut them into bite-sized pieces (about 3-4 cm long).

Step 3
In a bowl, combine the chopped chives, a pinch of salt, a sprinkle of sesame seeds, and a drizzle of sesame oil. Gently toss the mixture with your hands to ensure the chives are evenly seasoned.

Step 4
In a separate bowl, crack the 5 eggs. Add a pinch of salt and a dash of black pepper. Whisk thoroughly until the egg mixture is smooth and well combined.

Step 5
Heat a non-stick pan over low heat and add a little cooking oil. Pour the whisked egg mixture thinly into the pan. Cook over low heat to ensure the egg cooks evenly and doesn’t burn.

Step 6
Once the egg is cooked, carefully roll it up to create a thick omelet. Make it substantial enough to be a good filling for the kimbap.

Step 7
Let the rolled omelet cool slightly, then slice it lengthwise in half. This makes it easier to arrange inside the kimbap roll.

Step 8
Prepare the rice by placing 1 bowl of warm, freshly cooked rice in a bowl. Season it with a pinch of salt, sesame oil, and sesame seeds. Gently mix with a spatula, being careful not to mash the rice grains.

Step 9
Cut each of the 2 sheets of kimbap gim in half crosswise, so you have 4 smaller sheets. This will help you make thinner and neater kimbap rolls.

Step 10
Place a piece of gim on a bamboo rolling mat, shiny side down, rough side up. Spread a thin, even layer of the seasoned rice over the gim, leaving a 3-4 cm gap at the top edge. Avoid overfilling with rice, as it can cause the kimbap to burst.

Step 11
Lay a half-sheet of gim on top of the rice. This extra layer of gim helps to secure the roll and prevent it from coming apart.

Step 12
Arrange the seasoned chives and the sliced egg omelet lengthwise over the rice. Firmly roll the kimbap using the mat, pressing down gently as you go. Moisten the top edge of the gim with a little water to seal the roll securely.

Step 13
Brush the outside of the rolled kimbap with a little sesame oil and sprinkle with sesame seeds for extra flavor and a beautiful sheen.

Step 14
Slice the kimbap into bite-sized pieces, about 2 cm thick. Dipping your knife in water between cuts will help you achieve clean slices without squishing the kimbap.

Step 15
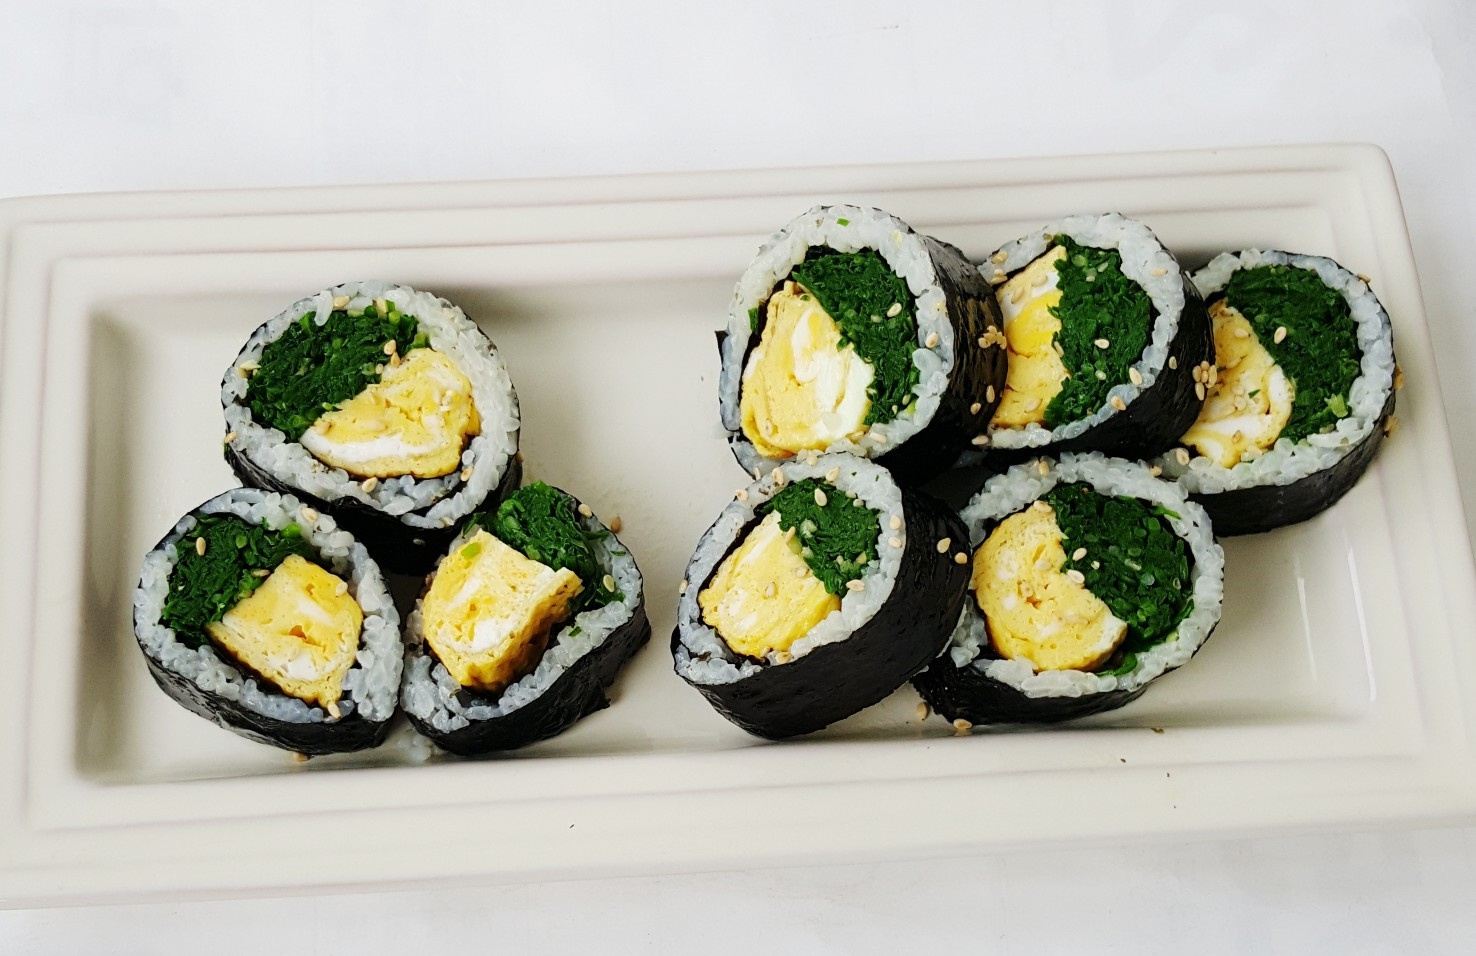
Arrange the sliced kimbap attractively on a serving plate. Your delicious Chive Kimbap is ready to be enjoyed!

Step 16
Although made with just a few simple ingredients, this Chive Kimbap offers a wonderful visual appeal and a delightful combination of textures and flavors, making it a satisfying meal or snack.
