
Rich Shrimp Bisque Risotto
Shrimp Risotto Recipe Featuring a Deep Shrimp Bisque Sauce

Hello! I’m ‘Repanam’, your guide to delicious recipes. Today, I’m excited to share my ‘Shrimp Bisque Risotto’, made with a rich bisque sauce crafted from shrimp heads and shells. This recipe goes beyond the ordinary to maximize the natural, abundant flavor and aroma of shrimp. I’ll explain every step in detail so anyone can easily follow along!
Ingredients for Rich Shrimp Bisque Sauce- 200g of shrimp heads and shells
- 1/2 carrot
- 1/2 onion
- 1/2 stalk of leek
- 2 bay leaves
- 15 whole black peppercorns
- 5 basil leaves
- 1 sprig of dill
- 100ml dry white wine
- 2 cups (approx. 400ml) water
For the Risotto- 200g rice (approx. 1 cup)
- 200ml prepared shrimp bisque stock
- 75g heavy cream (approx. 5 tbsp)
- A little olive oil
Garnish (Topping)- 5-6 cherry tomatoes
- 1 sprig fresh Italian parsley
- A pinch of parsley flakes
- 200g rice (approx. 1 cup)
- 200ml prepared shrimp bisque stock
- 75g heavy cream (approx. 5 tbsp)
- A little olive oil
Garnish (Topping)- 5-6 cherry tomatoes
- 1 sprig fresh Italian parsley
- A pinch of parsley flakes
Cooking Instructions
Step 1
First, to make the rich shrimp bisque sauce, which is the heart of this risotto, prepare 200g of shrimp heads and shells.

Step 2
Thaw the shrimp heads and shells in cold water. If they are frozen, it’s important to thaw them completely.

Step 3
When handling the shrimp, carefully remove the sharp points (horns) and any messy whiskers. Be cautious to avoid injury.

Step 4
Thoroughly pat the shrimp heads and shells dry with paper towels. This step is crucial for sautéing them in oil later.

Step 5
If the moisture isn’t removed properly, water can splatter when sautéing in oil, which can be dangerous. Ensure they are completely dry for safety.

Step 6
Next, prepare the ‘mirepoix’ vegetables that will add depth to the bisque sauce: 1/2 onion, 1/2 carrot, and 1/2 leek, all chopped into similar sizes.

Step 7
Prepare the herbs that will effectively eliminate any shrimpiness and enhance the aroma: 2 bay leaves, 15 whole black peppercorns, 5 fresh basil leaves, and 1 sprig of dill.

Step 8
Add a generous amount of olive oil to the pot for sautéing the sauce ingredients and preheat over medium-high heat. Since we’ll be sautéing for a while, using plenty of oil is recommended.

Step 9
Add the dried shrimp heads and shells and sauté over high heat for about 5 minutes. It’s important to sauté until the shrimp turns a deeper red and releases a savory aroma.

Step 10
After sautéing the shrimp well, pour in 100ml of dry white wine. Scrape the bottom and sides of the pot to deglaze, loosening the concentrated shrimp essence that has stuck to the pan.

Step 11
Deglazing is a key step that infuses the shrimp with the wine’s flavor and dissolves the delicious bits stuck to the pan, adding depth to the sauce. If you don’t have white wine, you can use sake or cooking wine.

Step 12
Once deglazing is complete, add all the prepared mirepoix vegetables (onion, carrot, leek).

Step 13
Reduce the heat to medium and continue to sauté for about 7 minutes until the vegetables are translucent and well combined with the shrimp. Sautéing to bring out the natural sweetness of the vegetables is key.

Step 14
Once the vegetables are well sautéed, add 2 cups (approx. 400ml) of water and all the prepared herbs (bay leaves, peppercorns, basil, dill). Bring to a boil over high heat and simmer for 5 minutes.

Step 15
After boiling for 5 minutes over high heat, reduce the heat to the lowest setting, cover, and let it simmer gently for about 55 minutes to extract the maximum flavor and aroma from the shrimp. This process creates the rich bisque stock.

Step 16
When the stock is done, carefully remove the shrimp heads and shells from the pot and set them aside. We’ll blend them later.

Step 17
Strain the stock containing the vegetables and herbs through a fine-mesh sieve to collect only the clear liquid. Press down on the solids to extract as much essence as possible.

Step 18
By pressing the remaining vegetables in the sieve with a spatula or ladle, you can obtain an even more concentrated essence.

Step 19
Combine the reserved shrimp heads and shells with the strained stock essence in a blender and blend until smooth. This step re-concentrates the shrimp flavor.

Step 20
Pass the blended shrimp and stock essence through a fine-mesh sieve again to create a smooth bisque sauce. Strain carefully to ensure a lump-free, refined sauce.

Step 21
Press down on the remaining shrimp pulp in the sieve with a spatula to squeeze out all the remaining essence, maximizing the sauce yield.

Step 22
The surface of the resulting stock may have impurities, forming foam. Carefully skim off this foam with a spoon or ladle. This ‘skimming’ process makes the sauce clearer and cleaner.

Step 23
You should have about 400ml (2 ladles) of bisque stock. Taste and season with 2/3 tablespoon of salt. Adjust the salt to your preference.

Step 24
Now, to make the risotto, heat a generous amount of olive oil in a pan over medium-low heat. This step coats the rice to prevent sticking.

Step 25
Add the washed rice (200g, approx. 1 cup) to the pan and sauté lightly for 1 minute, coating it with oil. Coating the rice grains with oil prevents them from sticking together as they cook.

Step 26
After toasting the rice, pour in 200ml (1.5 ladles) of the prepared bisque stock and stir over medium heat, allowing the rice to absorb the liquid.

Step 27
Add 75g (approx. 5 tbsp) of heavy cream and stir until it is well incorporated with the stock. The cream will make the risotto richer and creamier.

Step 28
Turn the heat up to high and stir continuously as the sauce comes to a boil, ensuring the rice and sauce combine well. The rice grains will absorb the sauce as they cook.

Step 29
Once the rice is partially cooked, prepare 200g of rice. Simply rinse the rice without soaking it. For risotto, using unsoaked rice helps maintain a better texture.

Step 30
Rinsing the rice is to remove impurities. After rinsing, drain the rice well in a sieve and use it immediately without soaking, as per Repanam’s recipe tip.

Step 31
When cooking the risotto, add another 200ml (2 ladles) of bisque stock. Continue adding stock little by little and cooking until the rice is tender and has a creamy consistency.

Step 32
Because we’re using a concentrated bisque stock, the cooking time can be shorter than for a typical risotto. Think of it similarly to cooking rice on a quick 20-minute setting.

Step 33
As the risotto cooks, you might notice some slightly browned bits stuck to the bottom of the pan. This isn’t burnt rice; it’s fine particles from the shrimp shells in the bisque stock caramelizing. They don’t affect the risotto’s flavor at all, so don’t worry! They actually add to the depth of taste.

Step 34
When the rice is almost done, add a little olive oil to the pan and gently stir, coating the rice to prevent it from sticking. This keeps the texture of the rice smooth.

Step 35
Add 100ml (1 ladle) of the remaining bisque sauce and stir gently over medium heat for about 30 seconds. This allows the sauce to be absorbed evenly by the rice grains.

Step 36
Add another 100ml (1 ladle) of bisque sauce and stir over medium heat for about 1 minute. The sauce will become well incorporated, creating a creamier texture.

Step 37
Finally, add the remaining 100ml (1 ladle) of bisque sauce and stir quickly over medium heat for 40 seconds to 1 minute. Ensure all the sauce is absorbed by the rice.

Step 38
Turn off the heat, cover the pan, and let it rest for about 1 minute. This allows the rice and sauce to stabilize, resulting in a more uniform risotto texture.

Step 39
Finally, drizzle a little olive oil,

Step 40
and mix well to give the entire risotto a glossy and smooth finish.

Step 41
Now, it’s time for the final plating. Prepare 5-6 cherry tomatoes for garnish by cutting them into various sizes and angles. Consider their color and shape.

Step 42
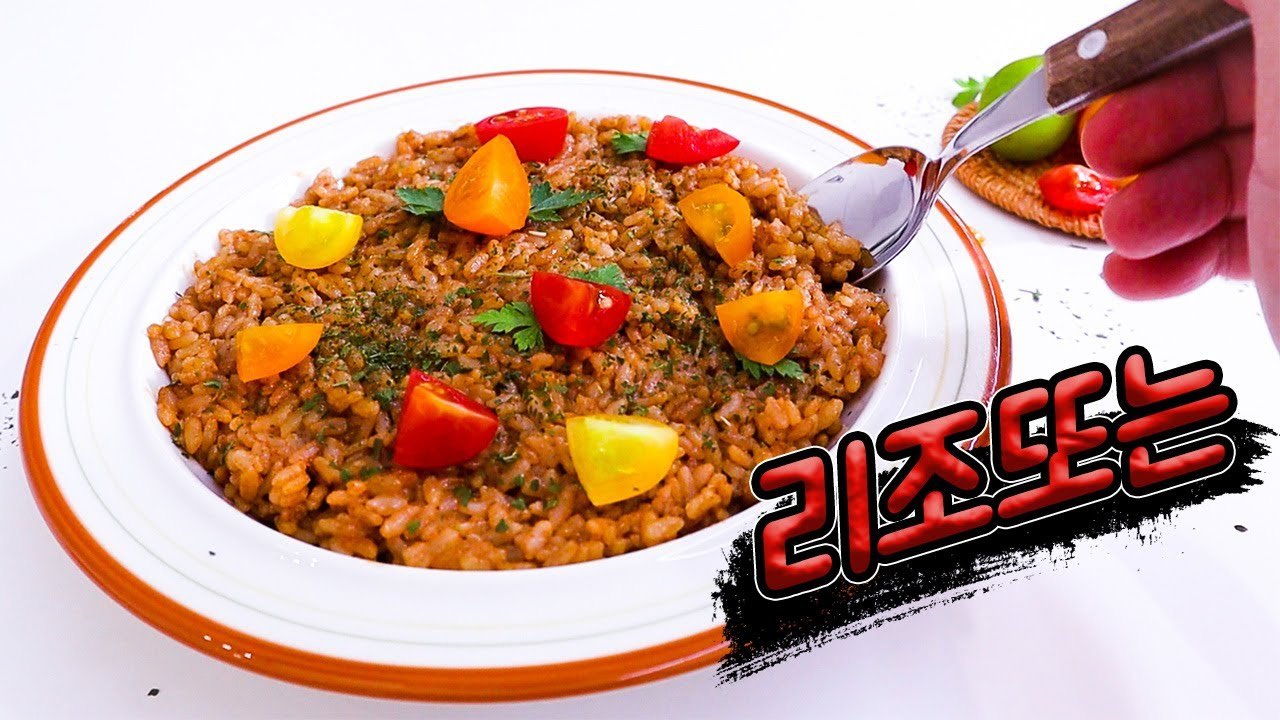
We’ve chosen a plate with a brown rim that complements the warm color of the risotto. Such plates make the risotto’s color stand out beautifully.

Step 43
Spoon the prepared risotto evenly onto the plate. Filling it up to the height of the plate’s rim looks aesthetically pleasing.

Step 44
Sprinkle parsley flakes over the risotto to add a fresh green color and a subtle texture.

Step 45
Artfully arrange the pre-cut cherry tomatoes over the risotto, considering their color and texture for a natural, irregular pattern.

Step 46
Place 2-3 fresh Italian parsley leaves here and there for added freshness.

Step 47
Finally, place a cherry tomato in the center of the risotto for an attractive presentation. Your beautiful risotto is now complete!

Step 48
And there you have it! The ‘Repanam’s Shrimp Bisque Risotto’, infused with the deep shrimp aroma and flavor from shrimp heads and shells, is ready. Enjoy your delicious meal!
