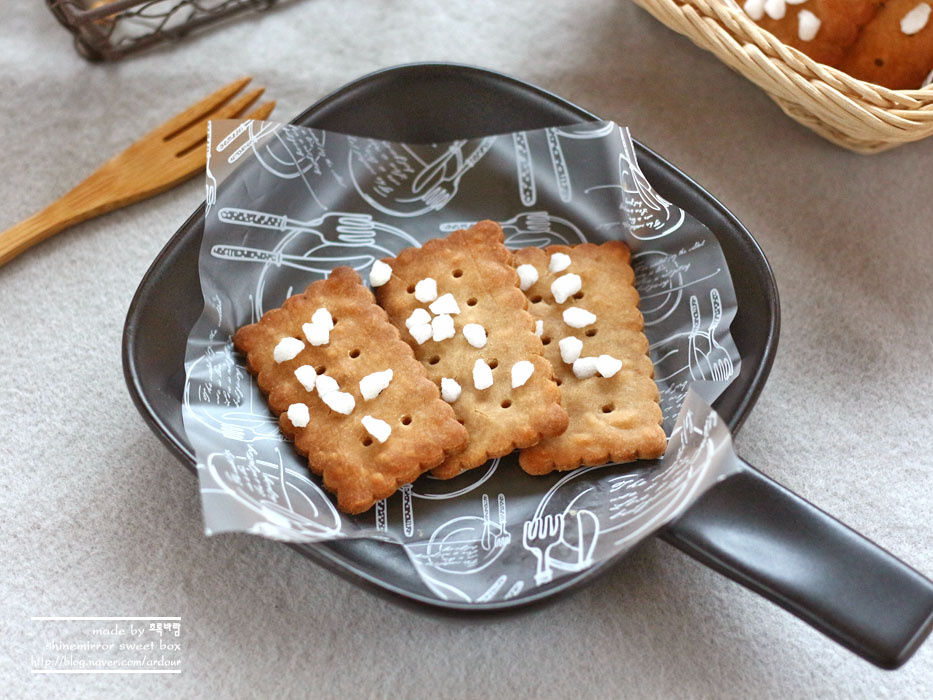
Rich & Creamy No-Butter Cream Cheese Cookies
Leverage Leftover Cream Cheese! Crispy & Nutty No-Butter Cream Cheese Cookie Recipe

Have you ever had a bit of cream cheese left over and wondered what to do with it? Don’t worry! These ‘Cream Cheese Cookies’ are made without butter, using brown rice flour for an extra crispy and nutty texture. Each bite offers a delightful nutty flavor enhanced by the creamy richness of the cream cheese. The pearl sugar sprinkled on top adds a special crunch and sweetness, making these addictive cookies hard to resist. Perfect for special occasions, afternoon tea, or as a thoughtful gift, let’s bake these delicious cream cheese cookies together!
Dough Ingredients (Makes approx. 20 cookies)- Brown rice flour 100g
- Cream cheese 50g (softened at room temperature)
- Salt 1 pinch
- Unrefined sugar 30g
- Grapeseed oil 10g
- Water 20g
- Pearl sugar (for topping) a little
Cooking Instructions
Step 1
First, place the cream cheese, which has been softened at room temperature, in a bowl. Use a spatula to cream it until smooth and lump-free. Next, sift in the unrefined sugar and salt. (Sifting helps the sugar and salt mix evenly without clumps.) Stir with the spatula until well combined.

Step 2
Now, it’s time to add the grapeseed oil. Instead of adding all at once, add the oil in 2-3 additions, whisking well with a hand whisk after each addition. This ensures the oil emulsifies smoothly with the cream cheese without separating, resulting in a silky batter.

Step 3
Gradually add the water, a little at a time, whisking continuously. Similar to the oil, it’s best to add water in increments rather than all at once. Mix until you achieve the desired batter consistency. Proceed to the next step when the sugar is slightly dissolved, with just a hint of grittiness felt between your fingers.

Step 4
Sift the brown rice flour, which adds a lovely nutty flavor, into the batter. Sifting dry ingredients ensures they mix in smoothly without lumps, contributing to a lighter texture. Use the spatula to gently mix until no dry flour is visible. Be careful not to overmix, as this can make the cookies tough.

Step 5
As you mix with the spatula, when the dough starts to come together, use your hands to gently gather it into a cohesive ball. It’s sufficient when there’s no visible dry flour and it forms a single mass.

Step 6
Place the dough ball into a plastic bag and wrap it securely to maintain its shape. Refrigerate for about 15 minutes to chill. Chilling the dough makes it much easier to roll out and shape, and it helps the cookies hold their form when baked.

Step 7
Remove the chilled dough from the refrigerator. While still in the plastic bag, use a rolling pin to flatten it into an even thickness of about 3-4mm. If the dough feels too sticky, you can use a little extra brown rice flour as a dusting, but use as little as possible. Rolling it thin is key to achieving a perfectly crispy texture.

Step 8
Using your favorite cookie cutters, cut out shapes from the rolled dough. Employing various cookie cutters can create charming and unique cookies. Carefully remove the cut-out dough from the cutters.

Step 9
Arrange the shaped cookie dough on a baking sheet lined with parchment paper, leaving some space between each cookie. Sprinkle the pearl sugar generously over the cookie dough. As the pearl sugar melts in the oven, it will create a shiny glaze effect and add a delightful textural contrast.

Step 10
Bake in a preheated oven at 180°C (350°F) for about 8-10 minutes, or until the edges of the cookies turn golden brown. The baking time may vary depending on your oven. Once baked, transfer them to a wire rack to cool completely before enjoying your delicious cream cheese cookies!


