
Retro Air Fryer Tteokkochi
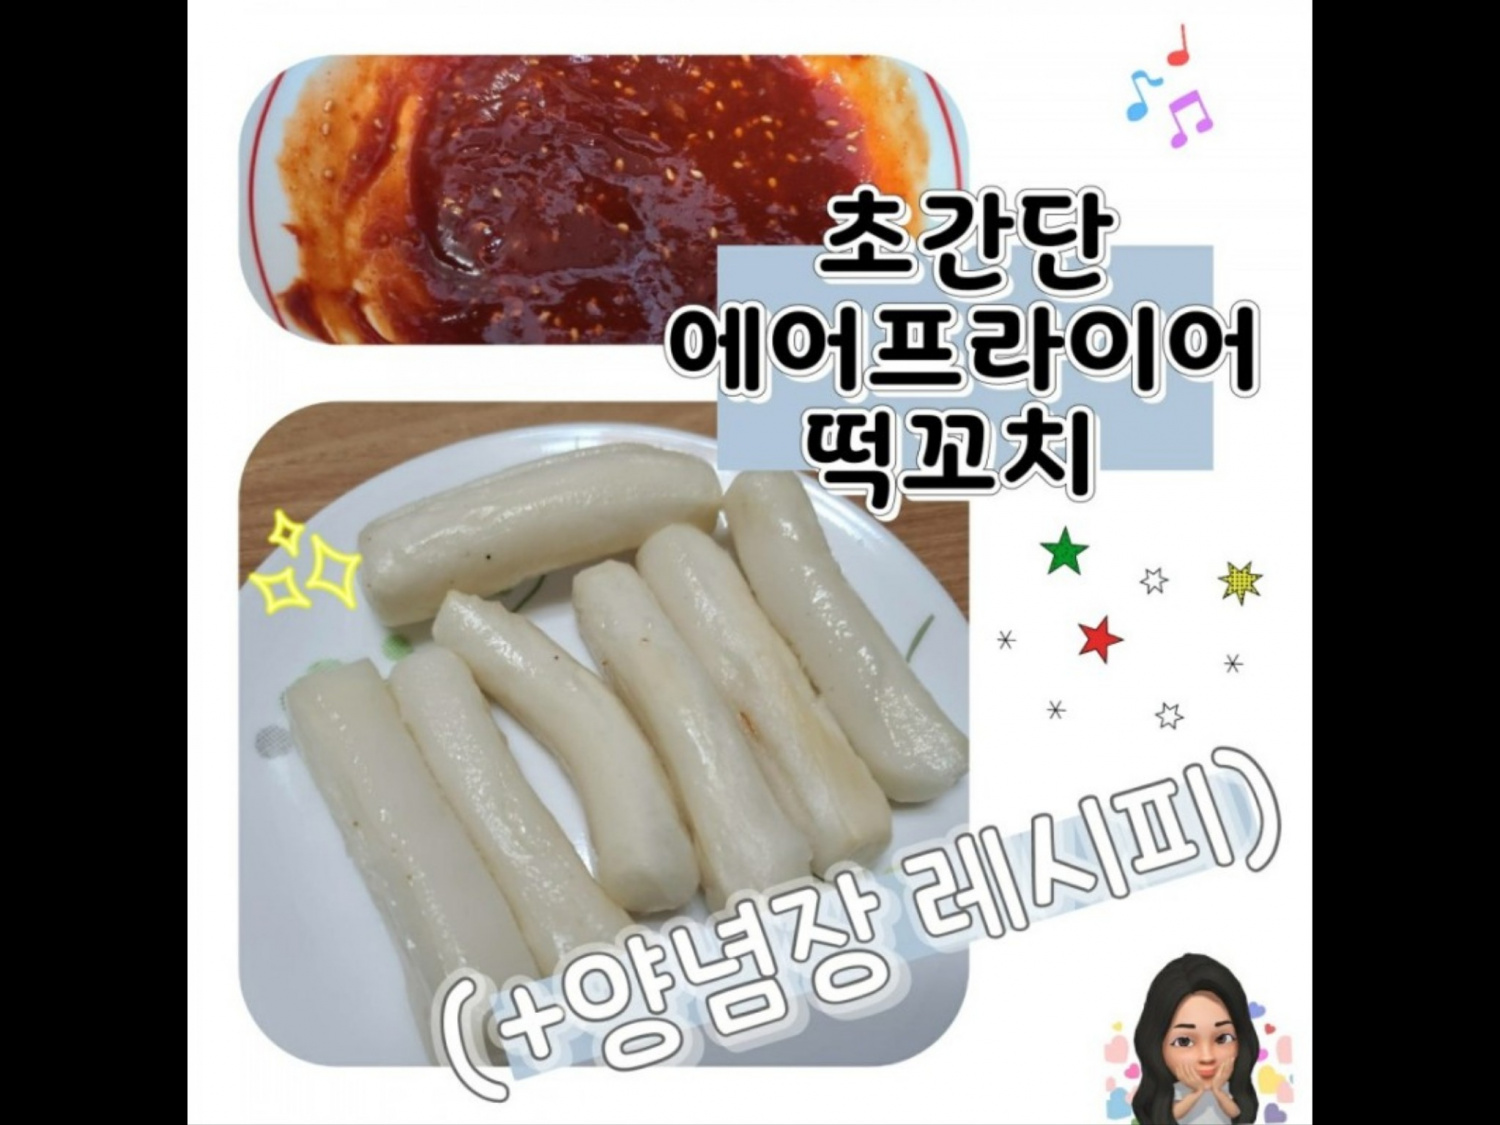
Making Super Easy Air Fryer Tteokkochi

I love tteokkochi so much, but there aren’t many places selling it these days, so I decided to make it simply at home. This is a recommended recipe for when you’re craving tteokkochi.
Ingredients- 7 Garae-tteok (rice cakes, long cylinder shape)
- A little cooking oil
Sauce- 3 Tbsp ketchup
- 1/2 Tbsp soy sauce
- 1 Tbsp gochujang (Korean chili paste)
- 2 Tbsp oligodang (corn syrup)
- 2/3 Tbsp sugar
- 1/2 Tbsp minced garlic
- Sesame seeds to taste
- 3 Tbsp ketchup
- 1/2 Tbsp soy sauce
- 1 Tbsp gochujang (Korean chili paste)
- 2 Tbsp oligodang (corn syrup)
- 2/3 Tbsp sugar
- 1/2 Tbsp minced garlic
- Sesame seeds to taste
Cooking Instructions
Step 1
Lightly coat the rice cakes (tteok) with a small amount of cooking oil. This helps them achieve a crispy texture and prevents sticking. Place the oiled tteok in the air fryer basket and cook at 180°C (350°F) for 4 minutes on each side, for a total of 8 minutes. Keep an eye on them, as cooking times can vary depending on the thickness of the tteok and your air fryer model. You might need to add an extra 2 minutes for thicker tteok to ensure they are perfectly crispy. (The tteok I used were thicker than the standard tteokkochi type, so I added 2 extra minutes. Check periodically!)

Step 2
While the tteok is air frying, let’s prepare the delicious sauce. In a bowl, combine 3 tablespoons of ketchup, 1/2 tablespoon of soy sauce, 1 tablespoon of gochujang, 2 tablespoons of oligodang, 2/3 tablespoon of sugar, and 1/2 tablespoon of minced garlic. Finally, add sesame seeds to your liking. Stir all the ingredients together with a spoon until you have a smooth and glossy sauce. Feel free to adjust the sweetness by adding more or less oligodang or sugar to suit your preference.

Step 3
For an even richer flavor and a warmer serving, you can gently simmer the prepared sauce in a frying pan over low heat. This step enhances the sauce’s depth and makes it pleasantly warm to enjoy with the tteok. (I personally skipped this step and dipped the tteok directly into the sauce, but simmering it is also a great option if you prefer!)

Step 4
Once the tteok is perfectly air-fried and golden, dip each piece generously into the prepared sauce. And there you have it – your homemade tteokkochi is ready! It’s incredibly simple; as long as you master the tteok-frying and sauce-making steps, anyone can follow this recipe easily. It’s the perfect dish to whip up whenever that tteokkochi craving strikes. Enjoy the delightful combination of chewy tteok and the savory-sweet, slightly spicy sauce!
