
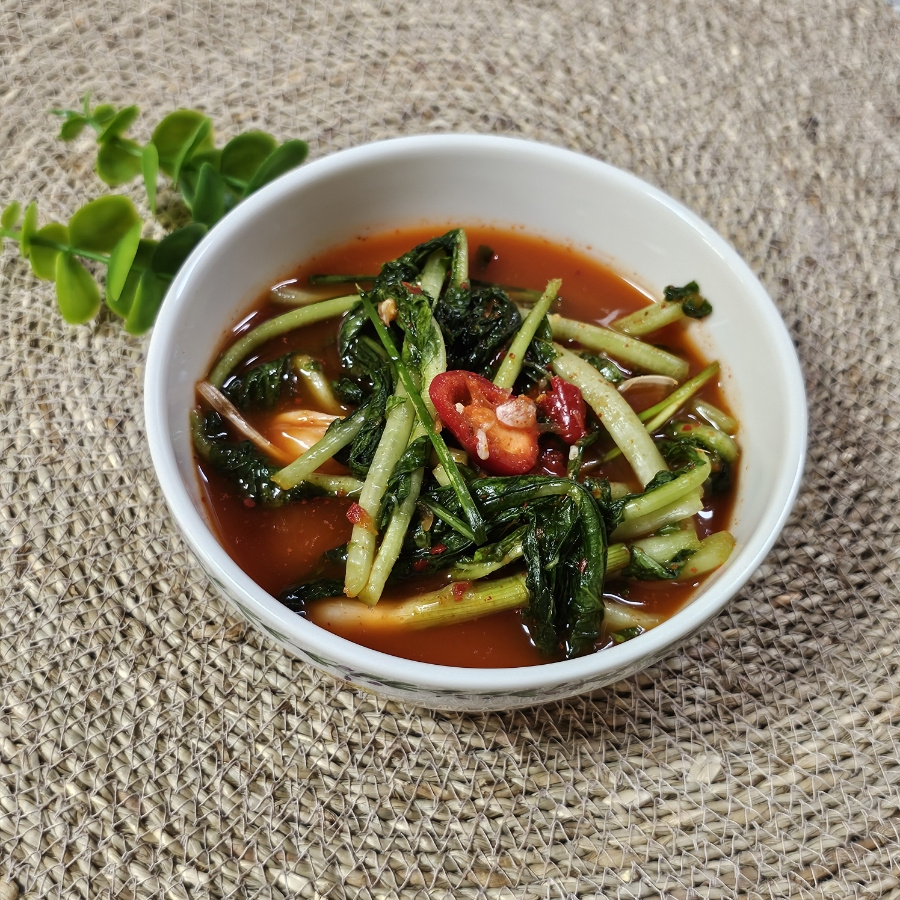
Refreshing and Spicy Yeolmu Mul Kimchi (Young Radish Water Kimchi)
Beat the heat with this refreshing Yeolmu Mul Kimchi, bursting with a zesty and clean flavor!

As summer begins to wane, the sky seems higher and the intense heat of morning and evening offers a slight respite. However, during the stifling heat of midday, our appetites can dwindle. This is the perfect time to make a vibrant and refreshing Mul Kimchi to invigorate your taste buds. This young radish water kimchi offers a wonderfully spicy yet clean broth that’s incredibly satisfying.
Yeolmu Mul Kimchi Main Ingredients- 1 bunch of fresh young radish (yeolmu)
- 1 handful of green chives
- 1/2 apple
- 1/2 pear
- 1/2 onion
- 2 red chili peppers
Yeolmu Mul Kimchi Seasoning- 2 ladles of blended fruit and vegetable seasoning
- 1/2 cup red chili powder (gochugaru)
- 1 Tbsp minced garlic
- 2 Tbsp salt (adjust to taste)
- 2 Tbsp sugar (adjust to taste)
- 800ml water
- 2 ladles of blended fruit and vegetable seasoning
- 1/2 cup red chili powder (gochugaru)
- 1 Tbsp minced garlic
- 2 Tbsp salt (adjust to taste)
- 2 Tbsp sugar (adjust to taste)
- 800ml water
Cooking Instructions
Step 1
Start by preparing your fresh young radish. Even though vegetable prices have been high lately, this summer staple is a must-have! To prevent it from becoming mushy, cut the yeolmu into 2-3 manageable pieces. This also helps remove any tough parts.

Step 2
Rinse the cut yeolmu thoroughly under cold running water to remove any dirt or debris. Make sure to wash between the leaves carefully to ensure they are completely clean.

Step 3
Sprinkle coarse salt evenly over the washed yeolmu and let it sit for about 10-15 minutes. This process, called ‘salting,’ wilts the radish, making it more tender and ready to absorb the flavors, while also contributing to its crisp texture.

Step 4
After salting, gently rinse the yeolmu again under running water to wash off excess salt. Then, drain them well in a colander. Properly draining the water is crucial to prevent the kimchi from becoming watery and to maintain its freshness.

Step 5
Next, prepare a simple flour slurry, which acts as a binder and thickener for the kimchi brine. Whisk flour into cold water until smooth, then cook over low heat, stirring constantly, until it thickens to a porridge-like consistency. Let it cool completely.

Step 6
Now, let’s gather all the ingredients for the flavorful seasoning. You’ll need the prepared young radish (1 bunch), a handful of green chives, and for the base of the broth: half an apple, half a pear, half an onion, and two red chili peppers for a beautiful color and mild spice.

Step 7
Place the apple, pear, onion, and red chilies into a blender. Blend them until smooth. Using blended fruits and vegetables adds natural sweetness and a rich umami depth to the kimchi brine, creating a more complex flavor profile.

Step 8
This finely blended fruit and vegetable mixture not only gives the mul kimchi a gorgeous color but is also the secret to its deep and smooth taste. Set this blended mixture aside for now.

Step 9
Let’s make the kimchi brine. Combine 2 ladles of the blended fruit and vegetable mixture with 1/2 cup of red chili powder for that signature kick, 1 tablespoon of minced garlic for aroma, 2 tablespoons of salt to season, 2 tablespoons of sugar for a touch of sweetness, and 800ml of cold water to form the refreshing broth.

Step 10
When mixing the seasonings with the yeolmu, avoid vigorous kneading, as this can impart a raw, grassy flavor. Instead, gently toss and mix the ingredients. The key is a light touch, ‘lifting and dropping’ the ingredients rather than mashing them, to maintain that delightful crunch.

Step 11
Once the seasoning is evenly distributed, taste and adjust the saltiness. The brine shouldn’t be too bland, so aim for a slightly salty taste. You can always add more salt later if needed, but it’s best to start conservatively.

Step 12
Pour in the cold water and mix everything together thoroughly. Ensure the water level covers the yeolmu. After adding the water, do a final taste test and adjust the saltiness if necessary. Congratulations, your delicious Yeolmu Mul Kimchi is almost ready!

Step 13
The balance of saltiness in mul kimchi is key. If it’s too salty, it overwhelms the flavors, and if it’s too bland, it lacks character. Aim for a well-seasoned brine, and remember that it’s easier to add more salt than to take it away.

Step 14
Transfer the finished Yeolmu Mul Kimchi into an airtight container. Instead of refrigerating immediately, allow it to ferment at room temperature for about half a day to develop a deeper flavor. Afterward, store it in your kimchi refrigerator. It will be ready to serve, offering a refreshing tang with every meal.

Step 15
This summer, Yeolmu Mul Kimchi has been an absolute lifesaver, and I’ve made it multiple times! It’s the perfect side dish, especially on hot days. Its ease of preparation makes it a repeat favorite. I’m sure I’ll be making it a couple more times before summer officially ends. Enjoy your delicious and refreshing Yeolmu Mul Kimchi! Thank you! ^^
