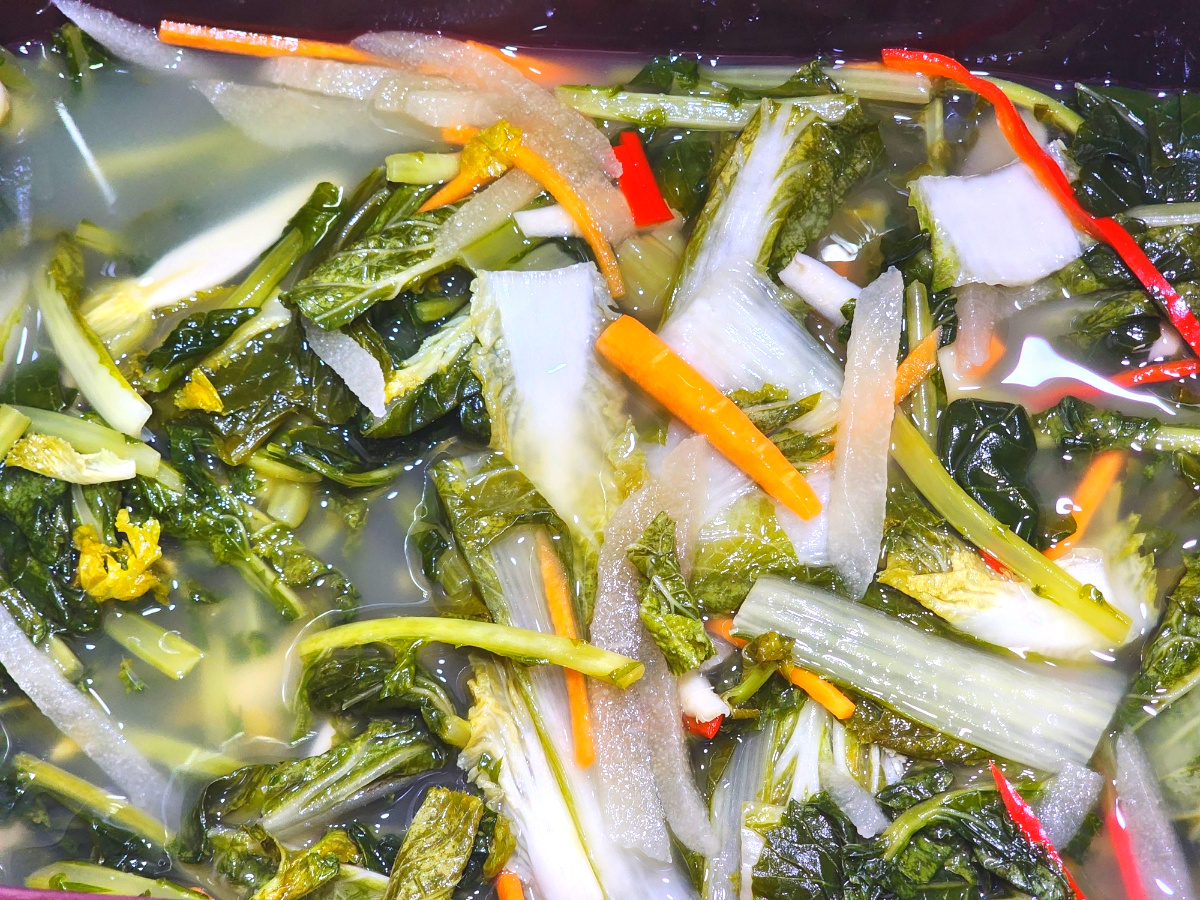
Refreshing and Crunchy Yeolmu Mul Kimchi (Young Radish Water Kimchi)
A Perfect Summer Dish: Crispy Yeolmu and Eolgari Water Kimchi Recipe

When the sweltering summer heat calls for refreshing food, Yeolmu Mul Kimchi is often the first dish that comes to mind! This classic summer delicacy offers a delightful crunch from young radishes and a tender texture from Eolgari cabbage (Danbaechu), creating a wonderfully complex mouthfeel. Its invigoratingly cool and clean taste is perfect for stimulating your appetite. Let’s make this delicious Yeolmu Mul Kimchi easily at home.
Main Ingredients- 2 bunches Yeolmu (young radish), trimmed
- 1 bunch Eolgari cabbage (Danbaechu), trimmed
- 1/2 Korean pear, julienned
- 1/2 carrot, julienned
- 2 red chili peppers, diagonally sliced
Seasoning (Porridge & Paste)- 2-3 Tbsp flour
- 2 cups water (for cooking porridge)
- 2L filtered water (for kimchi brine)
- 1 Korean pear (for blending)
- 1 onion (for blending)
- 1/3 Korean radish (for blending)
- 12 cloves garlic (minced or blended)
- 5-6 Tbsp plum extract (adjust to taste)
- Coarse sea salt (for salting and seasoning)
- 4-5 Tbsp fermented anchovy sauce (fish sauce, adjust to taste)
- 2-3 Tbsp flour
- 2 cups water (for cooking porridge)
- 2L filtered water (for kimchi brine)
- 1 Korean pear (for blending)
- 1 onion (for blending)
- 1/3 Korean radish (for blending)
- 12 cloves garlic (minced or blended)
- 5-6 Tbsp plum extract (adjust to taste)
- Coarse sea salt (for salting and seasoning)
- 4-5 Tbsp fermented anchovy sauce (fish sauce, adjust to taste)
Cooking Instructions
Step 1
First, prepare the fresh young radishes. Wash the entire bunch thoroughly under running water. Remove any wilted or yellow outer leaves. Trim the very bottom root part where dirt might be clinging, or carefully brush off any soil to ensure they are clean.

Step 2
Transfer the trimmed yeolmu to a large basin. Sprinkle coarse sea salt generously between the layers of radish. Add a layer of yeolmu, sprinkle salt, then add more yeolmu and salt again. Repeat this process to ensure the salt is evenly distributed.

Step 3
While the yeolmu is salting, after about 20-30 minutes, flip the radishes from the bottom to the top. This ensures that all parts of the yeolmu are evenly salted and softened.

Step 4
During the 30 minutes of salting the yeolmu, salt the eolgari cabbage (Danbaechu) in the same manner by sprinkling coarse sea salt. Salt the eolgari cabbage for about 20-30 minutes, just like the yeolmu.

Step 5
Now, let’s make the flour porridge. In a pot, combine 2 cups of cold water with 2-3 tablespoons of flour. Whisk until there are no lumps. Place the pot over medium heat and stir continuously with a spatula as it heats up. Once the mixture begins to boil, continue to cook for about 5 minutes until it thickens into a porridge consistency. Let the cooked porridge cool completely.

Step 6
Prepare the ingredients for the kimchi paste. Cut the pear, onion, and radish into manageable pieces for blending. Mince the garlic or prepare whole cloves. Slice the red chili peppers diagonally; set some aside for garnish and use the rest for blending.

Step 7
Check the salted yeolmu. It should be pliable when bent, and taste slightly salty and crisp. Rinse the salted yeolmu thoroughly under cold running water 2-3 times to remove excess salt. Drain well in a colander.

Step 8
Now it’s time to blend the paste ingredients. Add a little water to the blender to help the ingredients process smoothly. Since we’ll be adding plenty of water for the brine anyway, don’t hesitate to use a bit more water during blending.

Step 9
Add the blended pear, onion, radish, garlic, and red chili peppers to the blender. Include the plum extract for sweetness and the fermented anchovy sauce for umami. Adjust the amounts according to your preference.

Step 10
Julienne the pear and carrot intended for garnish. These finely sliced colorful ingredients will make the water kimchi visually appealing.

Step 11
Transfer the smoothly blended paste ingredients to a large bowl. Add the completely cooled flour porridge and mix them together well.

Step 12
We’re almost there! Place the drained yeolmu and eolgari cabbage neatly into a clean kimchi container. Pour the prepared paste over the vegetables. Artfully arrange the julienned pear, carrot, and sliced red chili peppers on top as garnish.

Step 13
This recipe uses the blended paste directly for a clear and refreshing broth. However, if you prefer an even clearer brine, you can increase the water used during blending and then strain the mixture through a fine cloth or sieve to extract only the clear liquid.

Step 14
Prepare 2L of filtered water for the kimchi brine. Add any leftover water used during paste preparation to this. Combine all the paste ingredients and brine water, mixing well. Taste and adjust the seasoning with more coarse sea salt or fish sauce if needed.

Step 15
Pour the prepared brine over the yeolmu and eolgari cabbage in the kimchi container. Press down gently to ensure the vegetables are submerged. Cover the container and let it ferment at room temperature for about half a day to a full day, then refrigerate. Delicious Yeolmu Mul Kimchi will be ready to enjoy after about a week of aging, with its flavor deepening over time.


