
Plump & Delicious Salt-Grilled Shrimp: The Golden Recipe
How to Salt-Grill Shrimp in a Pan at Home: From Preparing Fresh King Prawns to Perfect Cooking Times

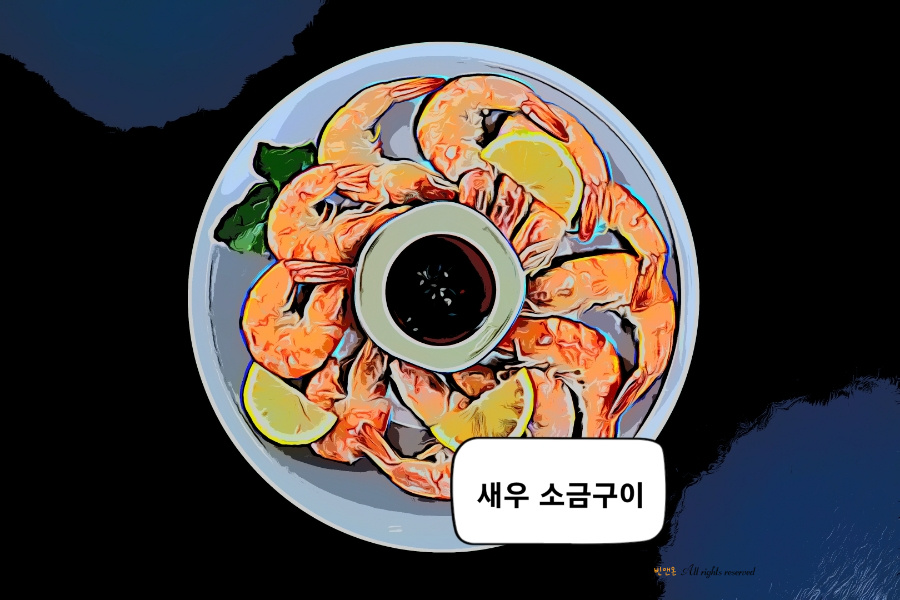
Gather your family around the table for a delightful treat with this salt-grilled shrimp recipe! While air fryers are popular, we’re opting for the classic stovetop pan method today. Learn how to perfectly prepare and cook shrimp for an unforgettable meal.
Ingredients- Fresh shrimp or king prawns (as much as you desire)
- Coarse sea salt (enough to generously cover the shrimp)
- Spicy dipping sauce (optional, for serving)
Cooking Instructions
Step 1
If you’re using frozen shrimp, proper thawing is crucial for achieving a fresh, delicious texture. Place the shrimp, still in its bag, into a bowl of cold water and let it thaw gradually. For fresh shrimp that you plan to freeze, rinsing them gently in lightly salted water before freezing helps maintain their freshness.

Step 2
Carefully trim the sharp horns on the shrimp’s head and the pointed mouth using kitchen scissors. This step makes the shrimp safer and more pleasant to handle and eat.

Step 3
The pointy tip at the end of the shrimp’s tail is sometimes called the ‘water gun.’ While it doesn’t significantly affect grilling, it contains moisture and can cause oil splattering if you were deep-frying. It’s good practice to remove it for safety, especially when cooking with hot oil.

Step 4
Do you remember seeing a dark, thread-like line inside large prawns? That’s the shrimp’s intestine. Using a toothpick, gently insert it into the small gap between the second and third segments from the head, and carefully pull out the intestine. It should come out in one long piece.

Step 5
Honestly, sometimes people skip this step for convenience. However, if you’re cooking for children or want a cleaner eating experience at home, removing the intestine is a good idea.

Step 6
Shrimp intestines can impart a bitter taste and, in some cases, may cause digestive discomfort. Don’t worry, the toothpick method for deveining becomes quite easy after a couple of tries!

Step 7
Prepare your frying pan for salt-grilling. An older pan is perfectly fine! Line the pan with parchment paper, then spread a generous layer of coarse sea salt evenly across the bottom, enough to partially cover the shrimp. Using sea salt enhances the shrimp’s natural flavor. The parchment paper primarily serves to make cleanup easier and doesn’t significantly impact the cooking itself.

Step 8
Here’s a key tip for delicious salt-grilled shrimp: Before adding the shrimp, cover the pan and preheat the salt over medium-low heat for about 5 minutes. This initial heating ensures the shrimp cook evenly and develop a wonderful flavor.

Step 9
Now, all preparations for your delicious pan-grilled king prawns are complete! Arrange the cleaned shrimp attractively on the warm bed of salt.

Step 10
Keeping the heat on medium-low, cover the pan again and let the shrimp cook for another 5 minutes.

Step 11
Check if the shrimp have turned a nice color. To ensure even cooking, flip them over and grill for an additional 3 minutes. That’s it – perfectly cooked shrimp! If you prefer them slightly more well-done, you can extend the cooking time to about 8 minutes total.

Step 12
Timing is essential when cooking shrimp at home to avoid undercooking or overcooking, which can result in dry shrimp. To summarize the cooking time: 5 minutes preheating the salt + 5 minutes initial cooking + 3 minutes after flipping = approximately 13 minutes total cooking time.

Step 13
You’ll have perfectly cooked shrimp – not too dry, not too wet, with wonderfully plump, juicy meat! This method is simple enough for anyone to achieve delicious results. While the urge to dig in immediately is strong, take a moment to admire your culinary creation! A little bit of plating can elevate the experience.
