
Perfectly Salty Shrimp: A Simple Grilled Shrimp Recipe at Home
Make Delicious Grilled Shrimp at Home Using Fresh Live Shrimp: A Shrimp Recipe

Don’t let autumn pass without enjoying grilled shrimp! This recipe uses fresh, live shrimp for a perfectly cooked dish with a crispy exterior and juicy interior.
Ingredients for Salt-Grilled Shrimp- 20 fresh live large shrimp
- 2 ladles of coarse salt (enough to cover the bottom of the pan)
- Choganjang (spicy-sweet dipping sauce, for serving)
Cooking Instructions
Step 1
Start by cleaning the fresh live shrimp. Place all the shrimp in a large bowl and add about 1 ladle of coarse salt. Gently shake the bowl; this helps remove the slimy mucus from the shrimp and cleans them more effectively, mimicking a saltwater environment.

Step 2
Rinse the shrimp thoroughly under running cold water to remove any remaining salt and impurities. Using cold water helps maintain the shrimp’s freshness.

Step 3
For easier eating, it’s recommended to trim the shrimp’s antennae and any sharp protruding parts with scissors. This makes the shrimp more pleasant to handle and consume.

Step 4
Prepare your pan for grilling. Line a frying pan completely with aluminum foil. This prevents the pan from burning and makes cleanup a breeze. Spread about 2 ladles of coarse salt evenly over the foil. The salt will act as a bed for the shrimp and help them cook evenly and stay moist.

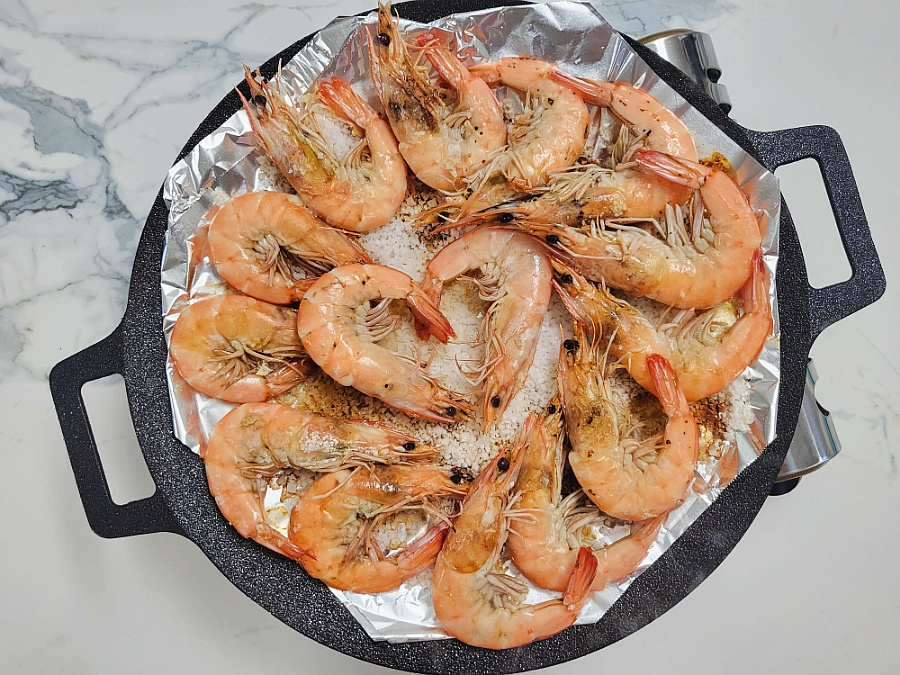
Step 5
Arrange the cleaned shrimp in a single layer on top of the coarse salt. Avoid overcrowding the pan, as this can lead to uneven cooking. Cover the pan with a lid and cook over medium heat for about 5-7 minutes, or until the undersides of the shrimp turn pink and slightly browned. Cooking time may vary depending on the size and freshness of the shrimp.

Step 6
Once the bottom side is nicely cooked, carefully flip the shrimp using tongs. Cover the pan again and continue to cook for another 3-5 minutes, or until the other side is also cooked through and slightly charred. You’ll start to smell that wonderful aroma of cooked shrimp.

Step 7
Separate the heads from the bodies of the cooked shrimp. The heads require a bit more cooking time to become deliciously crispy. You can place the shrimp heads back in the pan after removing the bodies and cook them for an additional 5 minutes until they are crunchy, like little shrimp chips. Enjoy these crispy heads along with the body meat.

Step 8
Arrange the perfectly grilled salt shrimp attractively on a serving plate. Serve with Choganjang (a spicy-sweet dipping sauce) on the side for dipping, if desired. Enjoy this simple yet delicious homemade shrimp dish!
