
Nostalgic Soupy Tteokbokki: Easy Retro Homemade
How to Make Delicious Soupy Tteokbokki with an Old-School Vibe

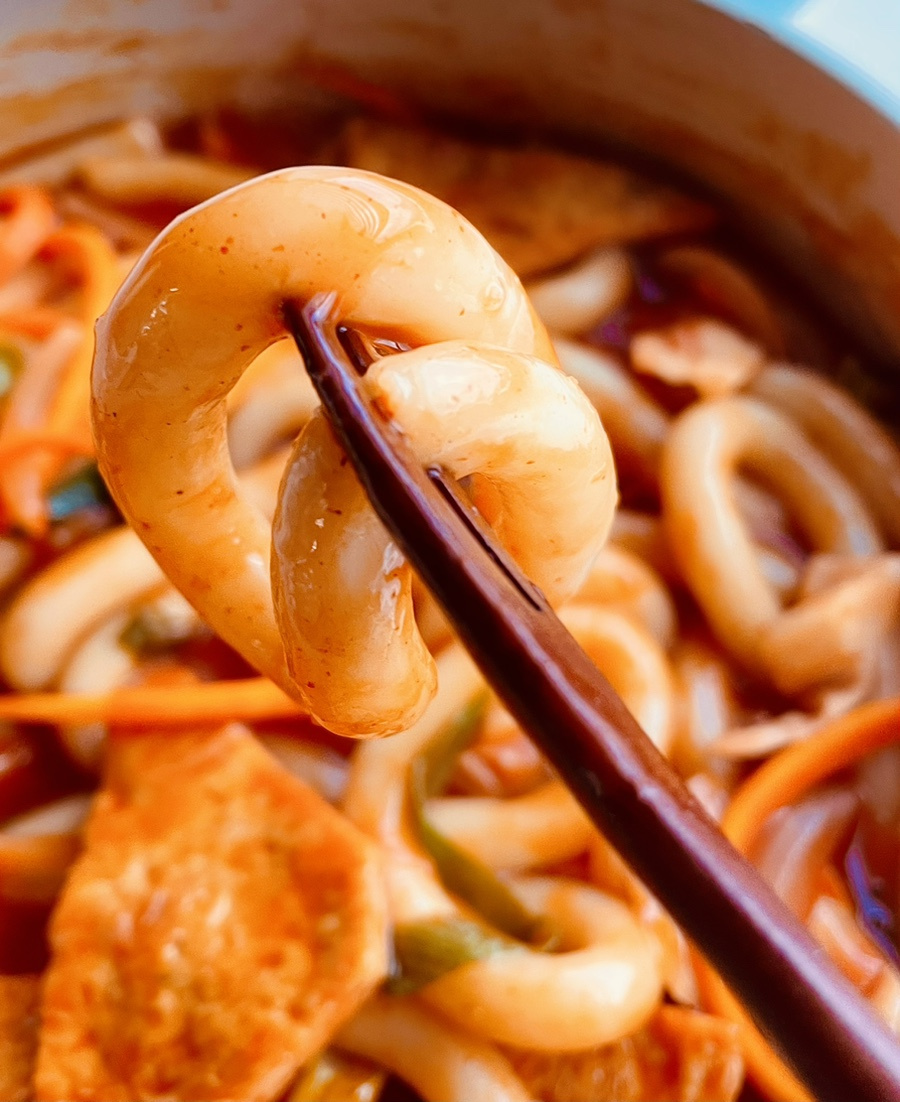
This recipe brings back warm memories of childhood, enjoying hot cup tteokbokki and fish cake soup from snack bars outside school. While many tteokbokki variations are now quite fancy, using convenient store-bought kits allows you to recreate that nostalgic, retro feel at home. The best part about homemade tteokbokki is the ability to customize ingredients to your liking and achieve a clean, balanced flavor. For those who prefer a softer texture, we’re using chewy wheat-based rice cakes (tteok). We’ll start with a base of one pouch of ‘Pulmuone Soupy Tteokbokki’ kit, but you can enhance it with fresh vegetables and fish cakes you have on hand for a richer, deeper taste. If you like it spicy, add a spoonful of Buldak sauce; for a subtle umami boost, try a spoonful of oyster sauce. Today, keeping health in mind, we’ll add oyster sauce for a mild yet profound flavor. Enjoy a satisfying and fun meal with a hearty pot of tteokbokki after a long time!
Main Ingredients- Store-bought Soupy Tteokbokki (2 servings, 1 pouch)
- 1 sheet of rectangular fish cake
- 1/2 onion
- 1 handful of cabbage
- 1/4 carrot
- 1/3 stalk of green onion
Cooking Instructions
Step 1
First, wash and prepare the vegetables for the tteokbokki. Trim the onion, cabbage, and carrot.

Step 2
Finely julienne the prepared onion, cabbage, and carrot. Slice the green onion into thin rounds. Pre-chopping the green onion makes cooking easier.

Step 3
Lightly rinse the rectangular fish cake under cold water, then blanch it in boiling water for about 1 minute. This step helps remove excess oil and results in a softer texture.

Step 4
Separate any stuck-together tteokbokki rice cakes and rinse them lightly under water. Rinsing removes surface starch, preventing the broth from becoming too cloudy.

Step 5
Now, pour the amount of water indicated on the product packaging (approximately 250ml) into a pot. Add the tteokbokki sauce, prepared rice cakes, and all the julienned vegetables.

Step 6
Cook over medium-high heat for about 5-7 minutes, or until the rice cakes are soft and chewy. Taste and adjust the seasoning; you can add 1 tablespoon of Buldak sauce for spiciness or oyster sauce for an umami kick, according to your preference. (If you’ve added more vegetables or fish cakes than recommended by the product, the seasoning might be a bit mild, so feel free to adjust the sauce.) Simmer until the sauce has coated the rice cakes and the broth has slightly thickened, indicating a delicious soupy tteokbokki is ready.
