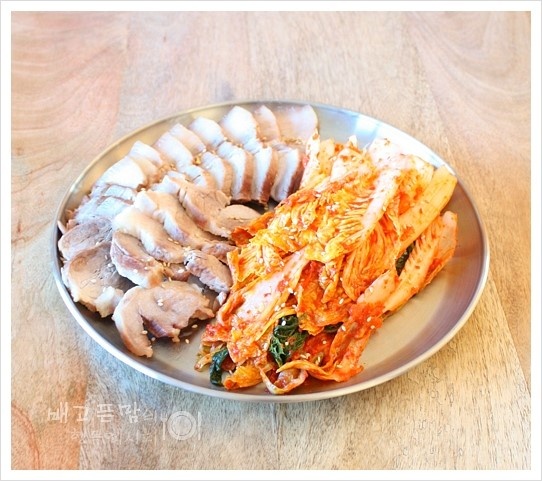
Napa Cabbage Kimchi Making with Brined Cabbage
I made Kimchi with 40kg of brined napa cabbage.

Kimjang (kimchi making) is complete! It was supposed to be finished last week, but everything got delayed due to the college entrance exam postponement. This year, I reduced the amount of brined cabbage by 20kg compared to last year, making Kimchi with 40kg. It’s a perfect amount to work on bit by bit by myself. I feel relieved now that all the major tasks are finished. This recipe will guide you through making delicious and abundant Kimchi!
Broth Ingredients for Kimchi Filling- 2 Dried Pollack Heads
- 2 handfuls Dried Anchovies
- 2 sheets Dried Kelp (approx. 10cm x 10cm)
- 1 large Leek
- 1/2 Onion
- 2 liters Water
Cooking Instructions
Step 1
First, we’ll make the broth for the kimchi filling. In a pressure cooker, add the rinsed dried pollack heads (2), dried anchovies (2 handfuls), and dried kelp sheets (2). Add the leek (1), cut into 4-5 pieces, and the half onion, thinly sliced. Pour in 2 liters of water, cover with the pressure cooker lid, and bring to a boil. Once the whistle blows, turn off the heat and let it sit until the pressure naturally releases and the lid can be opened. This process creates a deep and refreshing broth.

Step 2
Strain the broth through a sieve, discarding all the solids. You’ll be left with a clear, flavorful broth that will add depth to your kimchi filling.

Step 3
Next, we’ll make the sweet rice flour paste. Add 1 cup of rinsed sweet rice flour directly into the pressure cooker containing the strained broth. Cover and cook again. Once the whistle blows, turn off the heat and let the lid open on its own. The sweet rice grains will break down and thicken into a smooth paste. Using this method instead of a traditional sweet rice flour slurry is simple and delicious.

Step 4
The radishes shown in the photo are two, but I used ones that were exceptionally large. They are likely equivalent to about 3 to 4 regular-sized radishes used for Kimjang.

Step 5
Using a mandoline or a julienning tool makes shredding the radishes significantly easier and faster. Thanks to these tools, I was able to prepare a large volume of shredded radish in no time.

Step 6
Get a very large stainless steel bowl, the kind typically used only for Kimjang. Add 1.5 liters of fish sauce and 600g of salted shrimp. These form the foundational salty base of your kimchi.

Step 7
Rinse the fresh shrimp (2kg) under running water several times, then drain them well. Using fresh, high-quality shrimp greatly enhances the kimchi’s flavor.

Step 8
Peel and prepare 600g of garlic, and clean 200g of ginger. Garlic and ginger are essential for adding that signature kimchi aroma and balancing out any strong flavors.

Step 9
Add the ground fresh shrimp, prepared garlic, and ginger to the bowl with the fish sauce. Mix everything thoroughly. These ingredients will meld together to create a rich base flavor.

Step 10
Prepare the sweet rice paste that was cooked and cooled in the pressure cooker earlier. Using this cooked rice paste instead of a simple flour paste makes the kimchi filling much smoother and tastier. I highly recommend this method!

Step 11
Add the thoroughly cooled sweet rice paste to the bowl containing the fresh shrimp, garlic, ginger, and fish sauce. Mix gently to combine.

Step 12
Next, add 1 cup of plum extract (Maesilcheong) for a touch of sweetness. Plum extract enhances the kimchi’s umami and overall flavor profile.

Step 13
Prepare 5 ripe persimmons (about 600g). Remove the stems and the thin skin, then deseed them. Mash the persimmons and add them to the mixture. The natural sweetness of the persimmons will add another layer of complexity to the kimchi’s flavor.

Step 14
Now, add a generous amount of 1.8kg of gochugaru (Korean chili flakes) for color and spiciness. Mix all the ingredients well to complete the delicious kimchi seasoning. Taste and adjust the seasoning if needed, adding more fish sauce or salt.

Step 15
Place the prepared brined napa cabbage in a colander to drain off excess water. It’s important to drain it well, as too much water can make the kimchi taste bland.

Step 16
Now for the assembling stage! On a large tray or wide container, place portions of the prepared kimchi filling and the shredded radish. Mix them together. Then, carefully spread the seasoning mixture between each leaf of the brined napa cabbage, ensuring every part is well-coated. Thorough application ensures the kimchi is flavorful down to its core!


