
Moist Basque Cheesecake Cupcakes
Easy Homemade Basque Cheesecake Cupcakes (Oven Baked)

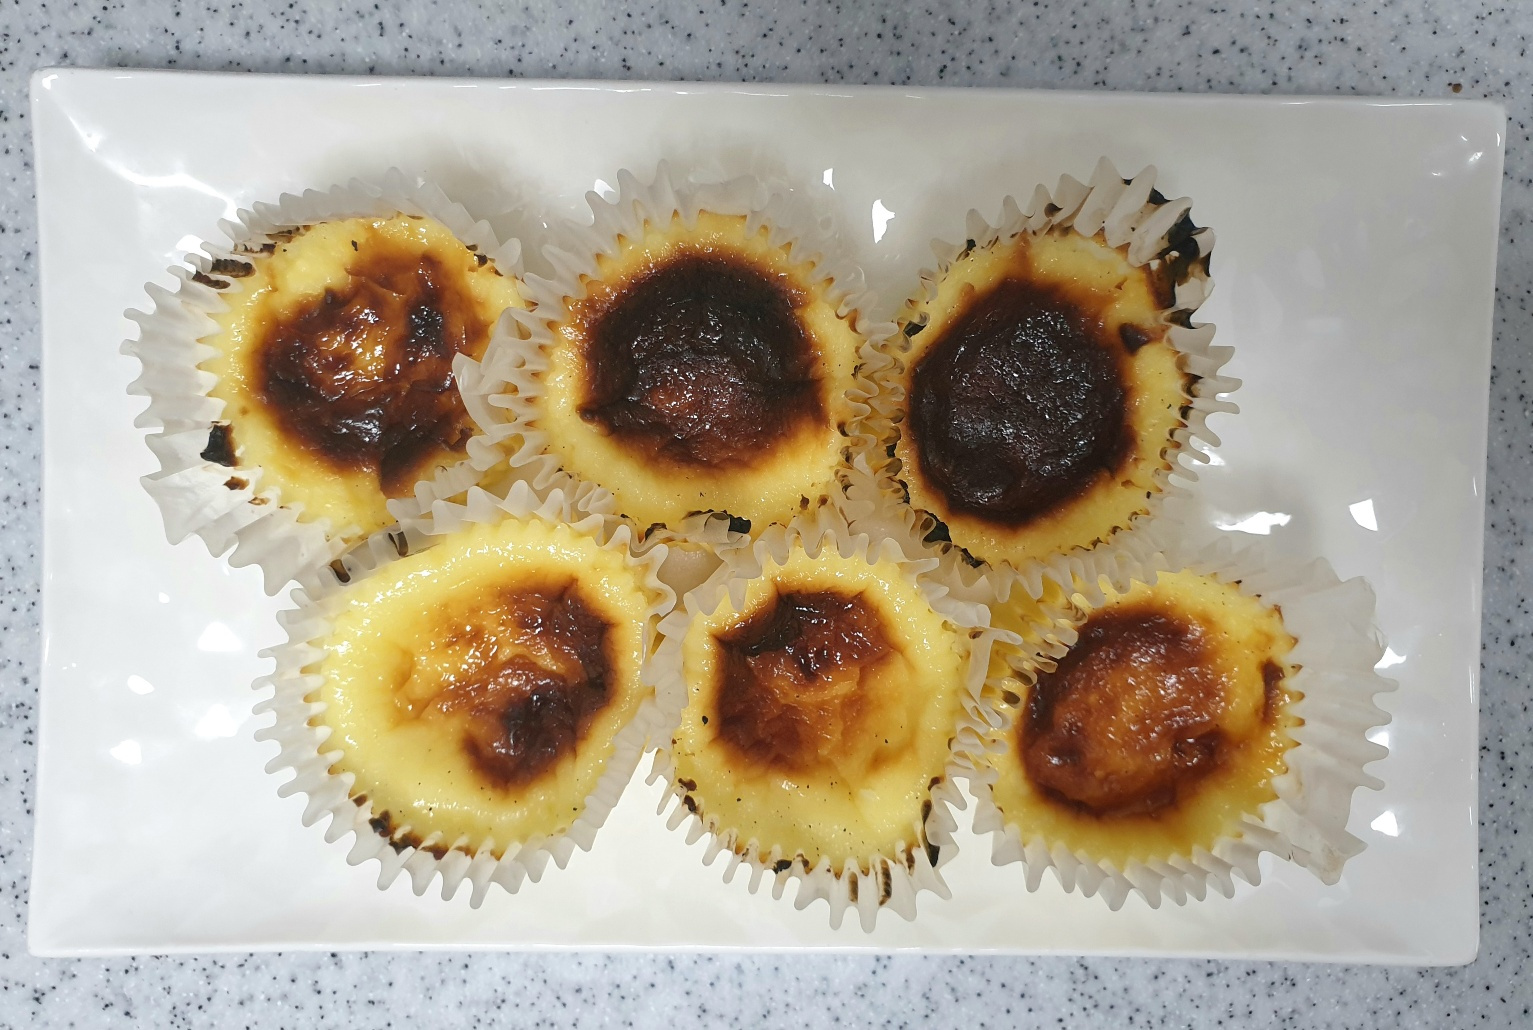
Introducing the Basque Cheesecake Cupcakes, a delightful treat with a beautifully burnt-kissed top and a lusciously creamy, rich cream cheese center. Perfect for any occasion, these cupcakes are made exceptionally easy by baking them in muffin tins, offering a simpler alternative to traditional Basque cheesecakes. Their convenient size makes them ideal for a solo indulgence, pairing perfectly with your favorite coffee or tea. Using paper liners in muffin tins, rather than parchment paper for larger cakes, prevents excess moisture, ensuring a delicious result whether enjoyed immediately after baking or chilled. Elevate your home café experience with these homemade, delicious, and wholesome desserts!
Ingredients (for 6 low-profile muffin cups)- 200g Cream Cheese (Kiri brand recommended for its mild flavor; Philadelphia can be quite salty)
- 100ml Heavy Cream (Maeil brand recommended; can substitute with whipping cream)
- 40-45g Stevia Sweetener (can substitute with regular sugar)
- 1 Egg (approx. 50-55g)
Cooking Instructions
Step 1
Prepare the Ingredients: Start by gathering your cream cheese and heavy cream. For cream cheese, the ‘Kiri’ brand is recommended for a smoother taste, while ‘Philadelphia’ can sometimes be saltier. For heavy cream, ‘Maeil’ is a good choice, or you can use regular whipping cream as a substitute.

Step 2
Ensure Ingredients are at Room Temperature: Make sure all your ingredients—cream cheese, heavy cream, stevia sweetener, and egg—are at room temperature. This is crucial for achieving a smooth batter. You can use regular sugar instead of stevia sweetener, adjusting the amount to your preference.

Step 3
Cream the Cream Cheese: In a mixing bowl, add the room temperature cream cheese. Using a fork or whisk, beat it until it’s completely smooth and free of lumps. Aim for a consistency similar to soft butter.

Step 4
Achieve a Silky Texture: Use a silicone spatula to gently scrape the cream cheese against the side of the bowl. This technique helps to break down any remaining small lumps and ensures a very smooth, velvety texture for your batter.

Step 5
Incorporate the Sweetener: Add the stevia sweetener to the creamed cheese. If you prefer less sweetness, use 40g; for a moderately sweet cupcake, use 45g. Stir until the sweetener is fully dissolved and well combined with the cream cheese.

Step 6
Prepare the Egg (Minimize Air Bubbles): Crack the egg into a separate small bowl and lightly beat it. Try to minimize the introduction of air bubbles while beating. If you’re concerned about the egg’s chalaza (the white stringy bits), you can remove them before beating. (You’ll need about 50-55g of the beaten egg.)

Step 7
Combine Egg with Batter: Gradually add the beaten egg to the cream cheese mixture, stirring gently after each addition. Adding the egg in stages helps prevent the batter from separating and ensures a homogenous mixture.

Step 8
Add the Heavy Cream: Pour in the heavy cream that you prepared earlier. This will help to achieve the perfect creamy consistency for your cheesecake batter.

Step 9
Mix Until Fully Combined: Using your spatula, scrape the bottom and sides of the bowl thoroughly to ensure all ingredients are well incorporated. Mix until you have a smooth, cohesive cheesecake batter with no separate layers.

Step 10
Strain for a Silky Smooth Finish: Pour the batter through a fine-mesh sieve. This step removes any remaining lumps or egg chalaza, resulting in an exceptionally smooth and refined cheesecake texture. (This step can be skipped if you’ve already removed the chalaza from the egg.)

Step 11
Prepare the Muffin Tins: Line your low-profile muffin tin with paper liners (cupcake wrappers). Using paper liners is ideal for this recipe as they prevent sticking and help maintain the shape, especially in lower muffin tins. They also help minimize moisture loss compared to using plain parchment paper.

Step 12
Fill the Muffin Cups: Divide the cheesecake batter evenly among the prepared muffin cups, filling each one with about 60-65g of batter. Avoid filling them to the very top, as the cupcakes will puff up slightly as they bake. (Note: If using taller muffin tins or a 7cm diameter cake tin, double the recipe ingredients.)

Step 13
Bake in the Oven (230°C / 450°F for 20-25 mins): Preheat your oven to 230°C (450°F). For mini ovens, bake for 20-25 minutes after preheating for 10 minutes. Oven temperatures and baking times can vary, so start checking around the 10-minute mark. If the tops aren’t browning sufficiently, you can switch to the top heating element only for an additional 5-8 minutes after the initial 20 minutes of baking to achieve a nice caramelized color. (This is optional and based on mini oven usage.)

Step 14
Cool and Serve: Once baked, carefully remove the muffin tin and let the cupcakes cool in the tin for about 5-10 minutes before transferring them to a serving plate. While delicious when fresh, chilling them in the refrigerator for at least 6 hours will further enhance the cheesecake’s flavor and texture, making them even more enjoyable.
