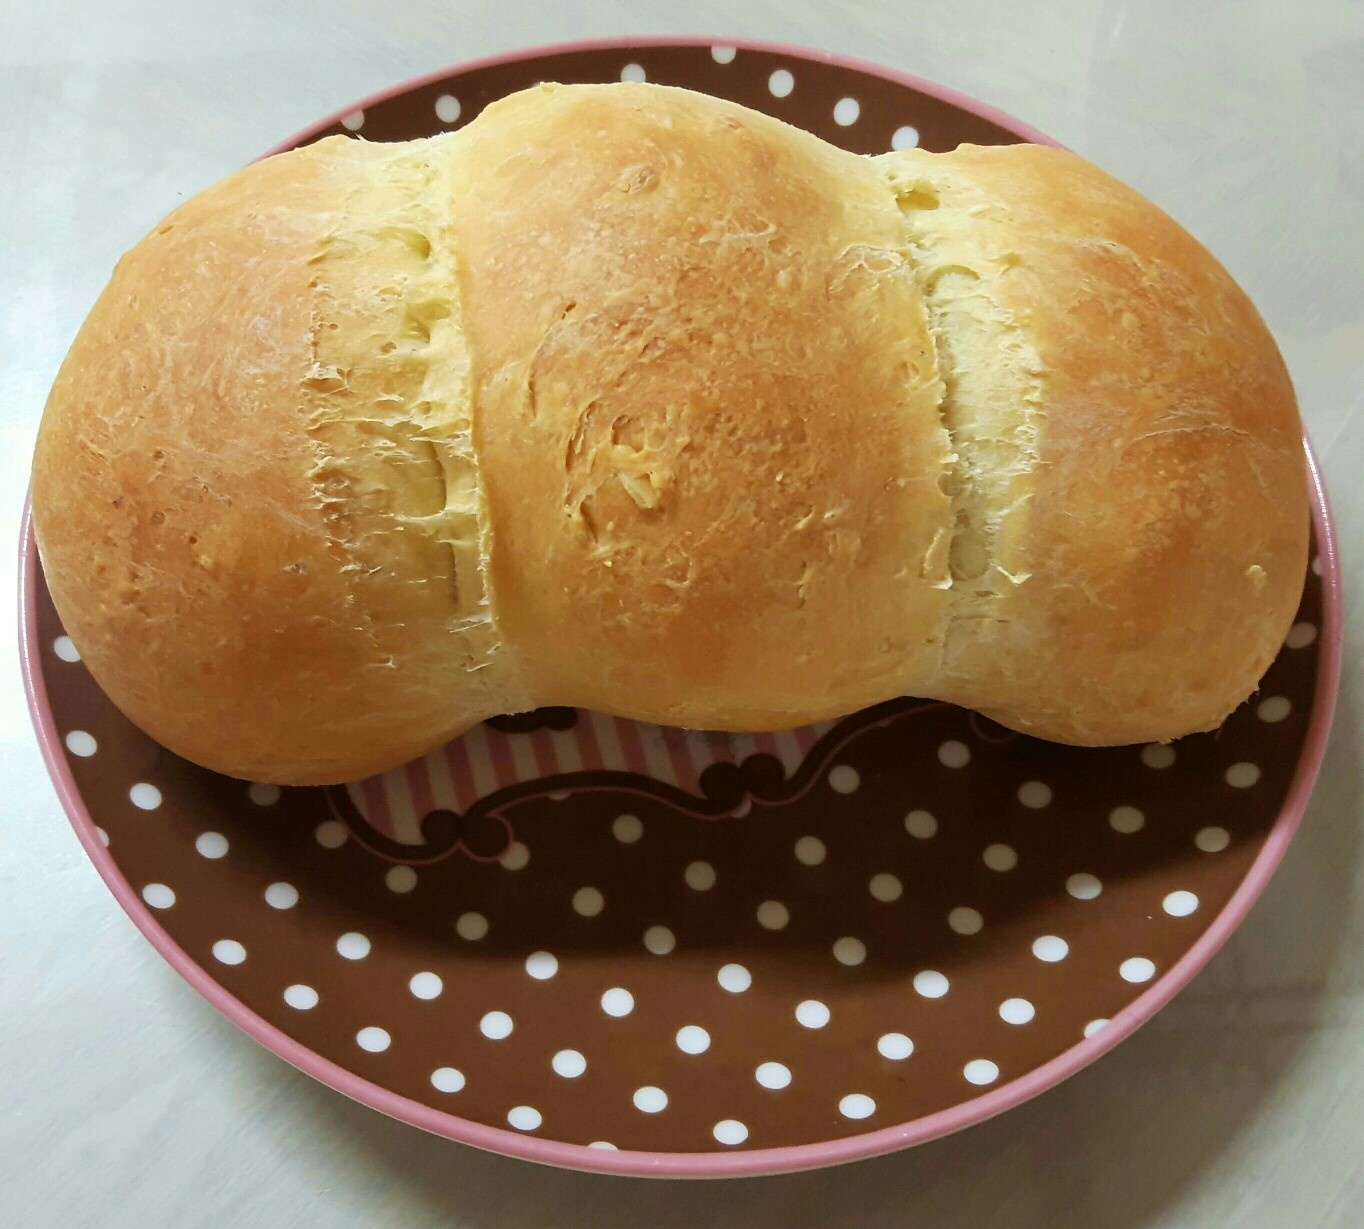
Mini Bread Loaf (No Loaf Pan Needed!)
Mini Bread Loaf

Homemade mini bread loaves made without a special loaf pan! Enjoy fluffy, flavorful bread baked right in your own kitchen.
Ingredients- 3 cups bread flour (strong flour)
- 1 tsp salt
- 1 tsp sugar
- 1 1/2 tsp active dry yeast
- 120ml white milk
- 1 egg
- 3 tsp unsalted butter
Cooking Instructions
Step 1
In a large bowl, combine 3 cups of bread flour. Add 1 tsp of salt, 1 tsp of sugar, and 1 1/2 tsp of active dry yeast. In a separate bowl, whisk together 120ml of white milk and 1 cracked egg until well combined. Pour the milk and egg mixture into the bowl with the dry ingredients. Using a spoon or spatula, mix everything until no dry flour remains. The mixture will be sticky; begin the first kneading process with your hands.

Step 2
Once the dough starts to come together, transfer it to a clean work surface. Begin kneading the dough thoroughly until it becomes smooth and elastic. Shape the kneaded dough into a ball and place it back into the bowl. (Refer to the accompanying photo.)

Step 3
Measure out 3 tsp of unsalted butter into a microwave-safe dish. Microwave for about 1 minute until completely melted. Be careful not to let the butter get too hot.

Step 4
Make an indentation in the center of the round dough ball. Pour the melted butter into this indentation. Begin the second kneading stage, incorporating the melted butter into the dough. Continue kneading until the dough is smooth, elastic, and the butter is fully absorbed. Divide the finished dough into three equal portions and shape each into a ball. Place these back into the bowl.

Step 5
Flatten each of the three dough balls and roll them up like making a steamed bun (mantou). Press the three rolled dough logs together side-by-side to form a loaf shape. (You should see the loaf shape emerging.) Place the shaped dough into a proofing container or a warm place and let it undergo its first fermentation for 1 hour, or until it has doubled in size. Use your oven’s proofing function if available.

Step 6
After the first hour of proofing, check the dough. It should have visibly risen. (See photo for visual cue of increased volume.) Gently divide the risen dough into three portions again. Roll up each portion like a steamed bun once more. Then, press these three new rolls together side-by-side. This step helps create beautiful layers and structure in the final bread.

Step 7
Press the three rolled-up dough logs together firmly. Once shaped, place the dough into its final baking pan or on a baking sheet. Cover it with plastic wrap or a damp cloth to prevent drying and let it undergo its second fermentation at room temperature for 15 minutes.

Step 8
* Baking the Bread: Preheat your oven to 180°C (350°F) for 3 minutes. Place the proofed dough onto an oven-safe baking pan or into a loaf pan if you have one. Bake in the preheated oven at 180°C (350°F) using the convection setting (or regular bake) for 25 to 30 minutes, or until golden brown. Adjust baking time as needed based on your oven’s performance.

Step 9
Voilà! Your mini bread loaves, made without a special pan, are beautifully baked and ready! The rounded shape and golden crust are a testament to your baking success. Carefully remove the bread from the oven and let it cool completely on a wire rack. The aroma of freshly baked bread is simply irresistible.

Step 10
Slice into the mini bread loaf to reveal its wonderfully soft and fluffy interior. The contrast between the slightly crisp crust and the tender crumb is delightful, rivaling store-bought loaves. This bread is perfect spread with jam or butter, or simply toasted. Its subtly sweet and nutty flavor makes it delicious on its own. Enjoy the satisfaction of successfully baking these mini loaves at home without any special equipment!


