
Homemade Yogurt
Effortlessly Make Fresh Yogurt at Home

Making homemade yogurt is surprisingly simple! The key is to use fresh, unprocessed milk. Avoid using low-fat, calcium-fortified, lactose-free, chocolate, strawberry, or banana milk for making yogurt, as these are best enjoyed as they are.^^
Main Ingredients- 1.5 liters fresh milk
- 215g starter yogurt (or plain yogurt)
Equipment- 2-liter plastic airtight container
- Yogurt maker (or a device with a warming function)
- Large bowl for covering
- 2-liter plastic airtight container
- Yogurt maker (or a device with a warming function)
- Large bowl for covering
Cooking Instructions
Step 1
Worried about lactose intolerance for your furry friends? Don’t be! Fermented dairy products like yogurt and cheese have their lactose broken down during the fermentation process, making them easier to digest. Also, don’t be overly fearful of lactose; gradual, small-dose exposure can help your body adapt, much like how people adjust over time.^^

Step 2
Place the starter yogurt into a clean, airtight container. For this recipe, we used half of a 430g container of plain yogurt.

Step 3
The choice of starter yogurt isn’t critical. You can use store-bought probiotic cultures, drinkable yogurt, or even leftover homemade yogurt from a previous batch – they all work wonderfully.^^

Step 4
While ‘Bulgaris’ drinkable yogurt is known for its good probiotics, it’s often sold in large multipacks at supermarkets. I opted for a smaller, individually packaged product for convenience. Although I usually use leftover homemade yogurt, I occasionally use a new product as a starter. This is because I worry that the probiotics might become less stable after repeated batches.^^

Step 5
Gradually add the fresh milk while stirring continuously to prevent lumps.

Step 6
You might wonder if older milk is better for yogurt since it’s a fermented product, but that’s a misconception! ㅎㅎㅎ Always use the freshest milk possible. ㅋㅋㅋ

Step 7
Pouring all the milk in at once and then stirring can result in uneven mixing and potential overflow from the container.^^;

Step 8
Adding the milk little by little and mixing as you go is actually faster and more efficient.^^ See how well it’s combined? ㅎㅎㅎ

Step 9
Once the milk and starter yogurt are well combined, close the lid of the airtight container and place it in your yogurt maker.

Step 10
If you don’t have a yogurt maker, yogurt can be successfully made at room temperature when the weather is warm enough. However, inconsistent temperatures can lead to failure. To ensure stability, it’s best to use a device like an electric blanket or a warmer that can maintain a consistent temperature between 30°C and 35°C (86°F – 95°F).

Step 11
Just warming from the bottom isn’t enough! Close the lid securely and leave it undisturbed for about 12 hours. While the container has its own lid, since we’re making a smaller batch in a glass jar, I’ve used a large bowl to cover the entire top.^^ Stirring or shaking it midway to check on its progress will likely lead to failure! Leaving it for too long, even by accident, can cause the whey to separate, resulting in a lumpy texture similar to making tofu – this is also considered a failure. But don’t worry! You can still use it to make fresh cheese.^^

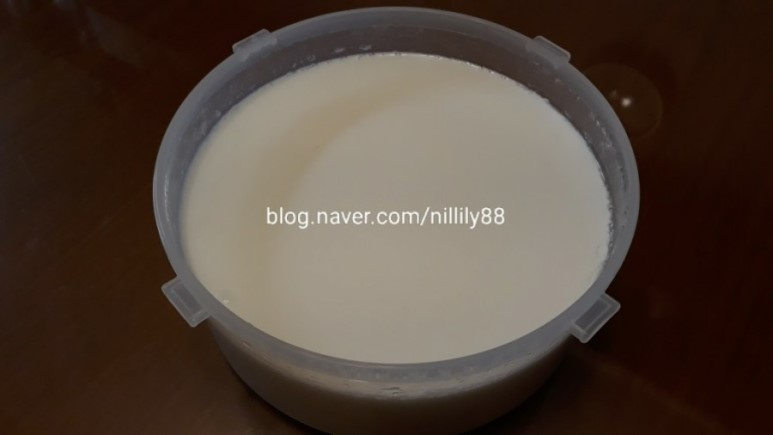
Step 12
And there you have it – delicious homemade yogurt! While it’s delightful mixed with fresh fruits or juices, try to cultivate a taste for plain yogurt without any added sugar or sweeteners. Its natural, subtle flavor is wonderfully satisfying on its own.^^
