
Homemade Walnut Chocolate with Love
Making Delicious Walnut Chocolates

This is a recipe for homemade walnut chocolates, lovingly prepared for my wife, my partner of 25 years and together for nearly 30. On special occasions like Valentine’s Day or birthdays, we’ve made it a tradition not to exchange gifts, but to cherish our hearts. However, seeing the chocolate in the fridge, I felt inspired to make something sweet for my wife. This recipe is a heartfelt gesture, turning simple ingredients into a delightful treat.
Ingredients- 200g Chocolate (Dark, Milk, or White, to your preference)
- 25g Walnuts (broken into large pieces)
Cooking Instructions
Step 1
First, let’s prepare the walnuts to add a nutty aroma and crunch. Break the walnuts into 2-3 large pieces each. Next, place these walnut pieces in a dry pan (no oil) over low heat. Gently toast them, stirring frequently to prevent burning, until they become fragrant. This toasting process enhances their crispiness and rich flavor.

Step 2
Now, it’s time to melt the chocolate. Finely chop your chosen chocolate or use chocolate callets/wafers for easier melting. Set up a double boiler by bringing a small amount of water to a simmer in a saucepan. Place the chocolate in a heatproof bowl set over the simmering water, ensuring the bottom of the bowl does not touch the water. Stir gently and continuously until the chocolate is completely smooth and melted. Avoid overheating; the ideal temperature is around 40-45°C (104-113°F).

Step 3
Prepare your chocolate molds or any suitable tray for shaping. Using a piping bag filled with the melted chocolate will make decorating much easier and neater. Alternatively, a spoon can be used. Fill the molds or tray with the melted chocolate. It’s best to create a layer that’s not too thin to prevent breakage. Once the chocolate is in the mold, place the toasted walnut pieces on top of the melted chocolate. Gently press the walnuts into the chocolate so they stay in place once hardened.

Step 4
Now, let’s refine the surface and shape of the chocolates. If you used a piping bag, you can create lovely swirls or patterns by gently squeezing the chocolate. You can also use a spoon or a skewer to smooth the surface or arrange the walnuts. The key is to touch the chocolate lightly, almost caressing it, rather than pressing down hard. This technique helps to shape the chocolate beautifully without sinking the walnuts too deep.

Step 5
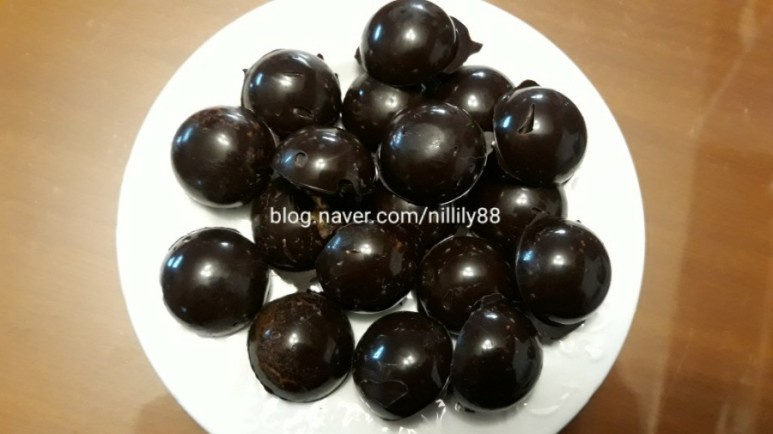
The final step is to let the chocolates set. Leave the filled molds at room temperature for about 2 to 3 hours until they are firm. If the weather is very warm or you’re in a hurry, you can place them in the refrigerator for a shorter period. However, be mindful that chocolates chilled in the fridge might develop condensation when brought back to room temperature. Once completely hardened, carefully unmold your delicious homemade walnut chocolates and enjoy this sweet creation made with care!
