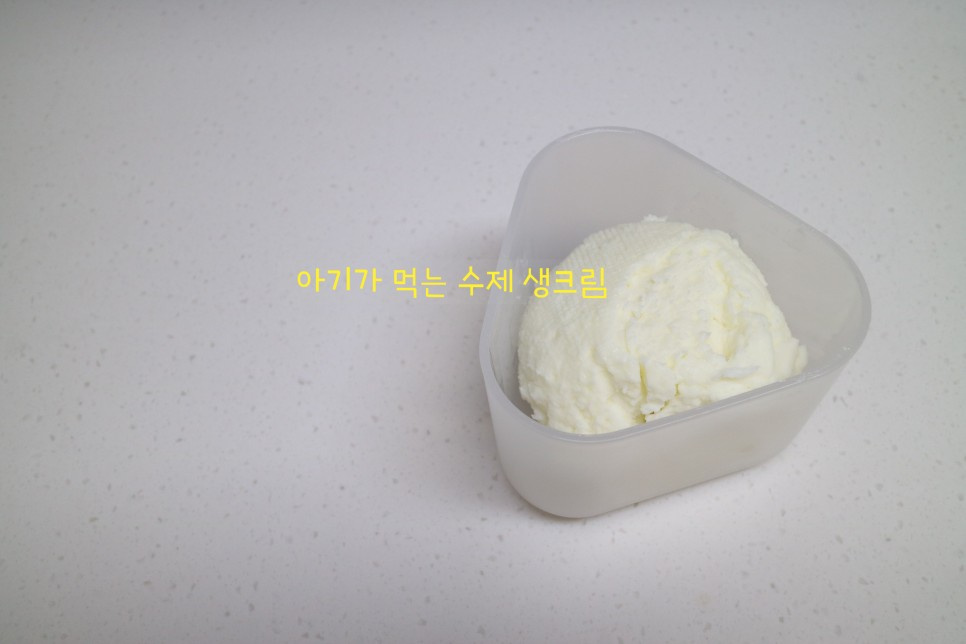
Homemade Unsalted Butter for Babies
Make Delicious, Unsalted Homemade Butter from 100% Heavy Cream :: Easy and Simple!

Worried about additives in commercial butter? Make your own unsalted homemade butter using only fresh 100% heavy cream! It’s easy to make, and perfect for babies and anyone seeking pure, additive-free butter. Butter is composed of milk fat, water, and protein, and homemade versions are wonderfully simple to create.
Ingredients- Fresh Heavy Cream (100% Milk Fat)
Cooking Instructions
Step 1
Let’s start by gathering our essentials! You’ll need a bowl large enough to hold the heavy cream and a whisk (a hand mixer or a whisk attachment for a stand mixer works wonderfully). Make sure everything is clean.

Step 2
Freshness is key when working with heavy cream. Always check the expiration date and store it in the refrigerator. For the best results, choose heavy cream where the ingredients list simply states ‘100% Milk Fat’ or ‘Cream’. This ensures you’re using the purest form for your butter.

Step 3
Pour all of the fresh heavy cream into your prepared bowl. If you plan to use leftover cream for other dishes, you can adjust the quantity. However, from experience, cream left unused often ends up being discarded, so it’s best to make only what you anticipate using.

Step 4
Now, begin whisking the heavy cream. Start at a moderate speed and gradually increase it as the cream thickens. You’ll notice it transforming from a liquid to a softer, more voluminous state, similar to whipped cream.

Step 5
After about 3 minutes of whisking, it will start to look like soft whipped cream. Don’t stop here; keep whisking as it’s not yet butter!

Step 6
Continue whisking, and you’ll soon feel a change in texture. The cream will begin to clump and gain a thicker, more granular consistency. You’ll notice the texture becoming noticeably different.

Step 7
Keep whisking until the cream separates into butter solids and a milky liquid. This liquid is called ‘buttermilk’! Buttermilk is nutritious on its own and can be a fantastic addition to baked goods like pancakes, muffins, or breads, adding a wonderful depth of flavor. You can save it for your next baking project!

Step 8
I whisked a little longer to further separate the buttermilk. It’s important to whisk until the butter solids are clearly distinct from the buttermilk.

Step 9
Carefully scoop out the butter solids. You can press them gently to drain out excess buttermilk. For a cleaner butter, you can place the butter solids in a cheesecloth and squeeze out any remaining liquid. (Tip: I skipped rinsing the butter in ice water this time. Rinsing in cold water helps make the butter firmer and removes any last traces of buttermilk, but for immediate consumption, it’s an optional step.)

Step 10
Your homemade butter is ready! Put on some food-safe gloves and shape the butter into balls. Rolling them gently with your hands will create smooth, delightful butter pats. If making for babies, shaping them nicely can be extra fun!

Step 11
Transfer your beautifully crafted homemade butter into an airtight container and store it in the refrigerator. The cold will firm up the butter, making it perfect for spreading or cooking. Enjoy your fresh, homemade butter on toast, crackers, or in your favorite recipes!


