
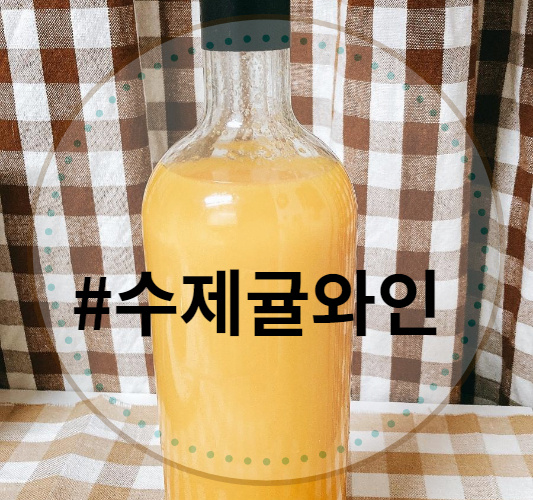
Homemade Tangerine Wine
Crafting Sweet and Aromatic Homemade Tangerine Wine Using Abundant Tangerines

Received a box of tangerines as a gift and have been enjoying them in various dishes lately! I wanted to try something new today, thinking of making tangerine liqueur, but then discovered that you can also make wine from tangerines. I decided to give it a shot immediately. It’s incredibly simple with just a few ingredients, so why not try making it yourself? You can easily create delicious tangerine wine at home without any complicated steps. Make your own tangerine wine for a special home party or as a thoughtful gift for someone dear!
Ingredients- 600g Fresh tangerines
- 0.6g Wine yeast
- 60g Sugar (approx. 10% of tangerine weight)
- 1 Tbsp Lemon juice
- 30ml Water (for activating yeast)
Cooking Instructions
Step 1
Begin by thoroughly sterilizing the container you’ll use for the wine. You can do this by immersing it in boiling water for about 10-20 minutes. Ensure the container is completely dry afterwards, as any moisture can hinder the fermentation process. A clean, dry container is crucial for successful winemaking.

Step 2
Wash the tangerines thoroughly and then peel them. It’s best to remove the peels as they can sometimes impart a bitter taste or unwanted aroma to the wine. Peeling ensures a clean, pure tangerine flavor in your homemade wine.

Step 3
Place the peeled tangerines into a blender and process them until they are finely pureed. The goal is to create a smooth pulp, as you’ll be straining it later. Blending them as smoothly as possible will make the straining process easier and result in a clearer juice.

Step 4
Strain the pureed tangerines through a fine-mesh sieve or cheesecloth to extract the juice, discarding any solids. Pour the clear tangerine juice obtained into your sterilized container. This step ensures you have a smooth liquid base for your wine.

Step 5
Add the sugar to the tangerine juice and stir well until it’s completely dissolved. The general ratio is about 10% sugar to the weight of the fruit. For 600g of tangerines, use 60g of sugar. Sugar provides the necessary food for the yeast to ferment and produce alcohol.

Step 6
Stir in 1 tablespoon of lemon juice. Lemon juice adds a touch of acidity, which not only enhances the flavor but also acts as a natural preservative, helping to prevent spoilage. If you don’t have fresh lemon juice, you can use bottled lemon juice or even a product like ‘Lemona’ (a powdered citrus drink) in a small amount.

Step 7
Now, it’s time to add the wine yeast, the key ingredient for fermentation. The amount of yeast needed is typically around 1/1000th of the fruit’s weight. For 600g of tangerines, use about 0.6g of yeast. It’s recommended to activate the yeast first: dissolve it in 30ml of lukewarm water and let it sit for 5-10 minutes until it becomes frothy. This indicates the yeast is active and ready.

Step 8
Combine all the ingredients – the tangerine juice, sugar, lemon juice, and activated yeast – in the container. Stir gently to mix everything thoroughly. Cover the container loosely with a lid, cheesecloth, or a clean kitchen towel, ensuring it’s not airtight. Store it in a cool, dark place (around 25°C or 77°F) away from direct sunlight. Stir the mixture once or twice a day to keep the yeast happy and promote even fermentation.

Step 9
Continue to stir the mixture daily while tasting it periodically. You’ll notice fermentation activity, and after about 2 weeks, it should be ready to drink. For a deeper, more complex flavor profile, you can allow it to ferment for a longer period, perhaps 3 to 4 weeks or even a month. Once ready, chill your homemade tangerine wine and enjoy its delightful taste. Cheers to your homemade creation!
