
Homemade Sugar-Free Strawberry Jam (with Allulose)
Diet-Friendly Strawberry Jam | Keto Strawberry Jam Recipe | Easy Strawberry Compote

Many keto-friendly jam products are now available in Korea, but they can be quite pricey due to their quality ingredients. You can easily make your own delicious and healthy strawberry jam at a fraction of the cost using just fresh strawberries and allulose! This recipe allows you to enjoy the vibrant, fresh flavor of strawberries without the sugar, making it a perfect guilt-free treat for your diet. Embrace a healthier lifestyle with this simple homemade jam!
Ingredients- 600g fresh strawberries
- 20g allulose (adjust to taste)
- 1 tsp fresh lemon juice
Cooking Instructions
Step 1
Begin by washing the strawberries and removing their green tops. Then, gently mash the strawberries using a fork or a potato masher. It’s best to leave some small chunks of strawberry for texture, rather than mashing them into a completely smooth purée. This will give your jam a more appealing bite.

Step 2
Leaving some of the mashed strawberries slightly chunky will enhance the texture of the finished jam. This way, you’ll get to enjoy the pleasant chewiness of the fruit pieces when you spread it on toast or pastries.

Step 3
Squeeze the juice from a fresh lemon. Lemon juice not only adds a lovely tartness that balances the sweetness of the strawberries but also acts as a natural pectin, helping the jam to set properly.

Step 4
Place the mashed strawberries into a saucepan. Sprinkle the allulose evenly over the strawberries. Allulose is a fantastic natural sweetener that has a taste similar to sugar but with very few calories and minimal impact on blood sugar levels, making it ideal for a healthy jam.

Step 5
Place the saucepan over high heat. Continuously stir the mixture with a spatula, moving it in an ‘L’ or ‘O’ shape to prevent sticking and burning at the bottom. This process helps to break down the strawberries and develop the jam’s consistency.

Step 6
Once the jam begins to boil, reduce the heat to medium. Skim off any foam or scum that rises to the surface using a spoon or a sieve. Removing this foam is crucial for achieving a clear, smooth jam with concentrated sweetness.

Step 7
After all the foam has been removed, continue to stir the jam gently over medium heat for about 15 minutes. Be patient during this stage, as this is when the moisture evaporates and the jam thickens to your desired consistency.

Step 8
When the jam has reached your preferred thickness, turn off the heat immediately. Stir in the fresh lemon juice you prepared earlier. This final touch will brighten the flavors and ensure a perfect set.

Step 9
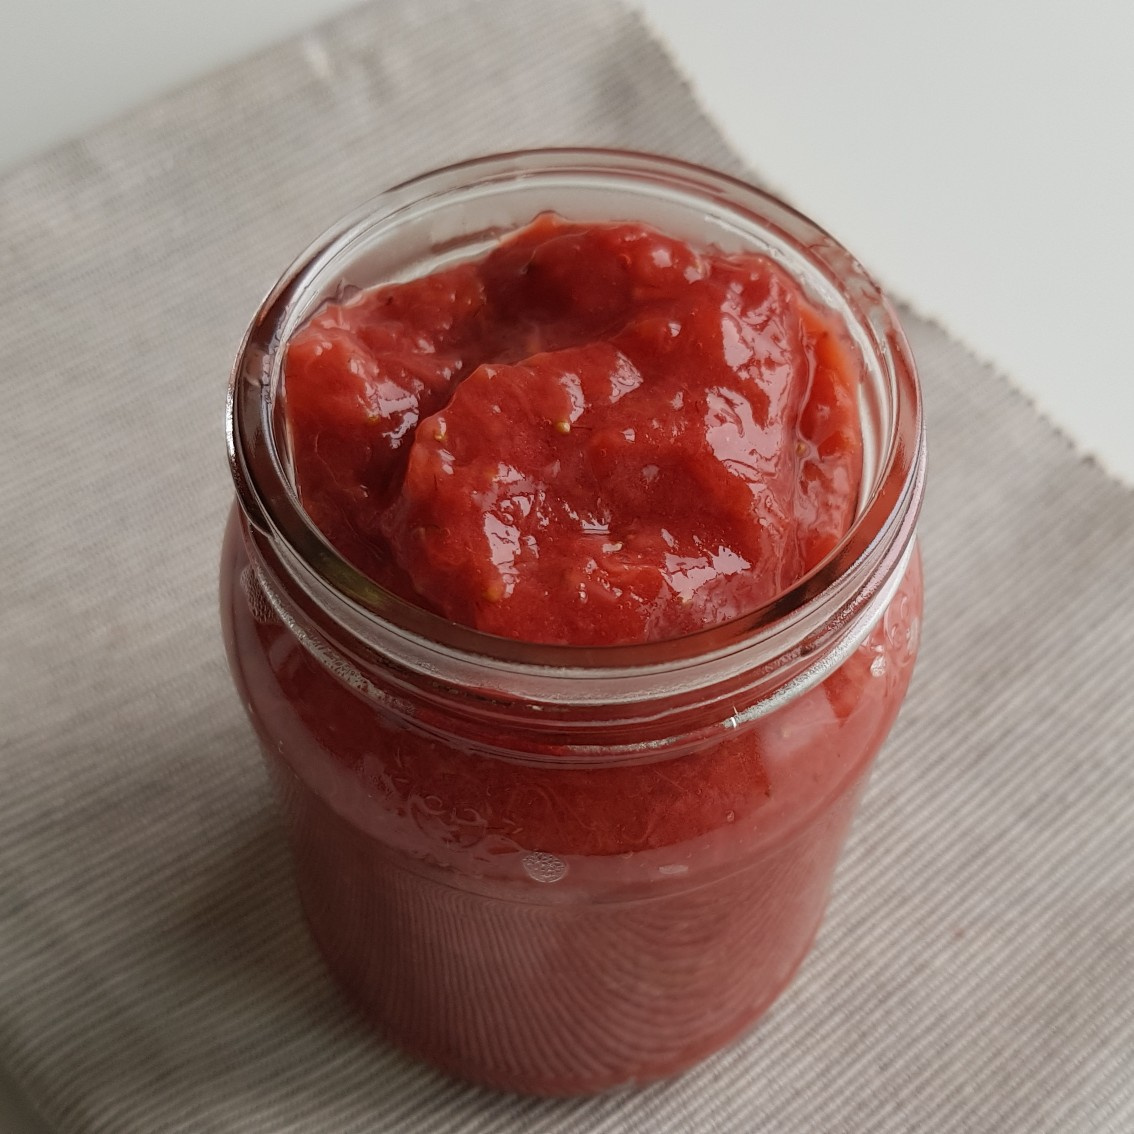
Carefully transfer the hot, freshly made jam into sterilized glass jars. It’s essential that the jars are clean and completely dry, and have been sterilized by boiling. Filling the hot jars with hot jam helps to create a vacuum seal, which is key for preservation.

Step 10
Seal the jars tightly with their lids and invert them immediately. Let them cool upside down. This process helps to create a strong vacuum seal, ensuring the jam stays fresh for longer. Properly sealed, the jam can be stored in the refrigerator for over 6 months unopened. However, once opened, it’s best to consume it within 2 weeks for optimal freshness. If you prefer smaller batches, feel free to halve this recipe.
