
Homemade Ricotta Cheese (No Cream)
Easy Homemade Ricotta Cheese Recipe Without Heavy Cream | Nuship Recipe

We’ve prepared an incredibly easy ‘Ricotta Cheese Without Heavy Cream’ that anyone can make! Enjoy fresh, creamy ricotta cheese made with just milk and lemon juice.
Ingredients- Whole Milk 1L (Use high-quality, regular whole milk. Avoid low-fat or skim milk.)
Seasoning & Additives- Salt 1 tsp (To balance the flavor)
- Fresh Lemon Juice 4 Tbsp (Using freshly squeezed lemon juice will yield a richer flavor. Bottled lemon juice is also acceptable.)
- Salt 1 tsp (To balance the flavor)
- Fresh Lemon Juice 4 Tbsp (Using freshly squeezed lemon juice will yield a richer flavor. Bottled lemon juice is also acceptable.)
Cooking Instructions
Step 1
Prepare for straining the cheese. Place a sieve over a pot, and line the sieve with a cheesecloth or a clean kitchen towel. This setup will help separate the whey from the cheese curds.

Step 2
Pour 1L of whole milk into a clean pot and start heating it over medium heat. It’s a good idea to stir occasionally to prevent the milk from sticking to the bottom of the pot.

Step 3
Once the milk begins to simmer (i.e., small bubbles form around the edges), add 1 tsp of salt and stir gently until dissolved.

Step 4
When the milk comes to a boil again, reduce the heat to low. Slowly pour in 4 Tbsp of fresh lemon juice. Gently stir about twice with a spatula to distribute the lemon juice throughout the milk. Over-stirring can result in smaller cheese curds.

Step 5
After adding the lemon juice, when the milk starts to clump and form curds, reduce the heat to very low and let it simmer gently for 8 minutes. This process allows the cheese to coagulate sufficiently.

Step 6
Turn off the heat, leave the lid off, and let it cool undisturbed for 10 minutes. Not covering the pot helps prevent excessive evaporation while maintaining the right consistency.

Step 7
After 10 minutes, you will see that the milk has separated into clear whey and cheese curds.

Step 8
Carefully pour the contents of the pot (whey and cheese curds) into the prepared sieve lined with cheesecloth. Allow it to sit for about 1 hour for the whey to drain completely through the cloth. You can save the whey to use in baking bread or making soups.

Step 9
Once the whey has drained sufficiently, gather the cheese curds with the cheesecloth, place them into a bowl or container of your desired shape, and press down firmly. This helps to compact the cheese and shape it.

Step 10
Transfer the finished ricotta cheese to an airtight container and refrigerate to age. Making it at night and letting it age until morning will result in even creamier and more delicious ricotta. It’s best consumed within 2-3 days.

Step 11
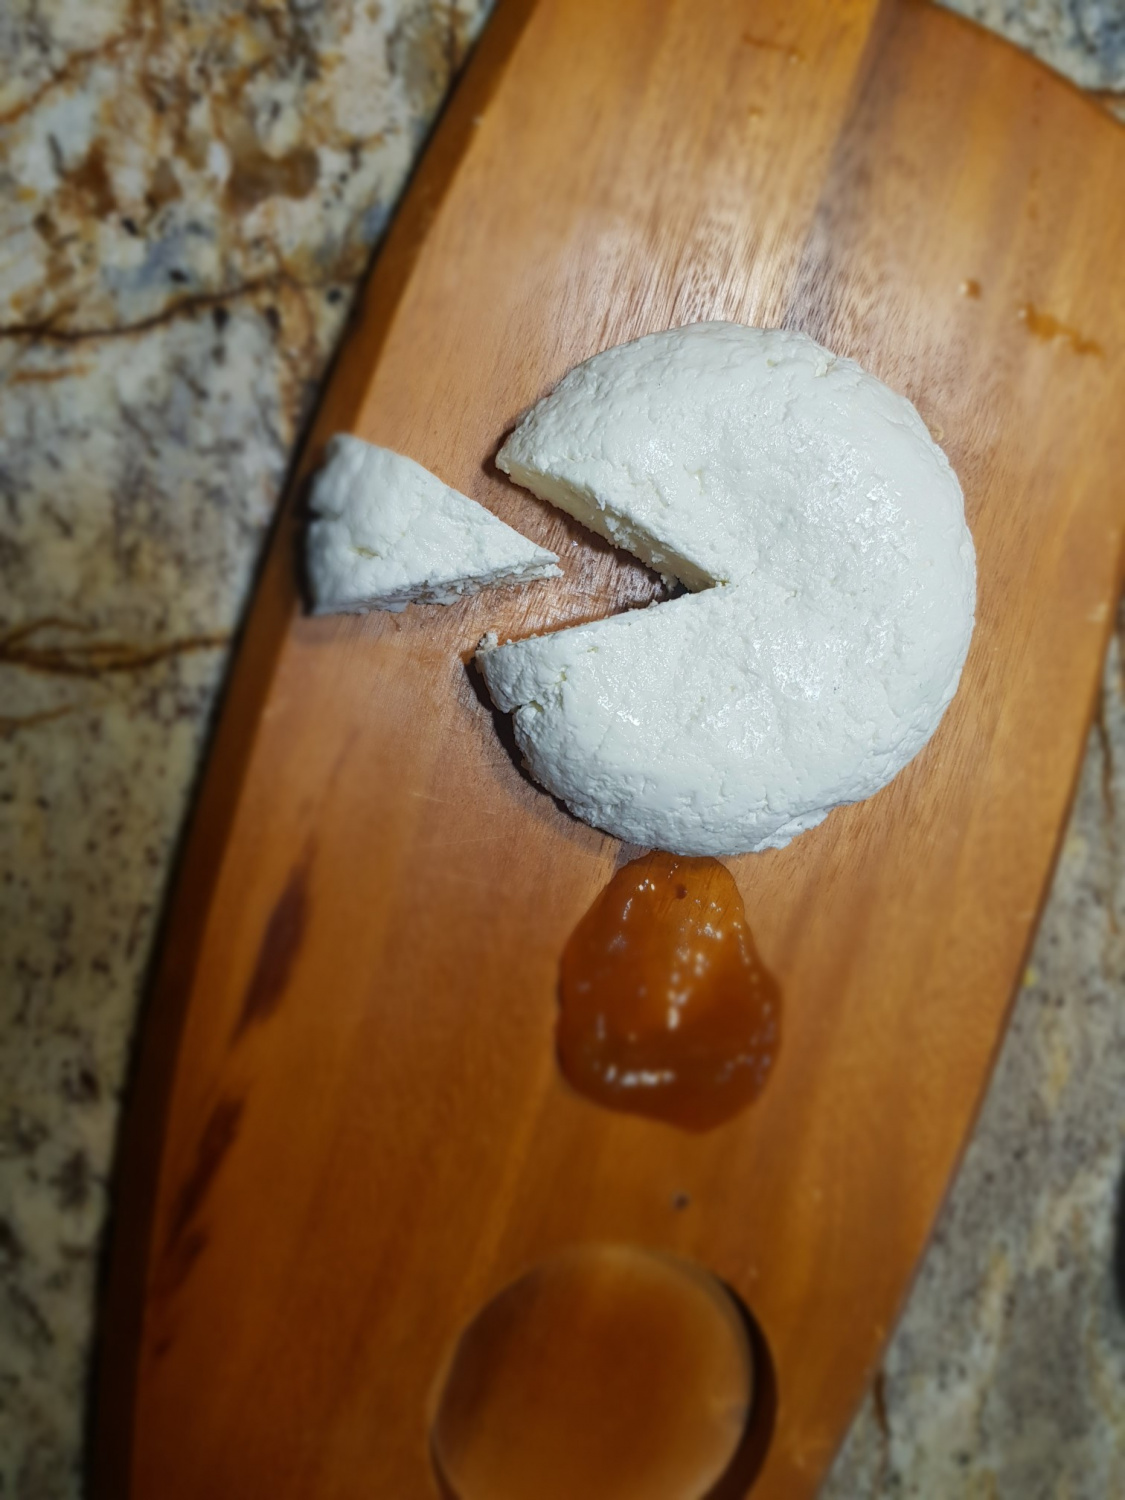
This homemade ricotta cheese is perfect as a topping for fresh salads, spread on toast with jam for brunch, or served with fresh fruit as a delightful dessert.
