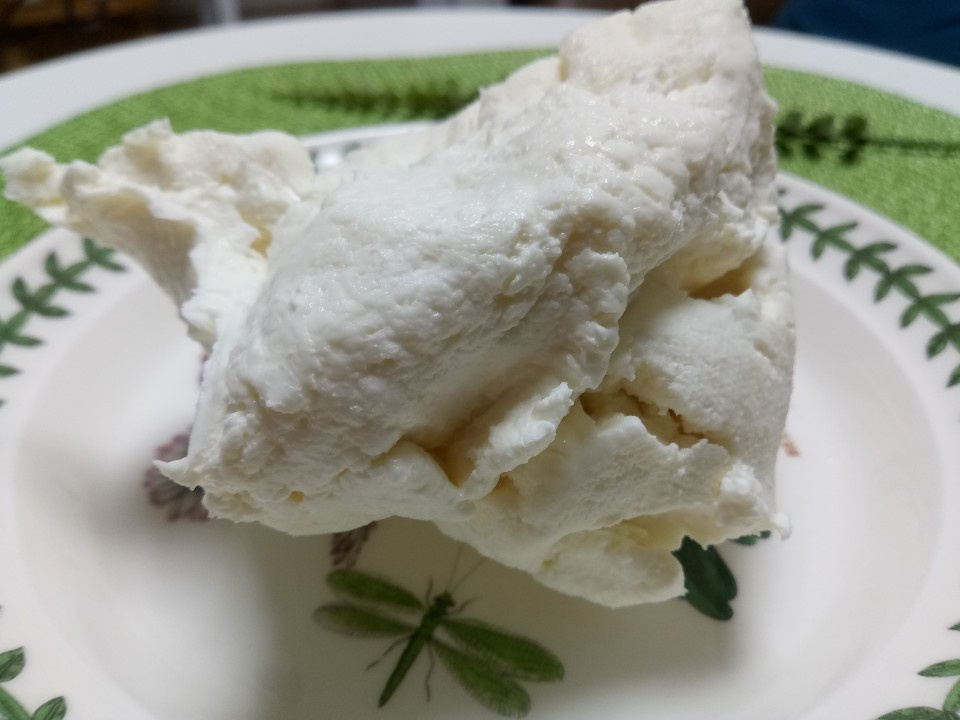
Homemade Ricotta Cheese
Easier Than You Think! Super Simple ‘Homemade Ricotta Cheese’ Perfect for Home Parties!

You’ve probably seen ricotta cheese salads taking the cafe scene by storm – that’s the magic of ‘Ricotta Cheese’! Originating from Italy, where it was traditionally made from leftover whey by the less fortunate, homemade ricotta is undeniably tastier than store-bought. This recipe will guide you to create incredibly fresh and creamy ricotta cheese right in your own kitchen, perfect for elevating your home gatherings and brunches.
Main Ingredients- 500ml Heavy Cream
- 1000ml Whole Milk
- 4 Tbsp Lemon Juice (bottled or fresh-squeezed)
- 2 Tbsp Sugar
- 1/2 Tbsp Salt
Cooking Instructions
Step 1
First, add the salt to the pot. Think of it as a light seasoning for the base.

Step 2
Next, add the sugar to the pot as well.

Step 3
Pour in the 4 tablespoons of lemon juice and stir to combine the salt and sugar. They don’t need to dissolve completely at this stage. You can use bottled lemon juice for convenience.

Step 4
Now, pour in the 500ml of heavy cream and 1000ml of whole milk. From this point on, temperature control is key. Gently heating the mixture is the most important step.

Step 5
Begin with medium heat, ensuring the heat is evenly distributed across the bottom of the pot. Adjust the heat so the bottom doesn’t scorch.

Step 6
This is a crucial point! Never let the mixture come to a rolling boil like a stew. As soon as you see it starting to rise, immediately reduce the heat to low. Slow simmering is essential for proper curdling.

Step 7
Gently heat the mixture over low heat for about 45 minutes. The ideal temperature for milk proteins to coagulate is between 60-70°C (140-158°F), so try to maintain this range. Keep an eye on it to prevent boiling over.

Step 8
Can you see the proteins starting to clump together, forming soft curds? Do NOT stir the mixture with a spoon or spatula at this point. Stirring will break up the formed curds and affect the final texture of your ricotta.

Step 9
After some time, you’ll visibly notice the separation between the clear whey (the liquid left after cheesemaking) and the white, solidified cheese curds.

Step 10
Now it’s time to separate the curds from the whey. Line a fine-mesh sieve with cheesecloth (or a few layers of clean kitchen towel) and carefully ladle the softly formed ricotta curds into it. They will have a texture similar to soft tofu.

Step 11
Initially, slightly open the cheesecloth to allow the steam to escape. Be careful not to cool it down too quickly, as this can affect the cheese’s setting. Once the cheese has cooled a bit, cover it well with the cheesecloth to prevent the surface from drying out. Once completely cool, refrigerate to firm up. To achieve a firmer cheese, you can place a weight on top of the cheesecloth-wrapped curds to press out more whey; the more whey you press out, the firmer your ricotta will become.

Step 12
Voilà! Your creamy, fresh, and delicious homemade ricotta cheese is ready. Enjoy it in salads, on toast, in pasta dishes, and more!


