
Homemade Ricotta Cheese
Fail-Proof Homemade Ricotta Cheese Recipe Using Milk and Lime Juice (feat. Highlight Induction)

After numerous attempts, I’m sharing a foolproof method for making perfect ricotta cheese from milk, utilizing the Highlight induction cooktop. Enjoy fresh, creamy ricotta cheese easily at home!
Ingredients- 500ml Fresh Milk
- 1 Pinch of Salt (approx. 1/4 tsp)
- 4 Tbsp Lime Juice (or Lemon Juice, or Vinegar)
Cooking Instructions
Step 1
Pour 500ml of fresh milk into a clean, well-coated pot or pan. Add a pinch of salt. For Highlight induction, set it to level 6 and heat for about 8 minutes. Stir gently with a silicone spatula 3-4 times during cooking to prevent sticking and ensure even heating.

Step 2
After 8 minutes, observe small bubbles (2-3) forming on the surface of the milk. This indicates that the cheese is starting to curdle.

Step 3
This recipe uses lime juice (or lemon juice, or vinegar). While regular vinegar may yield better whey separation, it can leave a noticeable taste in the finished cheese. Lime juice is recommended for a better flavor profile. If using regular vinegar, use only half the amount of lime juice (e.g., 2 tablespoons of vinegar).

Step 4
Turn off the heat. While the pot is still warm, pour 4 tablespoons of lime juice (about 4 spoons from a regular dining spoon) evenly around the edges of the pot. Stir gently only once or twice to incorporate the lime juice. Over-stirring can hinder proper whey separation.

Step 5
After adding the lime juice, the milk will start to curdle, resembling soft tofu, though it might appear as light ‘clouds’. At this stage, you can clearly see the separation between the milk solids and the clear whey.

Step 6
With the heat off, let the pot sit undisturbed for about 5 minutes, utilizing the residual heat from the induction cooktop. This resting period allows the curds to firm up more.

Step 7
Line a sieve or colander with a clean cheesecloth (or fine mesh cloth). Carefully pour the curdled milk mixture into the lined sieve to drain the whey.

Step 8
You might notice some milk solids sticking to the bottom of the pot; this is natural when milk is heated. (In previous attempts, constant stirring prevented sticking but made it hard to gauge when bubbles formed.) This method reduces stirring to focus on curdling. If using a gas stove, simmering on very low heat can minimize sticking. For induction, I recommend setting it to a very low level (1-2) and stirring occasionally.

Step 9
Gather the edges of the cheesecloth to form a pouch. Hang it over a bowl or hook, and let it drain for at least 3-4 hours to remove as much whey as possible. The longer it drains, the firmer your ricotta will be.

Step 10
Finally, gently squeeze the cheesecloth to expel any remaining whey. This step ensures a firmer, more flavorful ricotta cheese.

Step 11
Unwrap the ricotta cheese from the cheesecloth. I’m very pleased with how little cheese stuck to this new cheesecloth! Carefully scrape out the ricotta using a spoon.

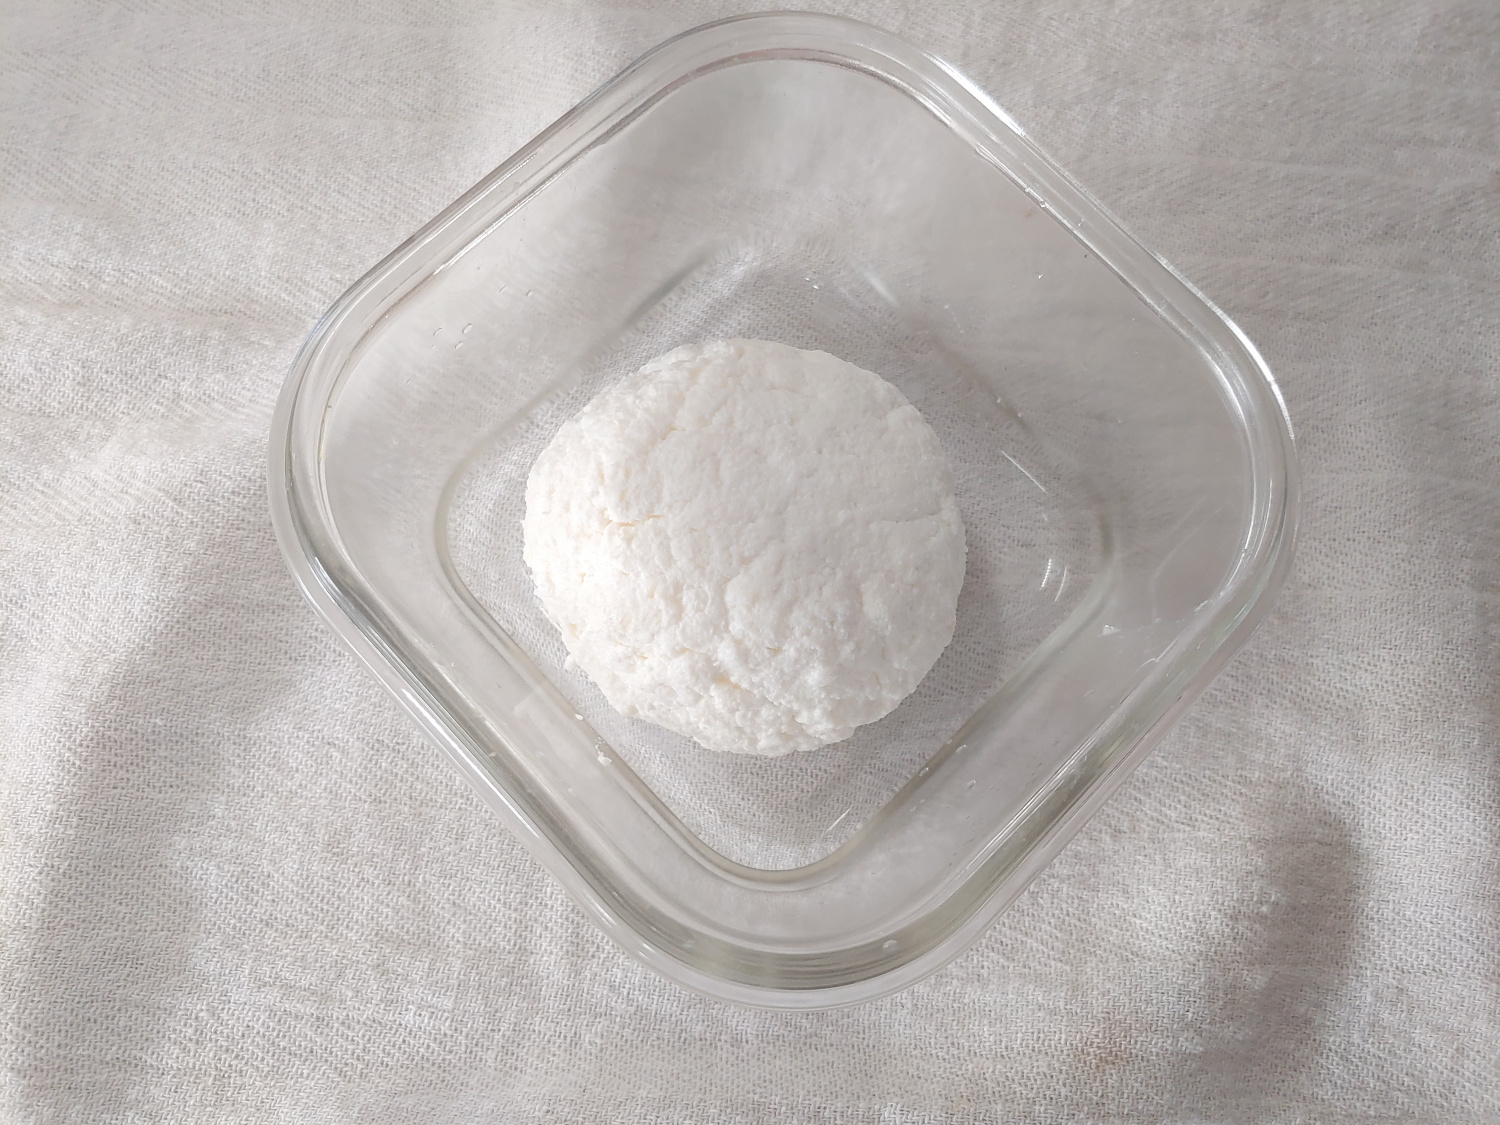
Step 12
Shape the scooped ricotta cheese into a ball or desired form and place it in an airtight container. Refrigerate.

Step 13
Refrigerated ricotta cheese tastes best after about a day of resting, developing a richer, more delicate flavor. It can be stored in an airtight container in the refrigerator for over a week. Don’t discard the drained whey! It’s fantastic for making ‘Lassi’, a delightful Indian yogurt drink. Be sure to use it!
