
Homemade Crispy and Delicious Dakgangjeong (Korean Fried Chicken)
The perfect healthy snack for kids! Let’s make Dakgangjeong at home.

This homemade Dakgangjeong, made with tender chicken thigh meat, is so much better than store-bought versions. It’s incredibly soft on the inside with a delightfully crispy coating and a savory sauce.
Main Ingredients- 500g chicken thigh meat (cut into bite-sized pieces)
- 2 cups of frying powder (approx. 200g)
Marinade & Batter- 2 Tbsp minced garlic (or crushed fresh garlic)
- Pinch of salt (to taste)
- Pinch of black pepper (to remove gamey odor)
- 1 cup water (approx. 200ml, for adjusting batter consistency)
- 2 Tbsp minced garlic (or crushed fresh garlic)
- Pinch of salt (to taste)
- Pinch of black pepper (to remove gamey odor)
- 1 cup water (approx. 200ml, for adjusting batter consistency)
Cooking Instructions
Step 1
First, rinse the chicken thigh meat and pat it dry. Cut it into uniform, bite-sized pieces (about 2-3 cm). If the pieces are too small, they might break apart during frying; if too large, they may not cook through properly.

Step 2
Season the cut chicken pieces with a pinch of salt and black pepper. Gently massage the seasonings into the meat. This step helps to remove any gamey odor from the chicken and allows the flavors to penetrate, making the final dish more delicious.

Step 3
Add 2 tablespoons of minced garlic to the marinated chicken and mix well to coat. The garlic will infuse the chicken with a rich flavor. If you prefer a milder garlic taste, you can finely mince the garlic or crush whole cloves.

Step 4
In a separate bowl, combine 2 cups of frying powder with 1 cup of water to make the batter. The amount of water might vary depending on the frying powder and humidity. Add water gradually until you achieve a flowing consistency that coats the chicken without being too thick or too thin. A batter that’s too thin will slide off, and one that’s too thick will result in a heavy coating.

Step 5
Pour the prepared batter over the chicken pieces and ensure each piece is evenly coated. Let the coated chicken sit for a moment to allow the batter to adhere properly. While this is happening, heat a generous amount of cooking oil in a pot over medium heat to about 170°C (340°F). You can test the oil temperature by dropping a wooden chopstick in; if small bubbles form around it, the oil is ready.

Step 6
Carefully place the battered chicken pieces into the hot oil, one by one, making sure they don’t stick together. Fry them over medium-high heat initially until the coating turns golden. Then, reduce the heat to medium and continue frying until the chicken is cooked through.

Step 7
For extra crispiness, remove the chicken from the oil after the first fry, drain it on a wire rack, and then fry it a second time. For the second fry, increase the oil temperature slightly and fry for a shorter period to achieve a perfectly crisp exterior. Once golden and crispy, remove from the oil and drain thoroughly.

Step 8
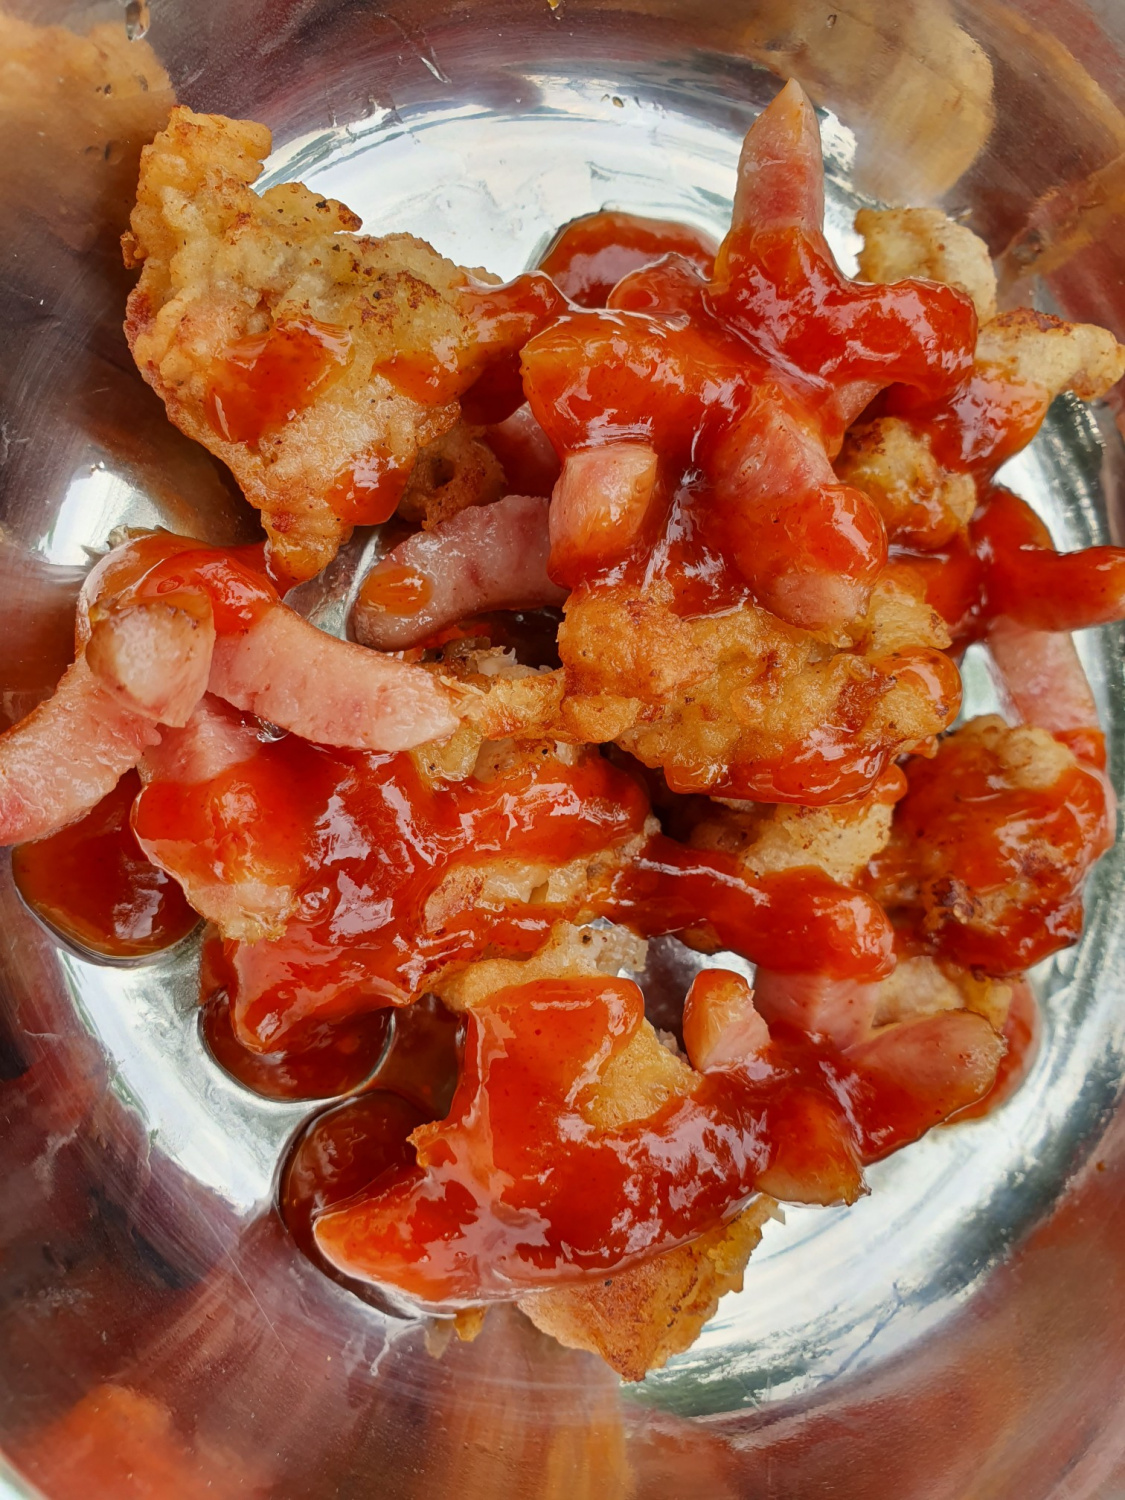
If you’re adding Vienna sausages, fry them in the same oil after the chicken is cooked. This is a fun addition that kids usually love!

Step 9
Place the fried chicken (and sausages, if using) into a bowl. Pour the Dakgangjeong sauce over the warm chicken and toss gently to coat evenly. Your delicious homemade Dakgangjeong is ready to be served! It’s best enjoyed immediately while warm.
