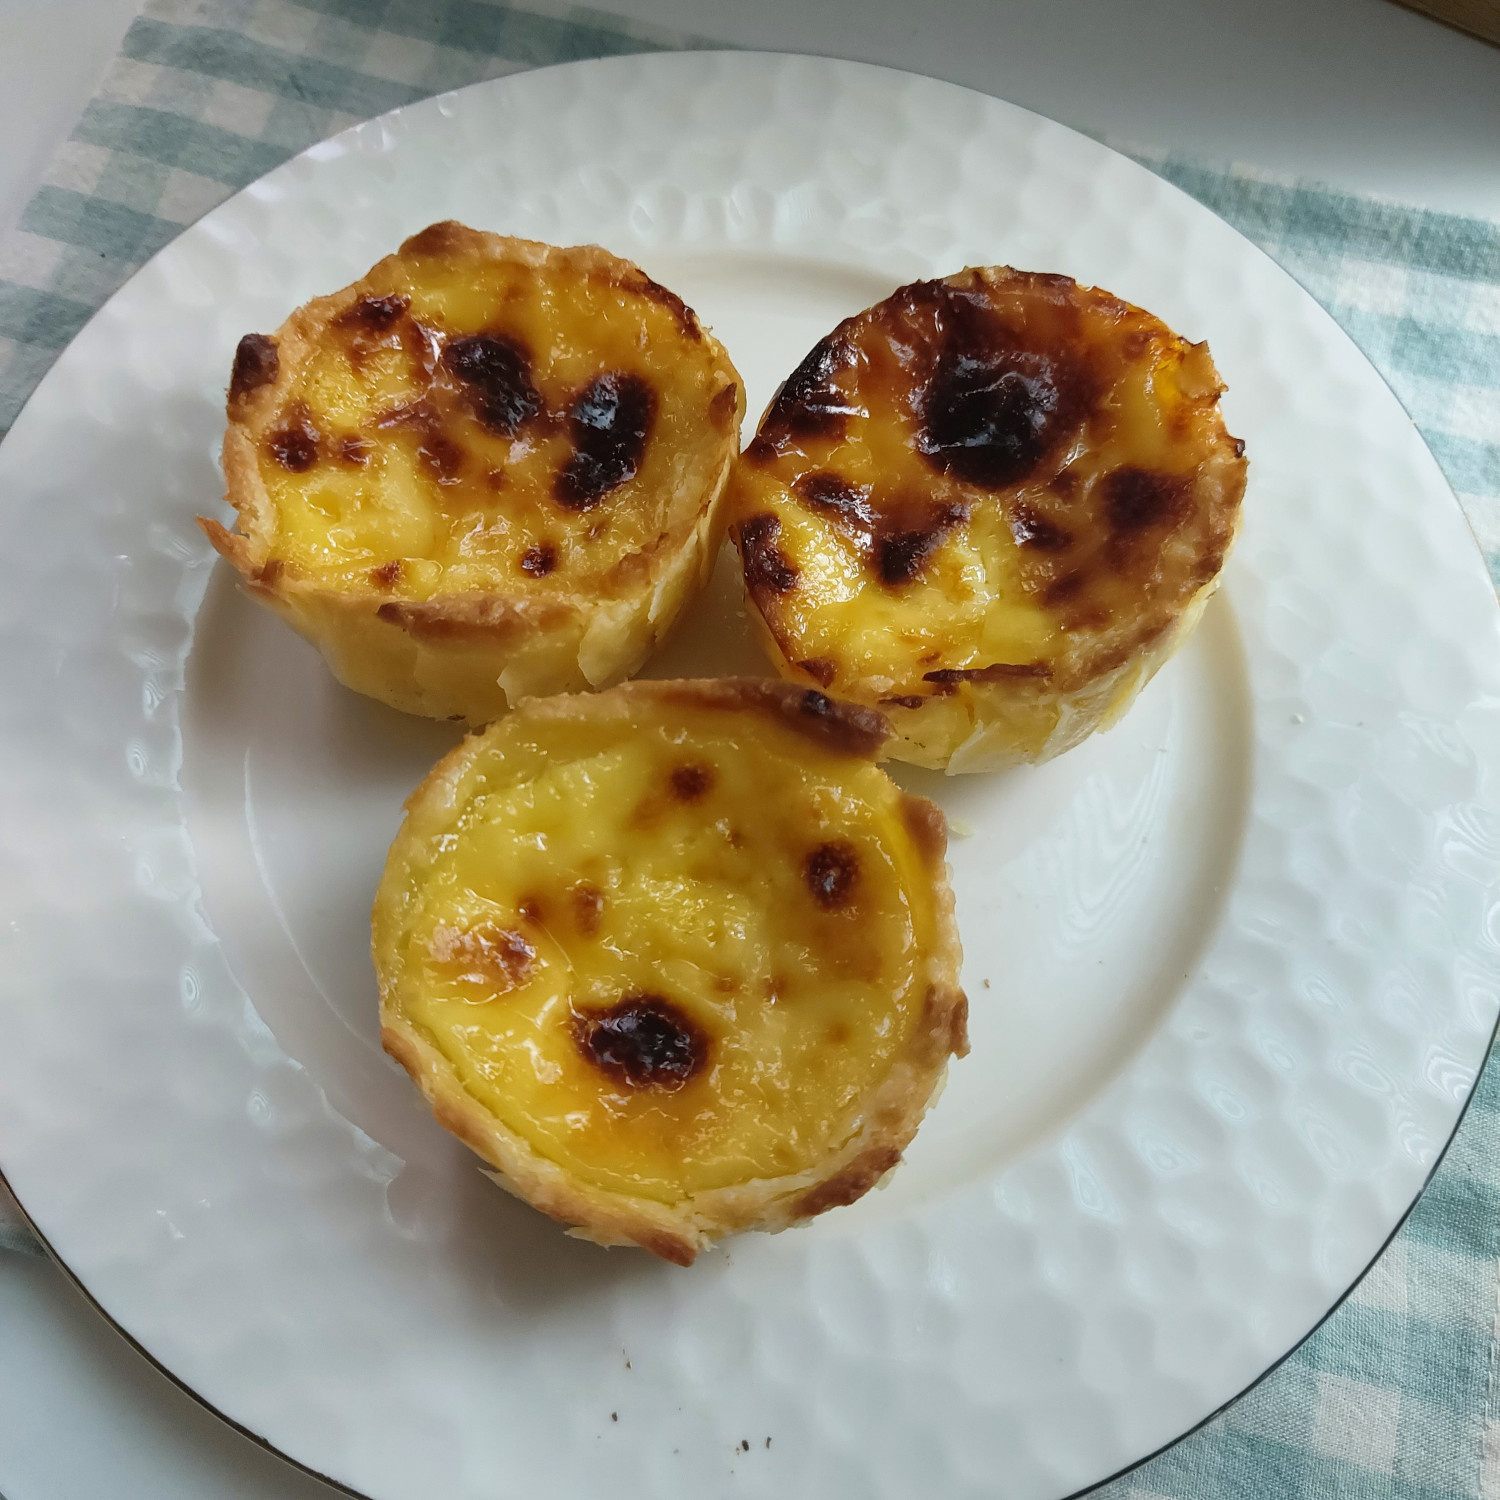
Golden Creamy Goodness: Homemade Egg Tarts
[Solo Home Baking] Easy Egg Tart Recipe for One (Perfect Warm or Cold!)

As a self-proclaimed baking enthusiast living alone, I’m sharing a super simple egg tart recipe perfect for a single serving. These tarts are delicious whether enjoyed warm right out of the oven or chilled. This recipe yields 6 tarts, perfect for a delightful solo baking session.
Crispy Tart Dough- 100g cake flour (low-gluten flour)
- 55g cold butter, cubed
- 10g granulated sugar
- A pinch of salt
- 30ml ice water
Sweet & Creamy Filling- 3-4 fresh egg yolks
- 30g granulated sugar
- 200ml milk
- 120ml heavy cream
- 1g vanilla extract or oil (approx. 1-2 drops)
- 3-4 fresh egg yolks
- 30g granulated sugar
- 200ml milk
- 120ml heavy cream
- 1g vanilla extract or oil (approx. 1-2 drops)
Cooking Instructions
Step 1
Let’s start by making the wonderfully crispy tart dough. In a bowl, add the cold, cubed butter (55g) and then sift the cake flour (100g) over it. Use your fingertips to rub the butter and flour together until it resembles coarse breadcrumbs.

Step 2
In a separate small bowl, dissolve the ice water (30ml), granulated sugar (10g), and a pinch of salt. Gradually pour this liquid mixture into the butter and flour mixture, gently bringing the dough together.

Step 3
Work quickly to combine the dough into a cohesive ball without overworking it, which can melt the butter. Wrap the dough in plastic wrap, flatten it into a disc, and refrigerate for at least 30 minutes. Chilling is crucial for a flaky crust!

Step 4
While the dough is chilling, let’s prepare the smooth and sweet filling. In a saucepan, combine the milk (200ml), heavy cream (120ml), and granulated sugar (30g). Heat over medium-low heat until the edges just begin to bubble. Remove from heat immediately to prevent a skin from forming.

Step 5
In another bowl, whisk the egg yolks (3-4) until well combined. Adding a drop or two of vanilla extract or oil will help eliminate any eggy smell and enhance the flavor beautifully.

Step 6
Slowly temper the egg yolks by gradually whisking in small amounts of the warm milk and cream mixture. It’s important to do this gradually to prevent the eggs from scrambling. If the liquid is too hot, let it cool slightly before combining. Once mixed, you’ll have a luscious, smooth filling!

Step 7
Once the dough has chilled, divide it into 6 equal portions. Press each portion thinly and evenly into muffin tins, ensuring it lines the bottom and sides. If you don’t have muffin tins, paper tart shells or liners work well. Prick the bottom of the dough with a fork a few times to prevent puffing during baking.

Step 8
Carefully pour the prepared filling into each tart shell, filling them about 90% full. This leaves room for the filling to puff up slightly as it bakes without overflowing.

Step 9
Bake in a preheated oven at 180°C (350°F) for 30-35 minutes, or until the filling is set and the crust is golden brown. I prefer a deeper color on top, so I baked mine until it reached my desired shade. Let them cool slightly before enjoying these delightful homemade egg tarts!


