
Galbi Kimchi Fried Rice
Simple Galbi Kimchi Fried Rice Recipe Using Leftover Holiday Galbi

Have you finished all the leftover holiday food? At our house, we finished everything, but when I came home from work, my mother gave me some marinated galbi from Chuseok, saying I should eat it for dinner. Mom… we’ve eaten so much galbi these past few days… But since she gave it to me, I grilled it and enjoyed it, and then used the leftovers for weekend breakfast galbi fried rice. A simple yet delicious one-dish meal! Let’s get started on how to make galbi fried rice, a great way to use leftover holiday food for a simple weekend meal.
Ingredients- 1 plate of grilled Galbi (boneless, meat only)
- 1 plate of Kimchi
Cooking Instructions
Step 1
These are the leftover galbi from grilling and enjoying them yesterday. I decided to make galbi kimchi fried rice because I was worried it might be a bit bland if I just stir-fried the galbi. Adding kimchi makes it taste much richer and more flavorful.

Step 2
Take out about a plate of kimchi and chop it into bite-sized pieces.

Step 3
Here’s a tip for easily mincing kimchi: first, cut the kimchi lengthwise into strips, then chop it finely crosswise. This makes it easy to mince.

Step 4
For the galbi, carefully remove the bones and slice the meat into bite-sized pieces.

Step 5
Heat some oil in a pan over medium-low heat and stir-fry the kimchi first. To balance the sourness of the kimchi, add 0.5 tablespoon of sugar while stir-frying.

Step 6
When the kimchi is about halfway cooked (translucent), add the sliced galbi and stir-fry until heated through. Be careful, as the sauce from the galbi and kimchi can cause it to burn. Stir-fry over low heat, and if it seems like it might burn, you can add a little more cooking oil.

Step 7
Once the galbi is heated, add about 4 bowls of rice (for a family of 4) and stir-fry until well combined.

Step 8
Once the rice is well stir-fried, lightly season it. Since the kimchi and galbi are already seasoned, I didn’t add extra seasoning. If you feel it needs more, you can add soy sauce or oyster sauce to taste. I added 2 tablespoons of soy sauce to adjust the seasoning. If using oyster sauce, about 1 tablespoon should be enough.

Step 9
When the galbi kimchi fried rice is fully cooked…

Step 10
Drizzle with two rounds of sesame oil and sprinkle generously with toasted sesame seeds. Your galbi fried rice is complete!

Step 11
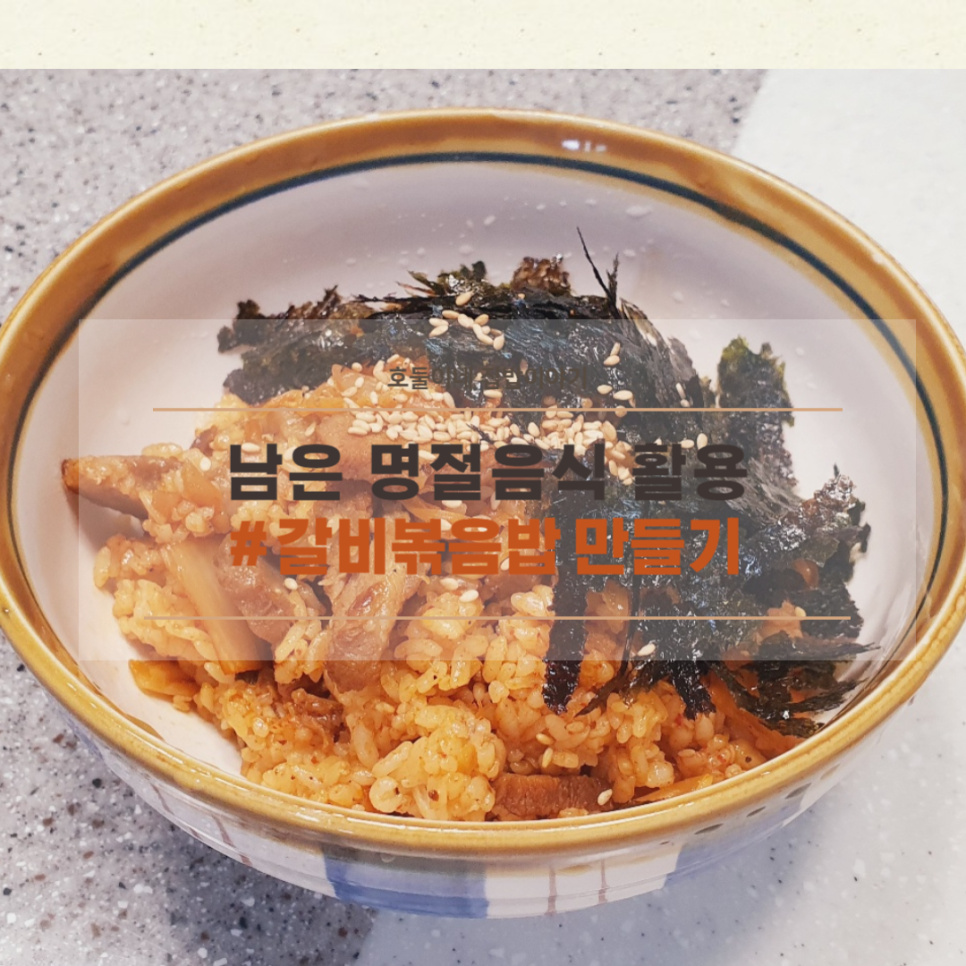
Serving the galbi kimchi fried rice with seaweed flakes on top is just perfect!

Step 12
With the addition of kimchi, it’s not overly sweet and can be enjoyed refreshingly. This is the ultimate one-dish meal: galbi kimchi fried rice.

Step 13
Serving it with a simple egg drop soup made it the perfect light breakfast option. It was a simple yet satisfying meal.
