
Freshness Preserved! The Ultimate Guide to Storing Taro
Super Easy Taro Preparation and Storage: A-Z Guide to Taro Cooking, Taro Storage, and Taro Preparation

Bought fresh taro but unsure how to prepare and store it? This video will guide you step-by-step, from preparing taro to freezing it, ensuring its freshness for a long time!
Main Ingredients- Fresh taro
Cooking Instructions
Step 1
To remove the taro’s characteristic sliminess and skin, first put on rubber gloves and rinse the outer surface of the taro thoroughly several times under running water. It’s important to wash meticulously to remove any remaining dirt or debris.

Step 2
Fill a deep pot with plenty of water and bring it to a rolling boil over high heat. This water will be used for boiling the taro, so ensure it’s sufficiently heated.

Step 3
Once the water is boiling vigorously, carefully add the pre-rinsed taro and boil for about 10 minutes. This process softens the taro skin, making it easier to peel later.

Step 4
After boiling for 10 minutes, immediately transfer the taro to a bowl of cold water to cool it down. This step helps the taro maintain a firmer texture and cools it enough to handle for the next step.

Step 5
Now it’s time to peel the cooled taro. Trim off both ends of the taro with a knife; this will make the skin much easier to peel off. Taro contains calcium oxalate, which can cause skin irritation or allergic reactions, so it’s highly recommended to wear rubber gloves while peeling. (If you do not have allergies, you can peel it with your bare hands.)

Step 6
As you can see, peeling reveals the smooth inner flesh of the taro. Taro can brown quickly when exposed to air, so to prevent this, keep the taro that you’ve already peeled submerged in cold water as you continue peeling the rest.

Step 7
Drain the peeled taro completely and cut it into pieces suitable for cooking. For stews, cut into bite-sized pieces; for stir-fries, slice thinly, depending on your recipe.

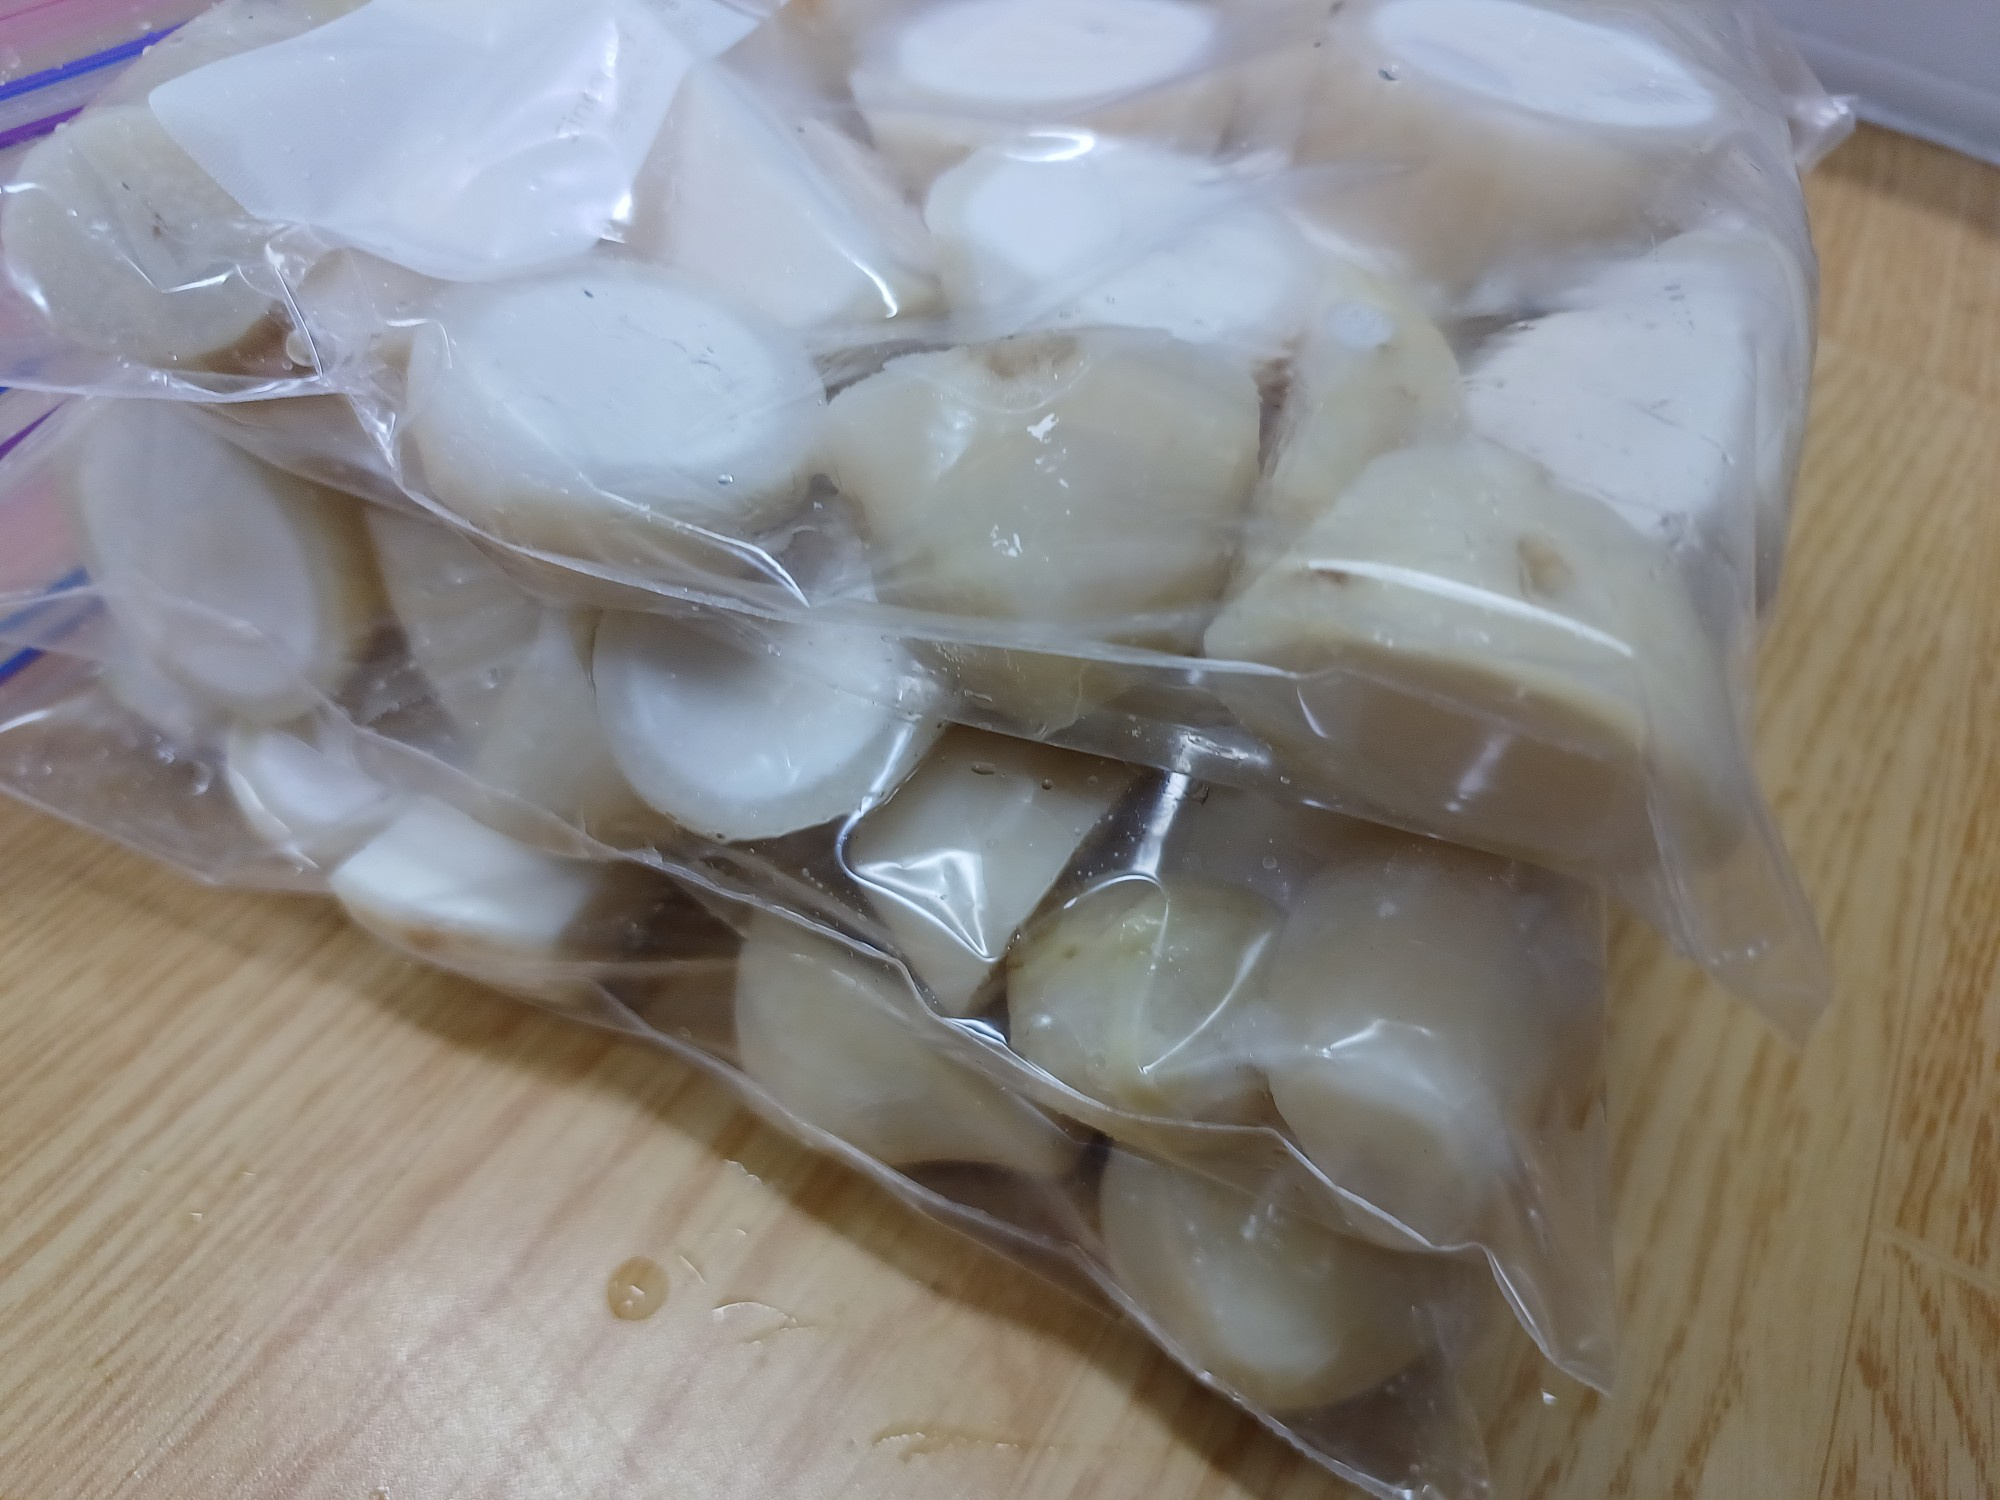
Step 8
To maintain freshness for a long time, portion the prepared and cut taro into serving sizes and place them into zipper bags. This makes it convenient to take out only the amount needed for each meal.

Step 9
Seal the zipper bags tightly and store them in the freezer. By freezing, you can enjoy your taro with the same freshness for an extended period. When you’re ready to use it, you can add the taro directly to your cooking from its frozen state without thawing, ensuring a delicious meal anytime.
