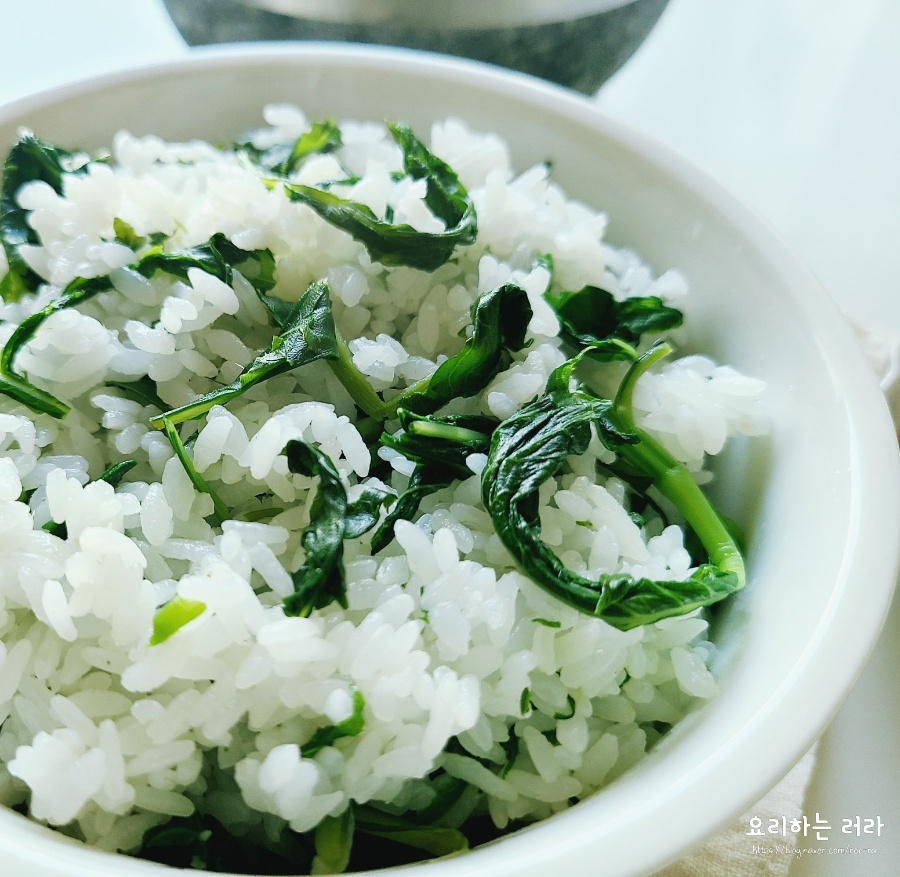
Fragrant Spring Vegetable Dolsotbap (Stone Pot Rice) with Chwinamul
How to Make Chwinamul Rice, Buchimgae Namul Rice, and Dolsotbap: A Chwinamul Dish Preserving Aroma and Color

Don’t cook fresh spring Chwinamul rice from the start with the rice! It will turn yellowish. Yellowish Chwinamul is often enjoyed dried in fall and winter, so let’s make the most of its seasonal aroma and color. This recipe focuses on preserving the vibrant essence of fresh spring vegetables.
Rice Cooking Ingredients- 180g Bracken fern (Buchimgae namul)
- 2 cups Rice
- 1.8 cups Water
- 1 Tbsp Soup soy sauce (Guk-ganjang)
- 2 Tbsp Sesame oil
Seasoning Sauce Ingredients- 2 Tbsp Soy sauce
- 2 Tbsp Water
- 0.5 Tbsp Sugar
- 1 Tbsp Gochugaru (Korean chili flakes)
- 1 Tbsp Toasted sesame seeds
- 1 Tbsp Sesame oil
- 2 Tbsp Soy sauce
- 2 Tbsp Water
- 0.5 Tbsp Sugar
- 1 Tbsp Gochugaru (Korean chili flakes)
- 1 Tbsp Toasted sesame seeds
- 1 Tbsp Sesame oil
Cooking Instructions
Step 1
Preparing the bracken fern is simple! Just pick the tender leaves from the thick main stems, as shown in the photo. Discard the tough stems and any wilted or damaged leaves you find.

Step 2
When washing, gently swirl the leaves in water to rinse them 2-3 times without losing their fresh, green flavor. Avoid rubbing too vigorously.

Step 3
Now, let’s blanch the fern. Bring a pot of water to a rolling boil, add half a tablespoon of coarse salt, and submerge all the prepared fern. Once the water boils up around the edges again, flip the fern and cook for another moment.

Step 4
The blanching time can vary depending on the amount and thickness of the fern. I boiled mine for about 1 minute, flipped it, and boiled for another minute, for a total of 2 minutes. The best way to check is to press a thick stem between your fingers; if it yields softly, it’s ready.

Step 5
Quickly rinse the blanched fern under cold running water to cool it down and remove excess heat. Then, gently squeeze out as much water as possible with both hands.

Step 6
The squeezed fern should be chopped into small, bite-sized pieces so it mixes well with the rice. Cutting them finely prevents clumping during cooking.

Step 7
Place the chopped fern in a bowl. Add 1 tablespoon of soup soy sauce and 2 tablespoons of sesame oil. Gently mix and massage the ingredients into the fern until well combined. Your seasoned fern is now ready!

Step 8
Now for the crucial part: cooking the rice. Rinse 2 cups of rice thoroughly, then soak it in water for 30 minutes. Drain the rice well in a sieve. If you prefer stickier rice, you can mix white rice and glutinous rice and soak them together for 30 minutes.

Step 9
While the rice is soaking, prepare the seasoning sauce for the rice. Combine all the sauce ingredients in a small bowl and mix well. You can adjust the amount of soy sauce to your preference.

Step 10
Lightly moisten the bottom of the dolsot (stone pot) with a little water, tilting it to coat the bottom and sides. This helps prevent the rice from sticking. Then, add the soaked rice and 1.8 cups of water.

Step 11
To check the water level, place your palm flat on the surface of the rice. The water should rise to about the height of two segments of your middle finger. Don’t worry too much if it’s slightly more or less; this approximation is usually sufficient for perfectly cooked rice.

Step 12
Turn the heat to high and cook the rice with the lid OFF. Wait until the water starts to bubble vigorously.

Step 13
You’ll notice the water on the surface disappearing, with only small bubbles appearing around the edges of the pot. This is the sign to reduce the heat to the lowest setting, cover the pot with the lid, and let it simmer for about 15 minutes.

Step 14
After 15 minutes, turn off the heat. This is when we’ll add the seasoned fern. Placing it on top during the steaming process helps preserve its vibrant color and aroma.

Step 15
Generously top the rice with the prepared fern, cover the dolsot tightly with the lid, and let it steam for 10 minutes off the heat.

Step 16
Once steaming is complete, gently mix the rice and fern together with a spatula and serve in a large bowl. For an extra treat, pour warm water into the dolsot to loosen any delicious crispy rice (nurungji) at the bottom and make some sikhye (rice punch).

Step 17
Look at that perfectly made nurungji! It’s a delightful bonus to dolsotbap.

Step 18
The fern still looks wonderfully fresh and colorful after steaming. The fragrant Chwinamul Dolsotbap looks incredibly appetizing mixed with the fluffy rice! Even after just 10 minutes of steaming, the aroma fills the entire dish.

Step 19
Let’s quickly recap how to make foolproof dolsotbap: 1. Boil with the lid off on high heat. 2. Once surface water disappears, cover and simmer on low heat for 15 minutes. 3. Turn off heat, add toppings, and steam for 10 minutes. Follow these steps for perfect dolsotbap every time!

Step 20
Try making this aromatic Buchimgae Namul Dolsotbap with fresh spring bracken fern – it’s a taste of spring you won’t want to miss!


