
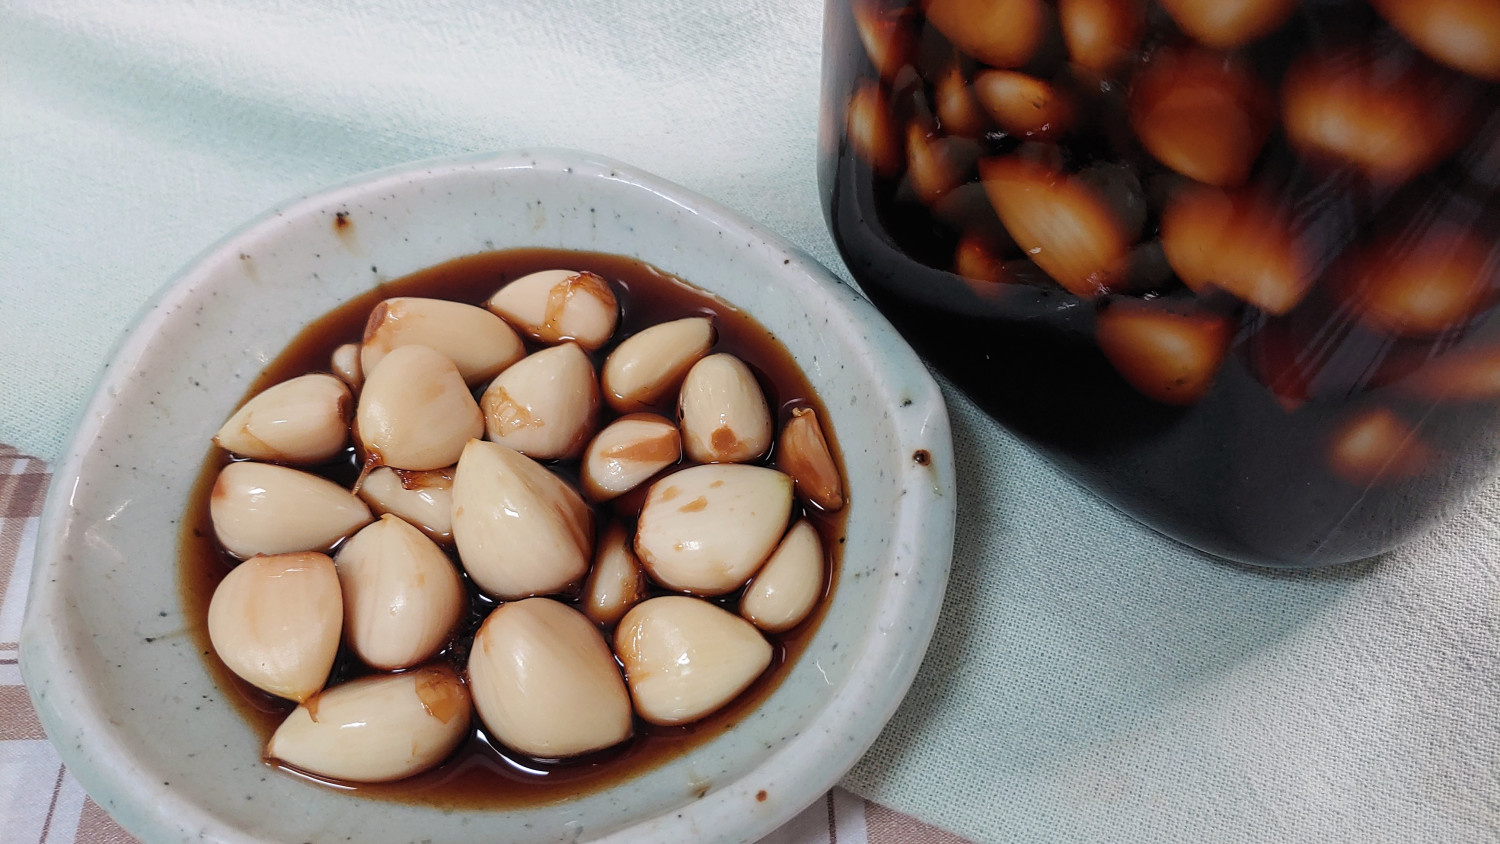
Deliciously Savory Pickled Garlic (Jangajji) – Not Salty!
A Superior Pickled Garlic Recipe: Low Sodium, High Flavor Using Fresh Spring Garlic.

Made with the freshest spring garlic available, this pickled garlic is incredibly flavorful and delicious. Perfect for any meal!
Ingredients- Garlic, about 40-45 cloves (approx. half a ‘bun’)
- 6 cups Soy Sauce (1.2L)
- 3 cups Rice Vinegar (600ml)
- 5 cups Brown Sugar (1kg)
- 1/2 cup Chili Seeds (approx. 50g)
- 3 Bay Leaves
- 1/2 cup Rice Wine/Sake (100ml)
- 1/2 cup Plum Extract/Syrup (100ml)
Cooking Instructions
Step 1
Peel the outer skin of the fresh garlic cloves. Trim off the root ends slightly so the garlic can dry well.

Step 2
Rinse the peeled garlic thoroughly under running water. It’s crucial to drain the water completely using a colander, as any excess moisture can cause the garlic to become mushy.

Step 3
In a pot, combine 6 cups of soy sauce, 3 cups of rice vinegar, and 5 cups of brown sugar. Heat over medium heat, stirring until the sugar is completely dissolved. Boiling until the sugar dissolves is key.

Step 4
Once the mixture boils, reduce the heat to medium-low. Add 1/2 cup of chili seeds, 3 bay leaves, 1/2 cup of plum extract, and 1/2 cup of rice wine. Let it simmer for a short while to infuse the flavors.

Step 5
When the mixture simmers again, turn off the heat and let the pickling brine cool completely. While the brine cools, remove the chili seeds and bay leaves. (You can leave the chili seeds in for a spicier kick, but remove them for a milder flavor).

Step 6
Pack the drained garlic cloves tightly into a sterilized glass jar. Pour the completely cooled pickling brine over the garlic, ensuring the garlic is submerged to prevent it from floating. If some garlic pieces float to the surface, you can use thinly sliced onion or perilla leaves to weigh them down.

Step 7
Leave the jar at room temperature for about a day, then transfer it to the refrigerator. After one week, carefully pour out only the brine, bring it to a boil, let it cool completely, and then pour it back into the jar. This step enhances the garlic’s crispness and flavor. Allow it to mature for another month, and you’ll have wonderfully savory, sweet, and tangy pickled garlic to enjoy.
