
Delicious Perilla Leaf Kimchi: A Guaranteed Summer Rice Thief
Fragrant Perilla Leaf Kimchi Recipe Using Summer Seasonal Perilla Leaves

Try making delicious perilla leaf kimchi with fresh perilla leaves directly grown in your countryside home garden this year! The rich aroma and crisp texture of freshly harvested perilla leaves will make this perilla leaf kimchi the perfect summer side dish that will have you finishing a bowl of rice in no time. We’ve included detailed steps and tips so even beginners can easily follow along.
Main Ingredients- 250 perilla leaves, pesticide-free (choose leaves that are in good condition)
- 1 onion (medium size)
Seasoning Ingredients- 1 cup soy sauce (200ml)
- 1/2 cup anchovy sauce (100ml, adds umami)
- 1/2 cup corn syrup or oligodang (100ml, adds a subtle sweetness and shine)
- 1 cup water (200ml)
- 2 Tbsp plum extract (based on a regular tablespoon, adds a sweet and sour flavor)
- 2 Tbsp minced garlic (using freshly minced garlic will enhance the flavor)
- 1 Tbsp toasted sesame seeds (adds nuttiness)
- 1 cup soy sauce (200ml)
- 1/2 cup anchovy sauce (100ml, adds umami)
- 1/2 cup corn syrup or oligodang (100ml, adds a subtle sweetness and shine)
- 1 cup water (200ml)
- 2 Tbsp plum extract (based on a regular tablespoon, adds a sweet and sour flavor)
- 2 Tbsp minced garlic (using freshly minced garlic will enhance the flavor)
- 1 Tbsp toasted sesame seeds (adds nuttiness)
Cooking Instructions
Step 1
First, prepare the fresh perilla leaves. This year, I used pesticide-free perilla leaves grown in my countryside home garden. Wash each leaf thoroughly under running water. It’s important to wash them carefully to remove any dirt or debris.

Step 2
After washing, place the perilla leaves on a colander to drain as much water as possible. If excess water remains, the seasoning can become diluted or the kimchi may become soggy quickly. Gently shake the leaves or lightly pat them with paper towels to remove excess moisture.

Step 3
Now it’s time to make the seasoning, the core of delicious perilla leaf kimchi. I have about 250 perilla leaves, so I used a paper cup as my measuring cup. The ratio of the seasoning is important, so follow along step-by-step!

Step 4
Making the seasoning: In a large bowl, combine 1 cup soy sauce, 1 cup water, 1/2 cup anchovy sauce, and 1/2 cup corn syrup. Add 2 tablespoons of plum extract for a sweet and sour taste, 2 tablespoons of minced garlic for a rich flavor, and 1 tablespoon of toasted sesame seeds for nuttiness. Finally, add 1 finely chopped medium-sized onion to complete the seasoning. Mix all ingredients well.

Step 5
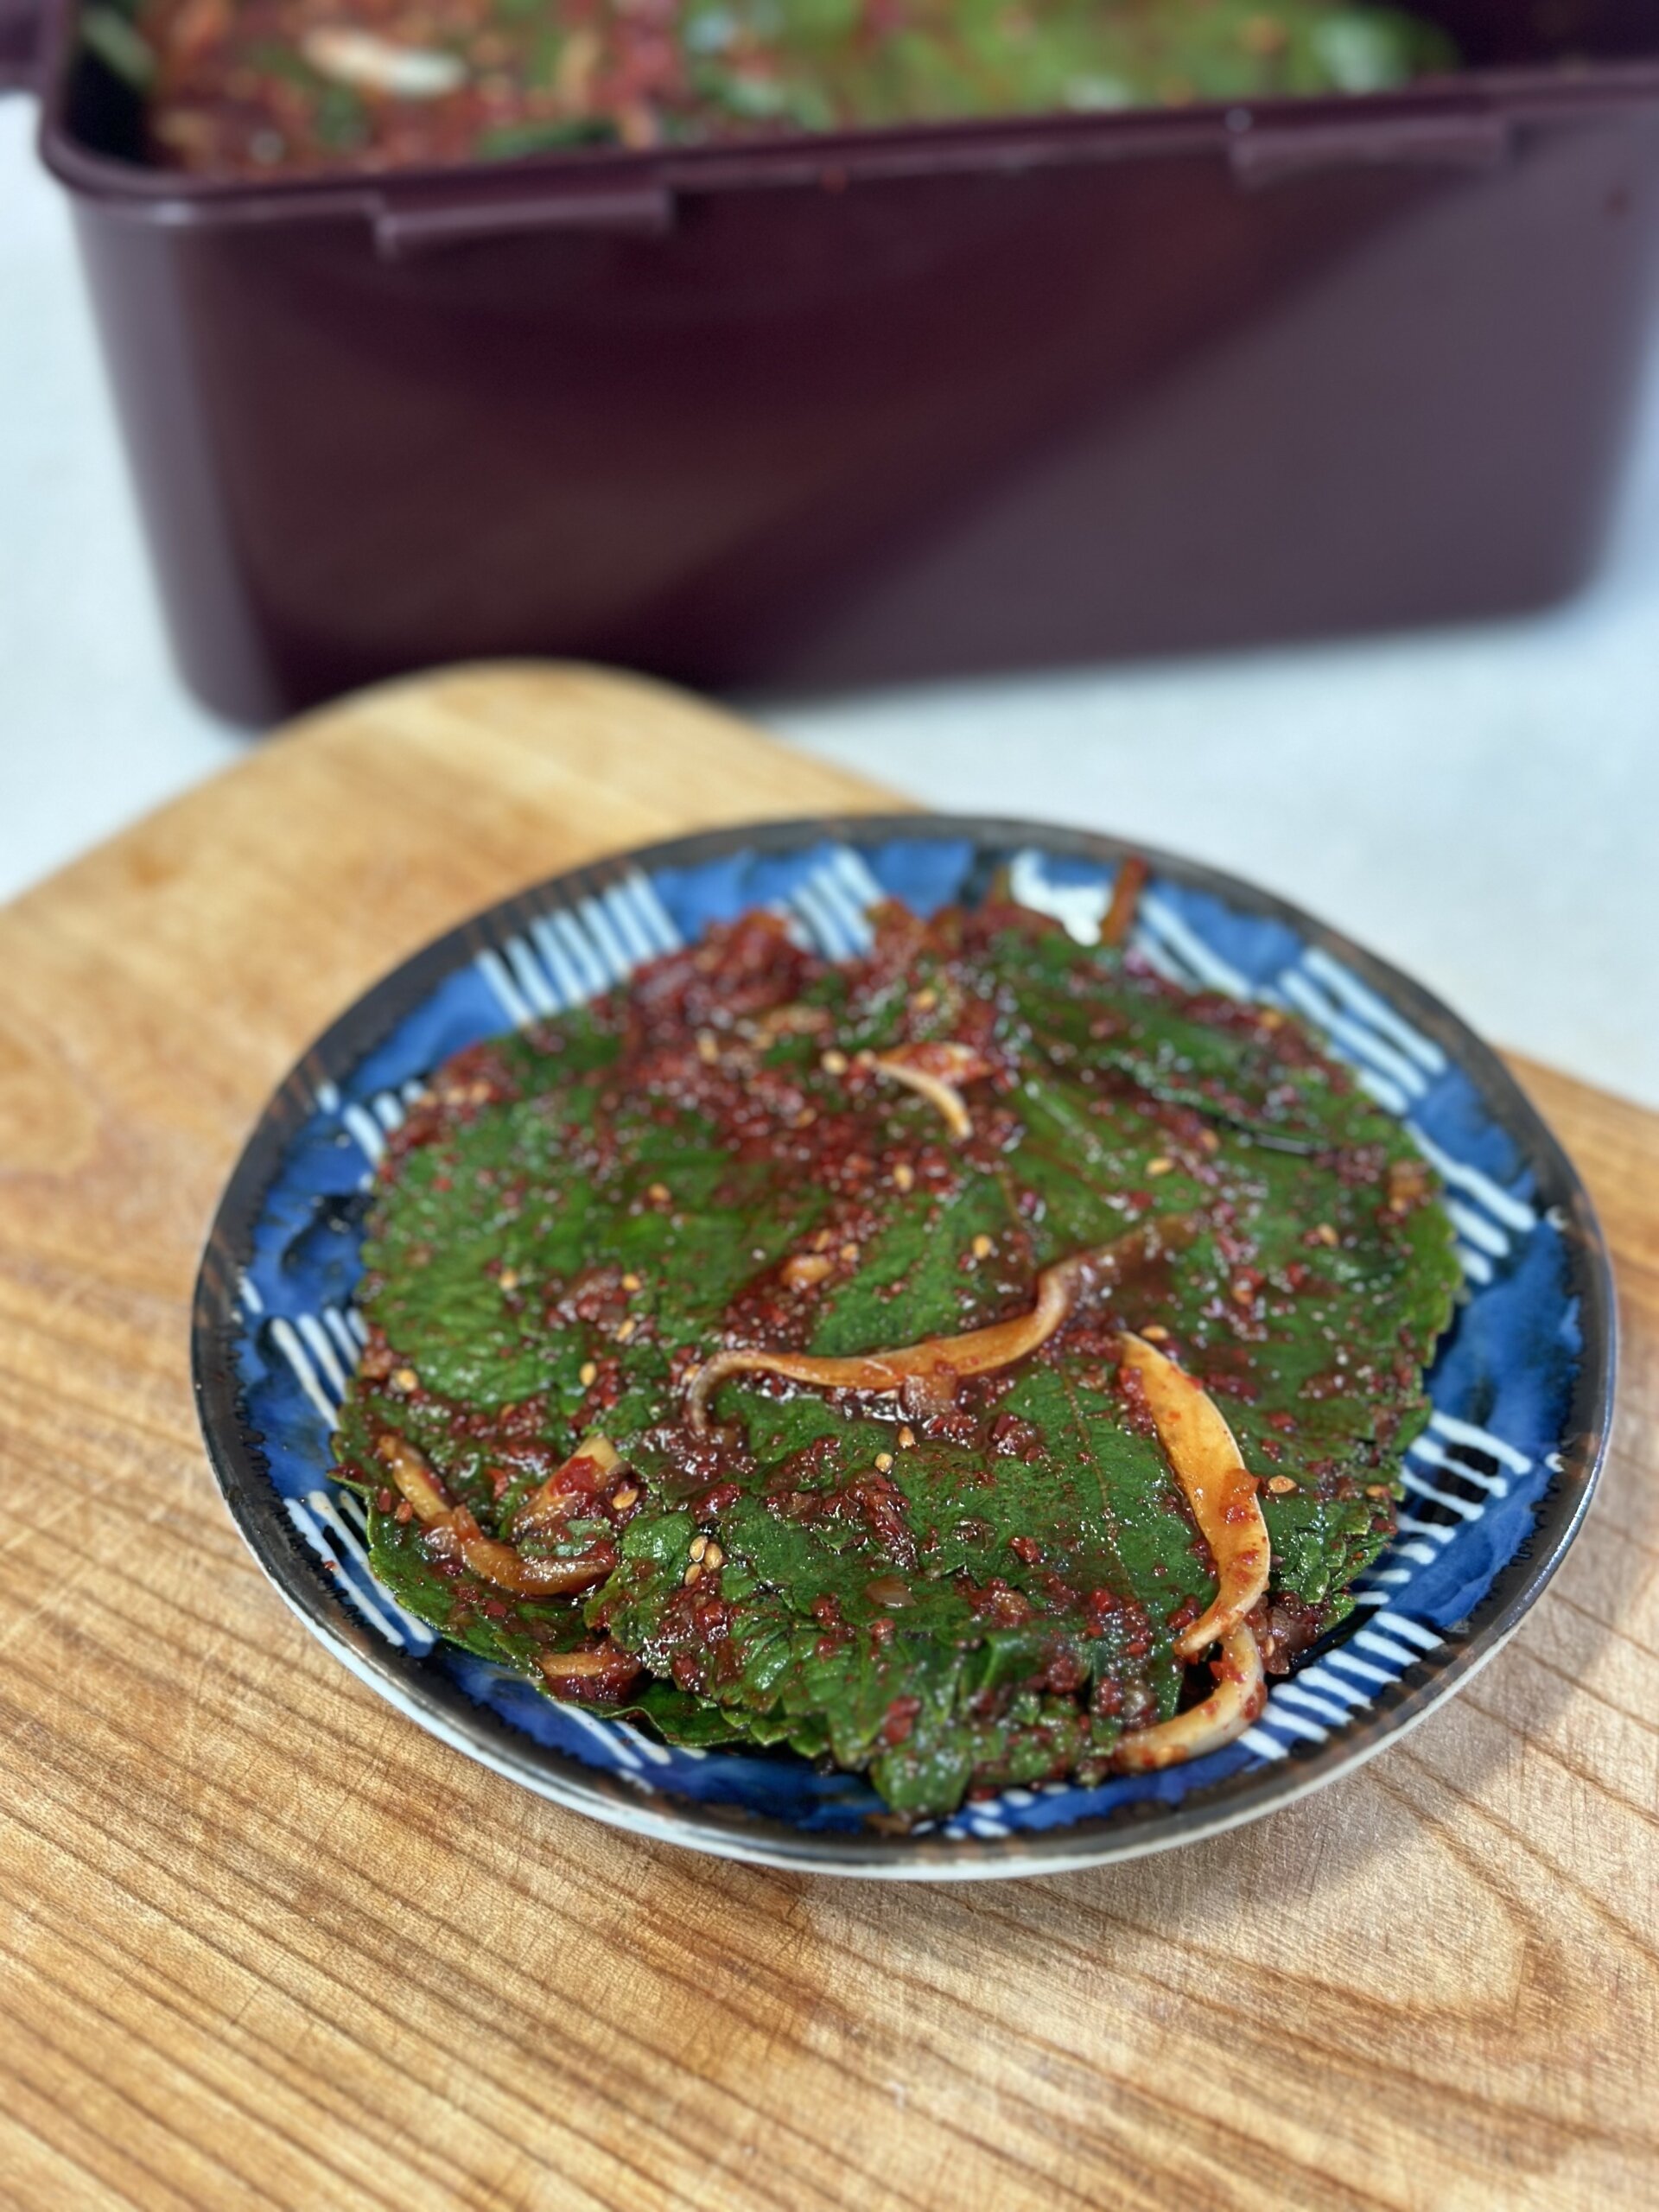
Applying the seasoning to the perilla leaves: Spread out the prepared perilla leaves one by one and lightly brush them with the seasoning. Be careful not to use too much seasoning, as it can make the kimchi too salty. Apply it thinly, like coating the surface of the leaf. Stacking them and applying allows the seasoning to spread evenly.

Step 6
Stack the seasoned perilla leaves neatly on a plate. This step might be a bit laborious, but the taste is guaranteed to be worth the effort! After seasoning, the perilla leaves will wilt and reduce in volume. At first, you might think the seasoning is a bit salty, but when you eat it with rice, it’s incredibly delicious! The unique, strong aroma and crisp texture of field-grown perilla leaves combine to create the ultimate rice thief that will reignite your appetite this summer.
