
Delicious Kkakdugi (Cubed Radish Kimchi) Made with Seasonal Radishes
How to Make Crispy and Delicious Kkakdugi at Home (Including the Golden Ratio for Sweet Rice Porridge)

As the weather gets cooler, seasonal radishes become wonderfully crisp and sweet! This recipe shows you how to make delicious Kkakdugi, a Korean cubed radish kimchi. Using sweet rice porridge creates a deeper, richer flavor, and with simple seasonings, it’s a Kkakdugi recipe that anyone can easily follow. It will be a satisfying side dish for your table.
Main Ingredients- 1 Korean radish (choose a large, firm one)
- 10 stalks of chives (chopped)
- 2 Tbsp coarse sea salt
Sweet Rice Porridge (Chapssal Pul)- 100ml water
- 1 Tbsp sweet rice flour
Kkakdugi Seasoning Paste- 3 Tbsp gochugaru (Korean chili flakes)
- 3 Tbsp saeujeot (fermented salted shrimp), finely minced
- 2 Tbsp sugar
- 1 Tbsp minced garlic
- 1/2 tsp ginger powder (or 1/2 tsp minced fresh ginger)
- 100ml water
- 1 Tbsp sweet rice flour
Kkakdugi Seasoning Paste- 3 Tbsp gochugaru (Korean chili flakes)
- 3 Tbsp saeujeot (fermented salted shrimp), finely minced
- 2 Tbsp sugar
- 1 Tbsp minced garlic
- 1/2 tsp ginger powder (or 1/2 tsp minced fresh ginger)
Cooking Instructions
Step 1
First, wash the radishes you’ll be using for Kkakdugi thoroughly and pat them dry. Then, cut the radishes into bite-sized cubes, about 2 to 2.5 cm. If they’re too small, they might become mushy when cooked, so maintaining a good size is important.

Step 2
Add 2 tablespoons of coarse sea salt to the cubed radishes and mix well to coat evenly. Salting the radishes like this draws out their moisture, helping to preserve their crisp texture. Let them salt for about 30 minutes. Stir them once in between to ensure they salt evenly.

Step 3
While the radishes are salting, it’s time to make the sweet rice porridge. In a pot, combine 100ml of water and 1 Tbsp of sweet rice flour. It’s important to whisk them together well so there are no lumps.

Step 4
Place the pot over low heat and stir continuously to prevent the sweet rice flour from clumping. Cook for about 5 minutes, stirring constantly to prevent burning, until the mixture boils and reaches a thick, pudding-like consistency. It’s best to let it cool completely before using it to prevent the kimchi from becoming too ‘fresh’ or ‘raw’.

Step 5
Now, let’s make the Kkakdugi seasoning paste. In a large bowl, add 3 Tbsp of gochugaru (Korean chili flakes). If you prefer it spicier, you can adjust this amount to your taste.

Step 6
Add 2 Tbsp of sugar for sweetness. Instead of sugar, you could also use pureed pear or apple for a more natural sweetness and flavor.

Step 7
Add 1 Tbsp of minced garlic for a fragrant kick. Garlic helps to remove any unpleasant smell from the radish and adds a savory depth.

Step 8
Add 1/2 tsp of ginger powder to add a spicy aroma. If you’re using fresh ginger, finely mince about 1/2 tsp of it for an even more vibrant flavor.

Step 9
Add 3 Tbsp of saeujeot (fermented salted shrimp) to provide umami and depth. It’s best to mince the shrimp finely after draining off excess liquid so the seasoning mixes smoothly. You can substitute with fish sauce if you don’t have saeujeot.

Step 10
Add the cooled sweet rice porridge to the seasoning paste ingredients. Mix everything thoroughly until well combined. Let the seasoning paste sit for about 10 minutes to allow the flavors to meld together before mixing with the radish.

Step 11
After the radishes have been salted for 30 minutes, rinse them lightly under cold running water and drain them thoroughly. It’s important to remove excess water so the Kkakdugi doesn’t become soggy. Let them drain naturally on a colander.

Step 12
Transfer the drained radish cubes to a large bowl for mixing. This makes it much easier to coat them evenly with the seasoning.

Step 13
Pour the prepared seasoning paste over the radish cubes. Gently mix them, being careful not to mash the radishes. While you can use your hands, using a spatula or spoon to mix evenly will help preserve the radish’s crispness.

Step 14
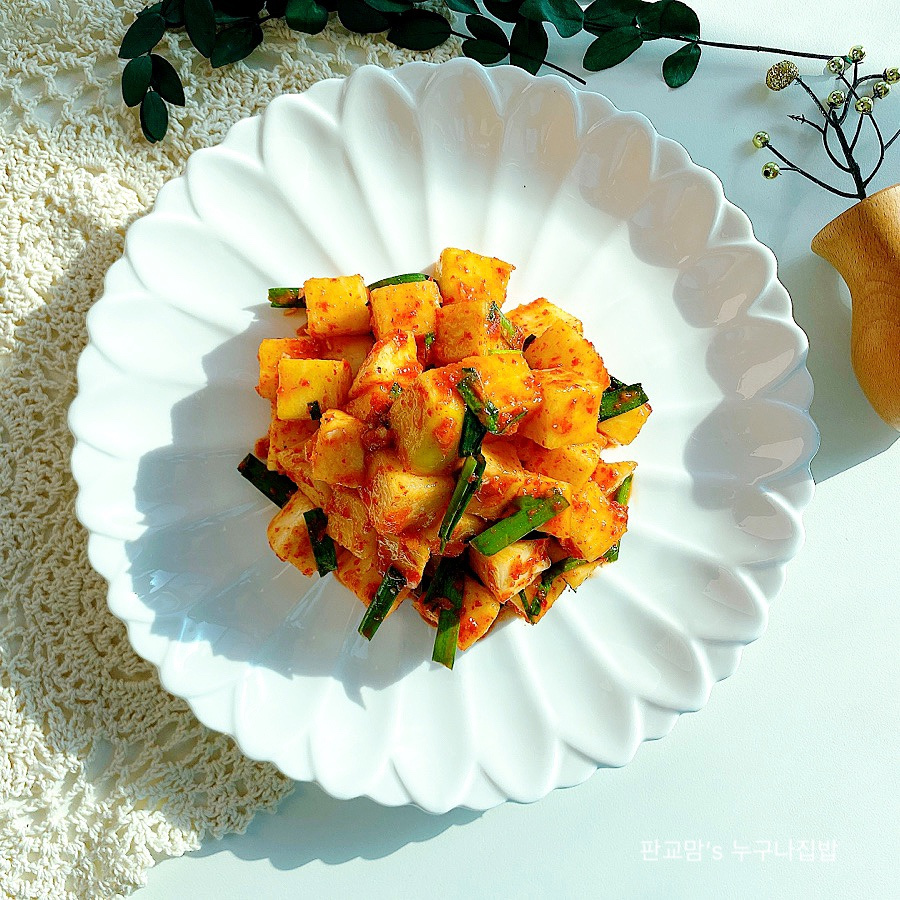
Finally, add the chopped chives and gently mix once more. The fresh aroma and vibrant color of the chives will make the Kkakdugi even more appealing. Don’t overmix the chives, as they can become limp; just a light toss is best. Your delicious Kkakdugi is now complete!

Step 15
Transfer the finished Kkakdugi to an airtight container and let it ferment at room temperature for one day. After that, move it to your kimchi refrigerator to store and enjoy. While it’s delicious right away, letting it ferment for a day allows the flavors to deepen and meld beautifully.

Step 16
This homemade Kkakdugi has a wonderfully crisp texture and a refreshing, spicy-sweet flavor that’s simply delicious. The balance between the radish’s natural sweetness and the seasoning is perfect, making it a true ‘rice thief’! You’ll want to drink the flavorful brine too. It’s incredibly tasty.

Step 17
We hope you enjoy making and eating this delicious Kkakdugi, and have a healthy and happy mealtime! Happy cooking!
