
Delicious Homemade Peanut Butter
Chef Kim Dae-seok’s Super Simple Homemade Peanut Butter Recipe

Healthy and fresh without any additives! Experience the charm of super simple homemade peanut butter made right in your kitchen with Chef Kim Dae-seok’s easy recipe. Enjoy the rich taste and aroma of freshly made peanut butter with your whole family.
Main Ingredients- 150g Roasted Peanuts
- 1 pinch of Salt (approx. 0.5g)
Cooking Instructions
Step 1
The start of delicious homemade peanut butter is preparing good quality roasted peanuts. Using pre-roasted peanuts saves time and effort. Prepare about 150g.

Step 2
This is the preparatory step to remove the peanut skins. Place the roasted peanuts in an airtight container or a wide bowl, and cover with a lid or a clean cloth.

Step 3
Hold the container or bowl and shake it vigorously from side to side. This action will cause the peanuts to collide with each other, naturally loosening the skins. Approximately 2/3 of the skins should come off through this process. It’s best to remove as much skin as possible, as remaining skins can make the peanut butter taste gritty.

Step 4
Prepare a sieve with wide holes and add the peanuts after shaking them. When you shake the sieve, the peanut kernels won’t pass through, but the skins will fall to the bottom. If you don’t have a sieve with wide holes, pick out the larger pieces of skin by hand. Smaller skin fragments will be removed in the subsequent steps.

Step 5
If there are still peanut kernels with skins attached, rub them between your palms to remove the remaining skins. This step is also important for achieving a smooth texture in your peanut butter.

Step 6
The peanut skin removal is complete! Now that you only have the peanut kernels left, you’re ready to move on to the next step.

Step 7
Place the de-skinned peanut kernels into a blender or food processor. Be careful not to overfill the appliance; work in batches if necessary.

Step 8
Add a pinch of salt to enhance the flavor of your peanut butter. Salt helps to bring out and deepen the nutty richness of the peanuts.

Step 9
As you start blending, the peanuts will initially be powdery and then begin to clump together. Periodically, scrape down the sides of the blender to ensure all peanuts are incorporated. You can also gently lift and tilt the blender base to help the peanuts move around and blend evenly.

Step 10
It’s recommended to blend in three intervals, about 1 minute each, for a total of approximately 3 minutes. The exact time may vary depending on the type of peanuts and the power of your blender. Continue blending until you reach your desired consistency, checking periodically.

Step 11
You’ll see the peanut butter transforming into a smooth, creamy consistency. The warmth generated by the blender helps to naturally release the oils from the peanuts, resulting in a beautifully creamy texture.

Step 12
The homemade peanut butter you’ve made will likely have a lighter color compared to store-bought versions, as it contains no preservatives or other additives. This is completely natural. Since there are no preservatives, its shelf life is short. Therefore, it’s best to make small batches to enjoy the freshest, most flavorful peanut butter. We recommend storing it in the refrigerator and consuming it within 2-3 weeks.

Step 13
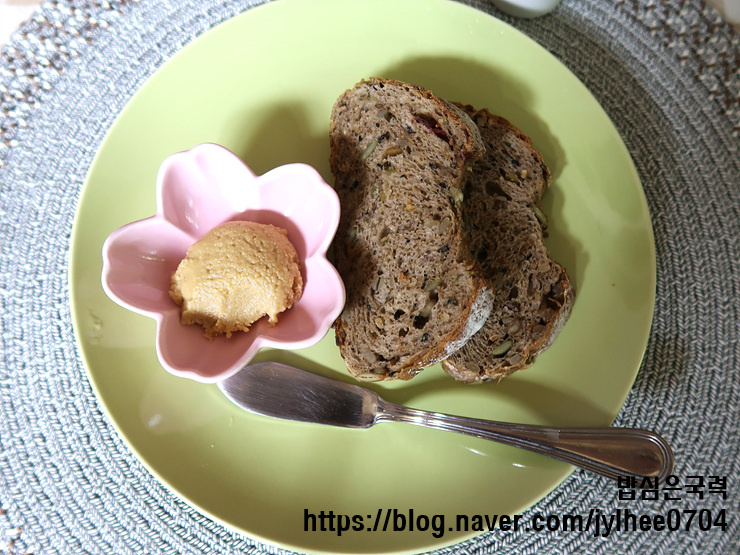
And there you have it – the freshest, healthiest, super simple homemade peanut butter is ready! Spread it generously on warm toast, or use it in salad dressings, smoothies, and more to create a variety of delicious dishes.
