
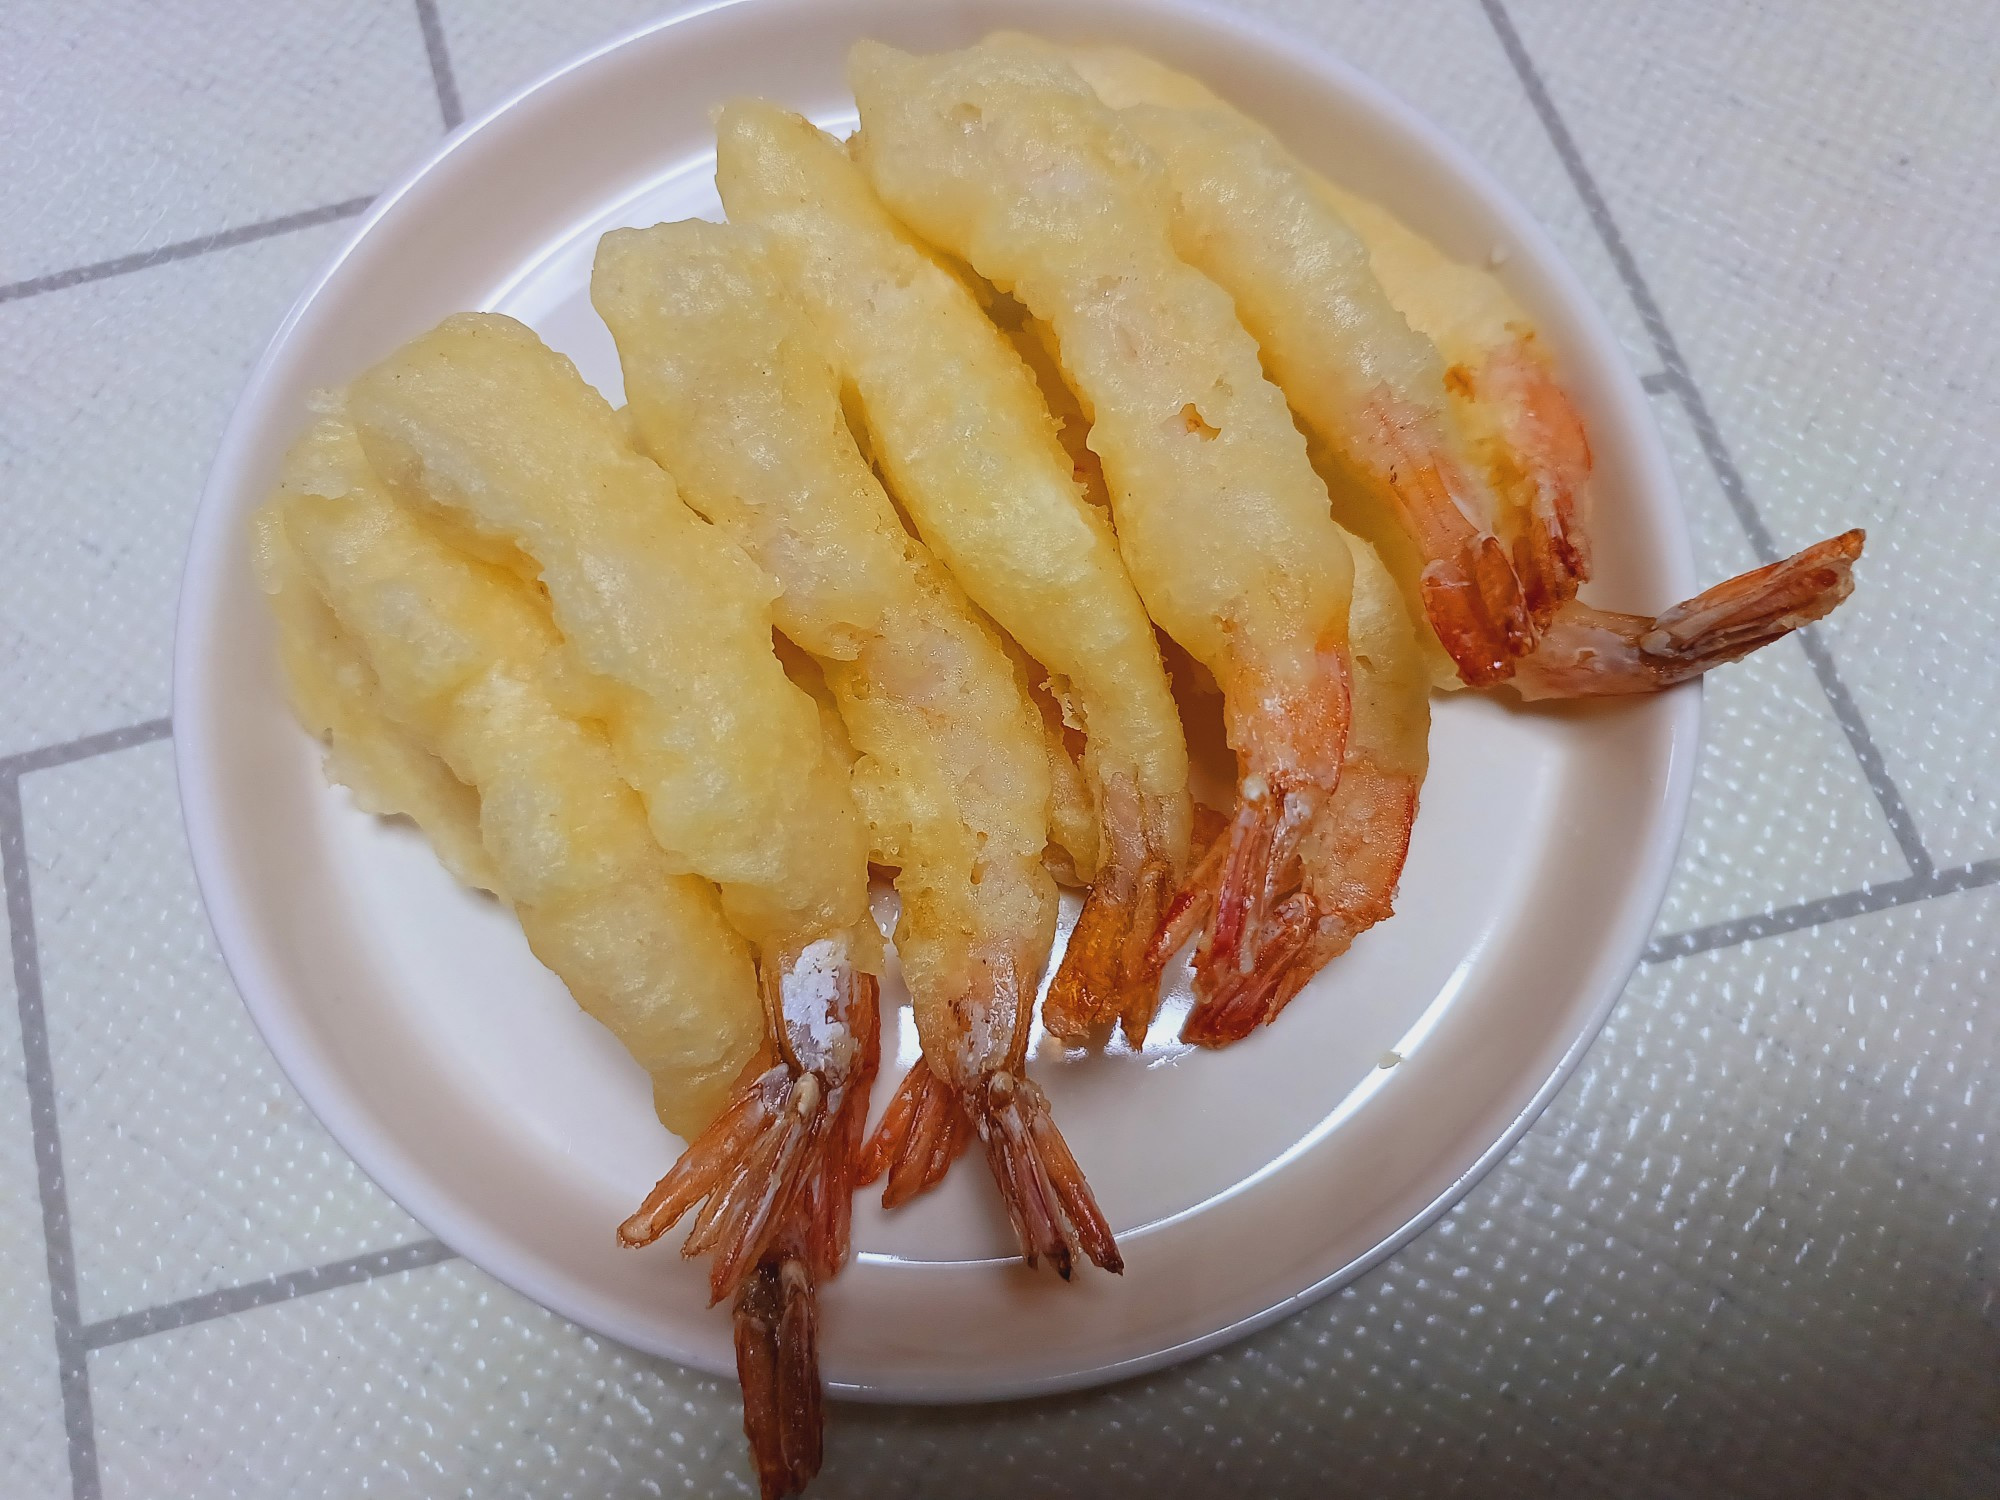
Crispy Shrimp Tempura
Must-Have for Holiday Feasts! Professional-Style Nobashi Shrimp Tempura Recipe

Crispy on the outside, tender on the inside! Easily make delicious Nobashi shrimp tempura at home that will enrich your holiday table. We’ll share all the secrets to achieving a thin, crispy coating that stays perfectly light.
Main Ingredients- 30 Nobashi shrimp (cleaned and deveined)
- A little all-purpose flour for dusting
Cooking Instructions
Step 1
If your Nobashi shrimp are frozen, thaw them completely at room temperature or in the refrigerator. Once thawed, gently rinse the shrimp under cold running water several times to thoroughly clean them, removing any potential impurities from the shell or the vein. This ensures a clean flavor in your tempura.

Step 2
After washing, place the shrimp in a colander to drain as much water as possible. It’s crucial to remove excess moisture for the batter to adhere well and for the tempura to fry up crispy.

Step 3
Arrange the drained shrimp in a single layer on a cutting board or plate. Avoid overlapping them so that the batter can coat them evenly.

Step 4
Gently press the shrimp with paper towels to remove any remaining moisture. This final drying step will help the batter adhere better, resulting in a crispier texture.

Step 5
Lightly dust both sides of the dried shrimp with a thin, even layer of all-purpose flour. This dusting flour acts as a binder for the batter, ensuring it sticks to the shrimp without making the coating too thick. A light coating is key.

Step 6
Now, let’s make the tempura batter. In a bowl, combine 3 cups of all-purpose flour and 2.5 cups of cold water. Mix them loosely with chopsticks or a whisk until just combined; it’s okay if there are still a few lumps of flour. (This is one of the secrets to extra crispy tempura!) Immediately dip the dusted shrimp into the batter, turning gently to coat them evenly.

Step 7
Pour a generous amount of cooking oil into a wide pan and heat over medium heat. You’ll know the oil is ready when a small drop of batter sizzles and floats to the surface immediately (around 170-180°C or 340-350°F). Fry the shrimp in batches of 8-9 pieces at a time. Overcrowding the pan will lower the oil temperature and lead to soggy tempura. Although the batter might stick together initially, it will naturally separate as it fries, so don’t worry. Flip the shrimp occasionally and fry until they are golden brown and crispy, about 3-4 minutes.

Step 8
Once perfectly fried, remove the shrimp tempura from the oil and place them on paper towels or a wire rack to drain off any excess oil. This step ensures they remain wonderfully crisp and not greasy. Your golden, delicious shrimp tempura is ready!

Step 9
Enjoy them immediately while they are warm for the best experience! Serve with your favorite dipping sauces, such as sweet chili sauce or soy sauce with wasabi. If you have any leftover tempura, let it cool completely, then store it in an airtight container in the freezer. To reheat, simply place them in an air fryer or oven for a few minutes to restore their crispiness, just like they were freshly fried.
