
Crispy on the Outside, Tender on the Inside Shrimp Toast (Menbosha)
Twice as Rich and Delicious! Super Easy Egg & Shrimp Menbosha Recipe That Kids Will Love ♡ Perfect as a Snack or Drink Accompaniment!

I saw this recipe online and had to try it – it turned out wonderfully! Although it’s a fusion dish, it offers a fantastic flavor. Perfect for special occasions, late-night cravings, or as an impressive appetizer.
Main Ingredients- 6 slices of bread
- 9 medium-sized fresh shrimp (preferred over cocktail shrimp for better texture)
- 2 hard-boiled eggs
- Cornstarch (approx. 2-3 Tbsp)
- Egg white (from 1 egg)
- Pinch of salt
- Oyster sauce (optional, approx. 1/2 tsp)
Sauce Ingredients- Ketchup
- Seasoned fried chicken sauce
- Ketchup
- Seasoned fried chicken sauce
Cooking Instructions
Step 1
Finely shred the 2 hard-boiled eggs. Mix them with mayonnaise until creamy and rich. This will form your delicious egg salad filling.

Step 2
If using frozen shrimp, thaw them completely. Then, finely mince the shrimp using a knife. Avoid using a blender, as it can make the shrimp mushy. Mincing by hand allows for a pleasant, chewy texture. Larger, fresh shrimp are ideal. (If peeling shrimp is too much hassle, pre-peeled cocktail shrimp can be used, but the texture might be less satisfying.)

Step 3
In a bowl, combine the minced shrimp, egg white, and a pinch of salt (or a tiny bit of oyster sauce for seasoning). Add about 2-3 tablespoons of cornstarch and mix well. The key is to add enough cornstarch so the mixture becomes sticky and holds its shape without drooping. This stickiness ensures the shrimp filling stays put inside the bread and maintains its form during frying.

Step 4
Trim the crusts off all 6 slices of bread. Cut each slice in half, then cut those halves in half again to create 4 smaller squares per slice. Generously spread the shrimp mixture and the mayonnaise-mixed egg salad onto one piece of bread, then top with another piece, creating a sandwich. Gently press the edges to seal the filling inside.

Step 5
Carefully prepare to place the assembled Menbosha into the pan. (This step is for visual effect and not part of the cooking process.)

Step 6
Pour a generous amount of cooking oil into a deep pan, enough to submerge about 2/3 of the Menbosha. Fry over medium-low heat. It’s crucial to avoid high heat, as it will burn the outside before the inside is cooked. If you’re new to frying, setting your heat to medium-low and waiting about 2 minutes before adding the Menbosha will help maintain the correct oil temperature.

Step 7
Once the Menbosha is in the oil, gently press the bottom side with chopsticks. When you feel the bread has become firm, carefully flip it over to fry the other side until golden brown and crispy all around.

Step 8
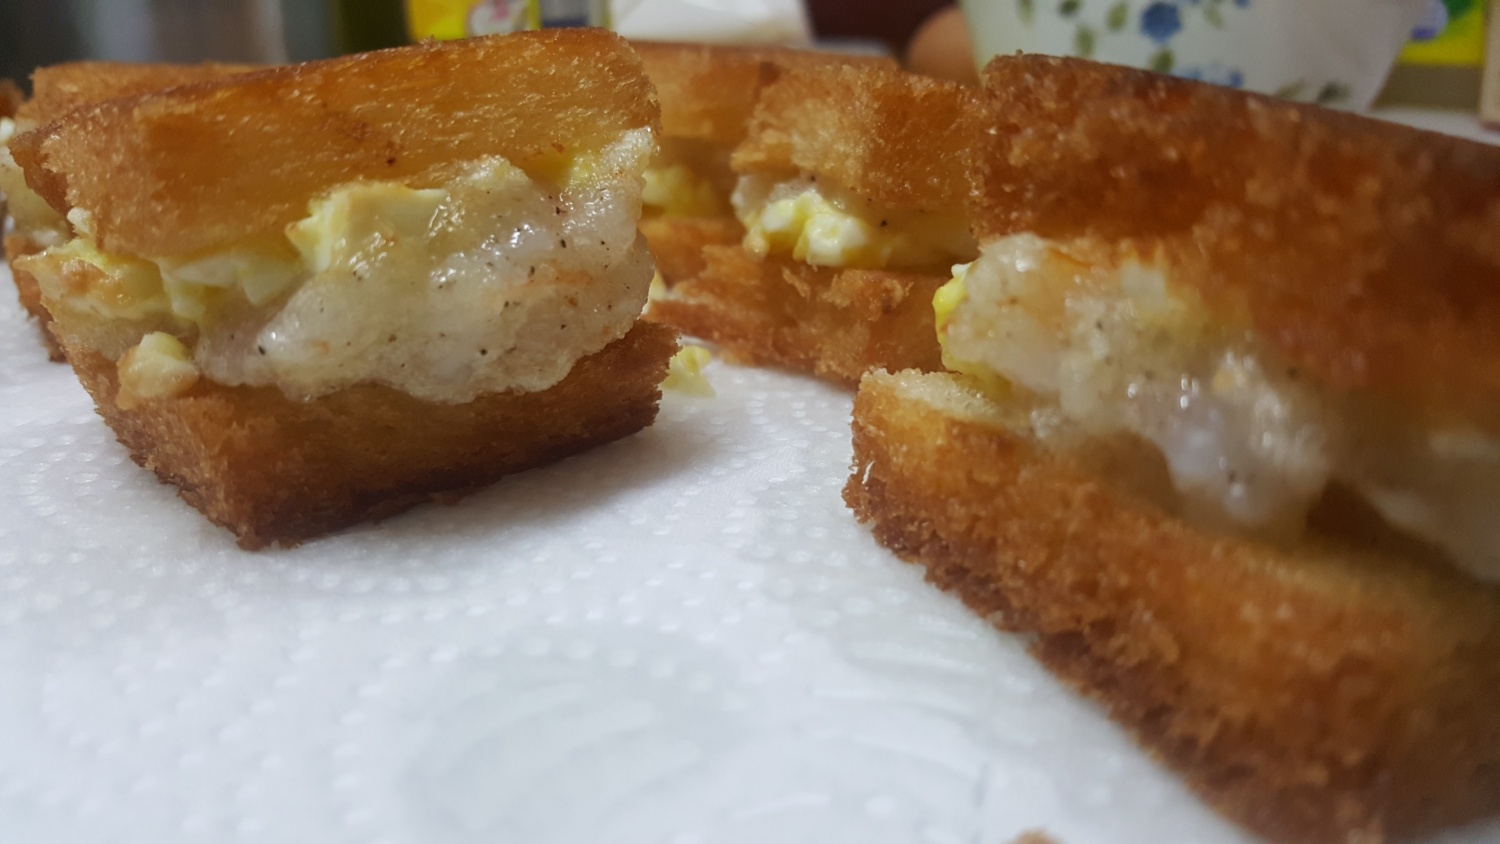
Once perfectly fried, remove the Menbosha from the oil and drain them thoroughly on paper towels. Your delicious Menbosha is ready!

Step 9
After the first batch, I realized I could have added even more filling! Don’t be afraid to stuff them generously; the filling sticks well even without pressing the edges too hard. Filling them to the brim makes for an even more satisfying bite.

Step 10
While delicious simply dipped in ketchup, an even more special flavor awaits if you have seasoned fried chicken sauce. Try mixing ketchup and seasoned fried chicken sauce in a 3:1 ratio for a dipping sauce. This combination is truly amazing and a guaranteed hit, even for picky eaters! (Highly recommended!)

Step 11
For a final touch, sprinkle a little sugar over the Menbosha. This adds a delightful sweetness, transforming them into an absolute delight. Enjoy your crispy, savory, and sweet Menbosha!
