
Crispy Mung Bean Sprout Salad (Sukju Namul Muchim)
Easy Mung Bean Sprout Salad Recipe: A Quick and Delicious Side Dish!

Experience the delightful crunch of this simple yet flavorful Mung Bean Sprout Salad! While I didn’t always appreciate mung bean sprouts, cooking with them recently has made me a convert. This incredibly easy side dish is perfect for busy days and adds a refreshing touch to any meal. Let’s make this delicious mung bean sprout dish together!
Ingredients- 350g Mung bean sprouts
- 3 Tbsp Soy sauce
- Pinch of salt
- 1 Tbsp Sesame oil
- 1 tsp Minced garlic
- Sesame seeds, to garnish
Cooking Instructions
Step 1
Hello everyone! Today, I’ll be sharing how to make a quick and easy Mung Bean Sprout Salad, a beloved Korean side dish known for its refreshing crunch. Let’s gather our simple ingredients and get started!

Step 2
First, prepare 350g of fresh mung bean sprouts. It’s important to rinse them thoroughly under cold running water to remove any dirt or debris clinging to the roots.

Step 3
Next, trim off the small yellow hulls from the sprouts and any excessively long root ends. This step ensures a clean and visually appealing finished dish. It might seem a bit tedious at first, but the effort truly enhances the final taste!

Step 4
As you trim the sprouts, you might notice yellow hulls or underdeveloped leaves. Removing these will result in a much cleaner looking namul. If this is your first time trimming sprouts, it might take a bit longer. Take your time and trim them carefully – the care you put in will be reflected in the delicious outcome!

Step 5
Look at these beautifully trimmed sprouts – so clean and pure! Seeing the difference from their initial state makes me feel accomplished. Now, let’s transform these into a delicious salad.

Step 6
It’s time to blanch the sprouts. Fill a deep pot generously with water and set the heat to high. We want the water to come to a rolling boil quickly.

Step 7
Once the water begins to boil, add a pinch of salt. Adding salt helps to maintain the vibrant green color of the sprouts and seasons them lightly for better flavor.

Step 8
Let the water come to a vigorous boil. We’re looking for those big, rolling bubbles before we add the sprouts.

Step 9
When the water is at a rolling boil, carefully add all of the trimmed mung bean sprouts into the pot. Add them all at once.

Step 10
Mung bean sprouts are very delicate, so the key is to blanch them in boiling water for just 1 minute on high heat! Overcooking will make them mushy and lose their signature crispness, so timing is crucial. Let them cook for this short period only.

Step 11
After 1 minute, immediately drain the blanched sprouts using a colander. Once drained, rinse them thoroughly under cold running water. This rapid cooling stops the cooking process and maximizes their crisp texture. This step is essential for achieving that perfect crunch!

Step 12
Gently gather the rinsed sprouts with both hands and lightly press to squeeze out excess water. Mung bean sprouts aren’t as fragile as soybean sprouts, so a gentle squeeze is enough. Avoid pressing too hard, as it can diminish their crispness. You’ll notice a significant reduction in volume after draining.

Step 13
Now for the most exciting part – seasoning! To the blanched and drained sprouts, we’ll add our delicious seasonings. First, add 3 tablespoons of soy sauce for a clean, savory flavor.

Step 14
Next, add 1 teaspoon of minced garlic for a fragrant aroma. About 1 teaspoon of garlic is the perfect amount to enhance the sprout’s natural flavor without overpowering it. Too much garlic can mask the subtle taste of the sprouts.

Step 15
For a nutty richness, don’t forget to add 1 tablespoon of sesame oil. The fragrant aroma of sesame oil elevates the Mung Bean Sprout Salad to another level.

Step 16
Finally, sprinkle a generous amount of sesame seeds for extra flavor and visual appeal. The toasted seeds add a delightful nutty crunch.

Step 17
All the flavorful ingredients are now together with the sprouts! Let’s mix everything to create our delicious Mung Bean Sprout Salad.

Step 18
Put on a pair of clean disposable gloves and gently toss the sprouts with the seasonings until everything is evenly combined. Be gentle to avoid mashing the sprouts; a light touch is best. And just like that, your delicious Mung Bean Sprout Salad is ready! Isn’t it incredibly simple?

Step 19
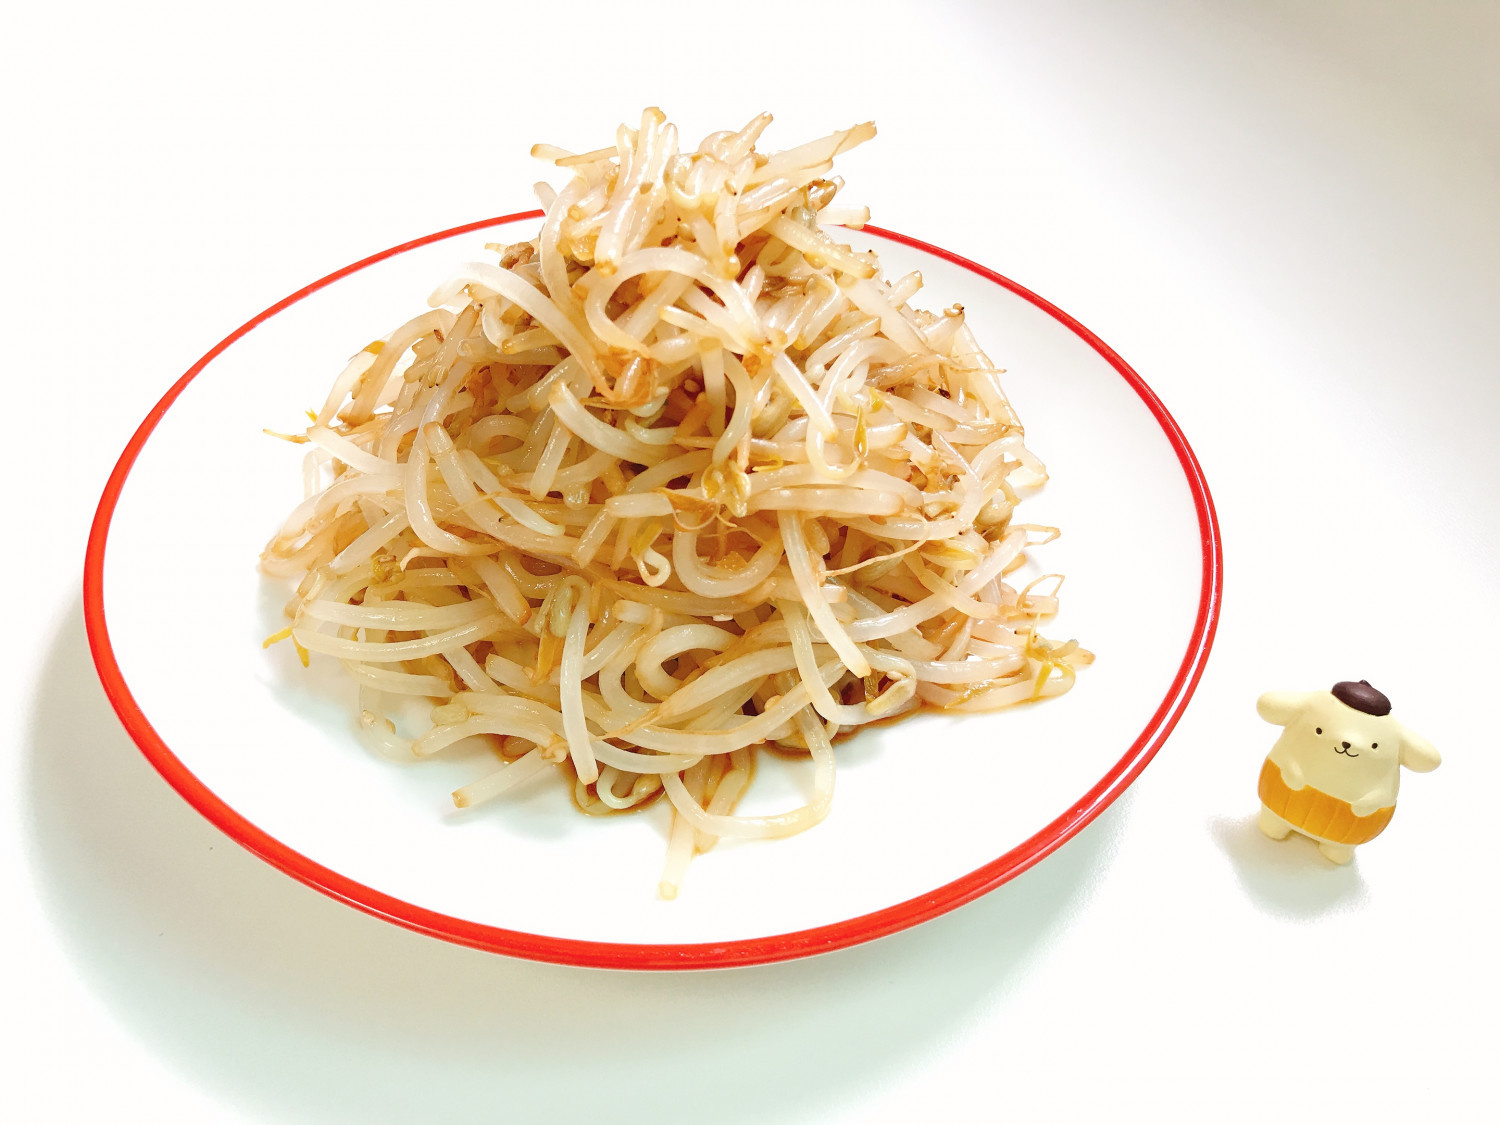
Transfer the finished Mung Bean Sprout Salad to a serving dish. It looks so much more appealing now compared to when it was in the mixing bowl!

Step 20
Here’s a top-down view of the beautifully prepared salad. The vibrant green sprouts and white sesame seeds look so appetizing. It’s time to taste!

Step 21
A bite reveals a wonderfully crisp texture and perfectly balanced seasoning. It’s amazing how such simple ingredients and an easy process can yield such a fantastic side dish. It’s a great accompaniment to rice and also delicious added to bibimbap. The soy sauce base makes it light and refreshing, truly stimulating the appetite. You must try making this!
