
Crispy Kkakdugi Bacon Fried Rice Recipe
[Super Simple One-Bowl Meal] Delicious Fried Rice with Crunchy Kkakdugi and Savory Bacon!

A fantastic combination of leftover kkakdugi and bacon from your fridge! The refreshing crunch of kkakdugi and the rich savoriness of bacon come together to create a delicious fried rice that both kids and adults will love. It’s the perfect quick and satisfying meal recommended for solo dwellers or busy workers!
Ingredients- Well-fermented Kkakdugi (Korean radish kimchi): Appropriate amount (use all that’s left in your container)
- Bacon: 3 packs (110g each) (amount can be adjusted to your preference)
- Green onions: 2 stalks
- Kkakdugi brine: 2-3 Tbsp (adds flavor to the fried rice)
Seasoning- Salt: 1/2 Tbsp (adjust based on the saltiness of the kkakdugi)
- Sugar: 1 Tbsp (balances the sourness of kkakdugi and adds umami)
- Sesame seeds: 1 Tbsp (adds nutty flavor and visual appeal)
- Sesame oil: 1/2 Tbsp (drizzle at the end to enhance aroma)
- Salt: 1/2 Tbsp (adjust based on the saltiness of the kkakdugi)
- Sugar: 1 Tbsp (balances the sourness of kkakdugi and adds umami)
- Sesame seeds: 1 Tbsp (adds nutty flavor and visual appeal)
- Sesame oil: 1/2 Tbsp (drizzle at the end to enhance aroma)
Cooking Instructions
Step 1
First, prepare your well-fermented kkakdugi. For my family of four, I used all the kkakdugi left in the container. If the pieces are too large, cut them into bite-sized pieces.

Step 2
Finely mince the prepared kkakdugi. Mincing it this way makes the texture smoother when fried with rice and allows the seasoning to be absorbed better.

Step 3
Next up is the bacon. I’ve prepared three 110g packs. You can adjust the amount of bacon according to your taste. Using more bacon will result in a richer flavor.

Step 4
Slice the bacon into pieces that are not too thin, about 1cm thick. This ensures a satisfying chew and allows you to fully enjoy its savory richness.

Step 5
Finely chop the two green onions. The fresh aroma of the green onions will cut through the richness of the fried rice and add another layer of flavor.

Step 6
Portion out the rice you’ll be using for the fried rice into a bowl beforehand. Using warm rice will help it cook up fluffy and separate, preventing it from clumping.

Step 7
Now, let’s start frying! Heat a pan over medium heat and add the sliced bacon first. Cook until the bacon releases its flavorful fat.

Step 8
Once the bacon has rendered enough fat into the pan, add the chopped green onions and stir-fry them together with the bacon until fragrant. Cook until the green onions become slightly translucent.

Step 9
Now, add the minced kkakdugi to the pan and pour in 2-3 tablespoons of the kkakdugi brine. The brine will add a wonderful umami and color to your fried rice.

Step 10
Gently mix all the ingredients together and stir-fry for about 5 minutes. Cook until the kkakdugi becomes slightly translucent and tender.

Step 11
Add the pre-portioned rice to the fried ingredients and stir well to combine. At this point, season with half a tablespoon of salt and one tablespoon of sugar. It’s important to adjust the seasoning considering the sourness of the kkakdugi and the saltiness of the bacon.

Step 12
Once the rice is cooked through and fluffy, just before turning off the heat, drizzle in half a tablespoon of sesame oil to enhance the aroma. Adding sesame oil at the end helps preserve its fragrance.

Step 13
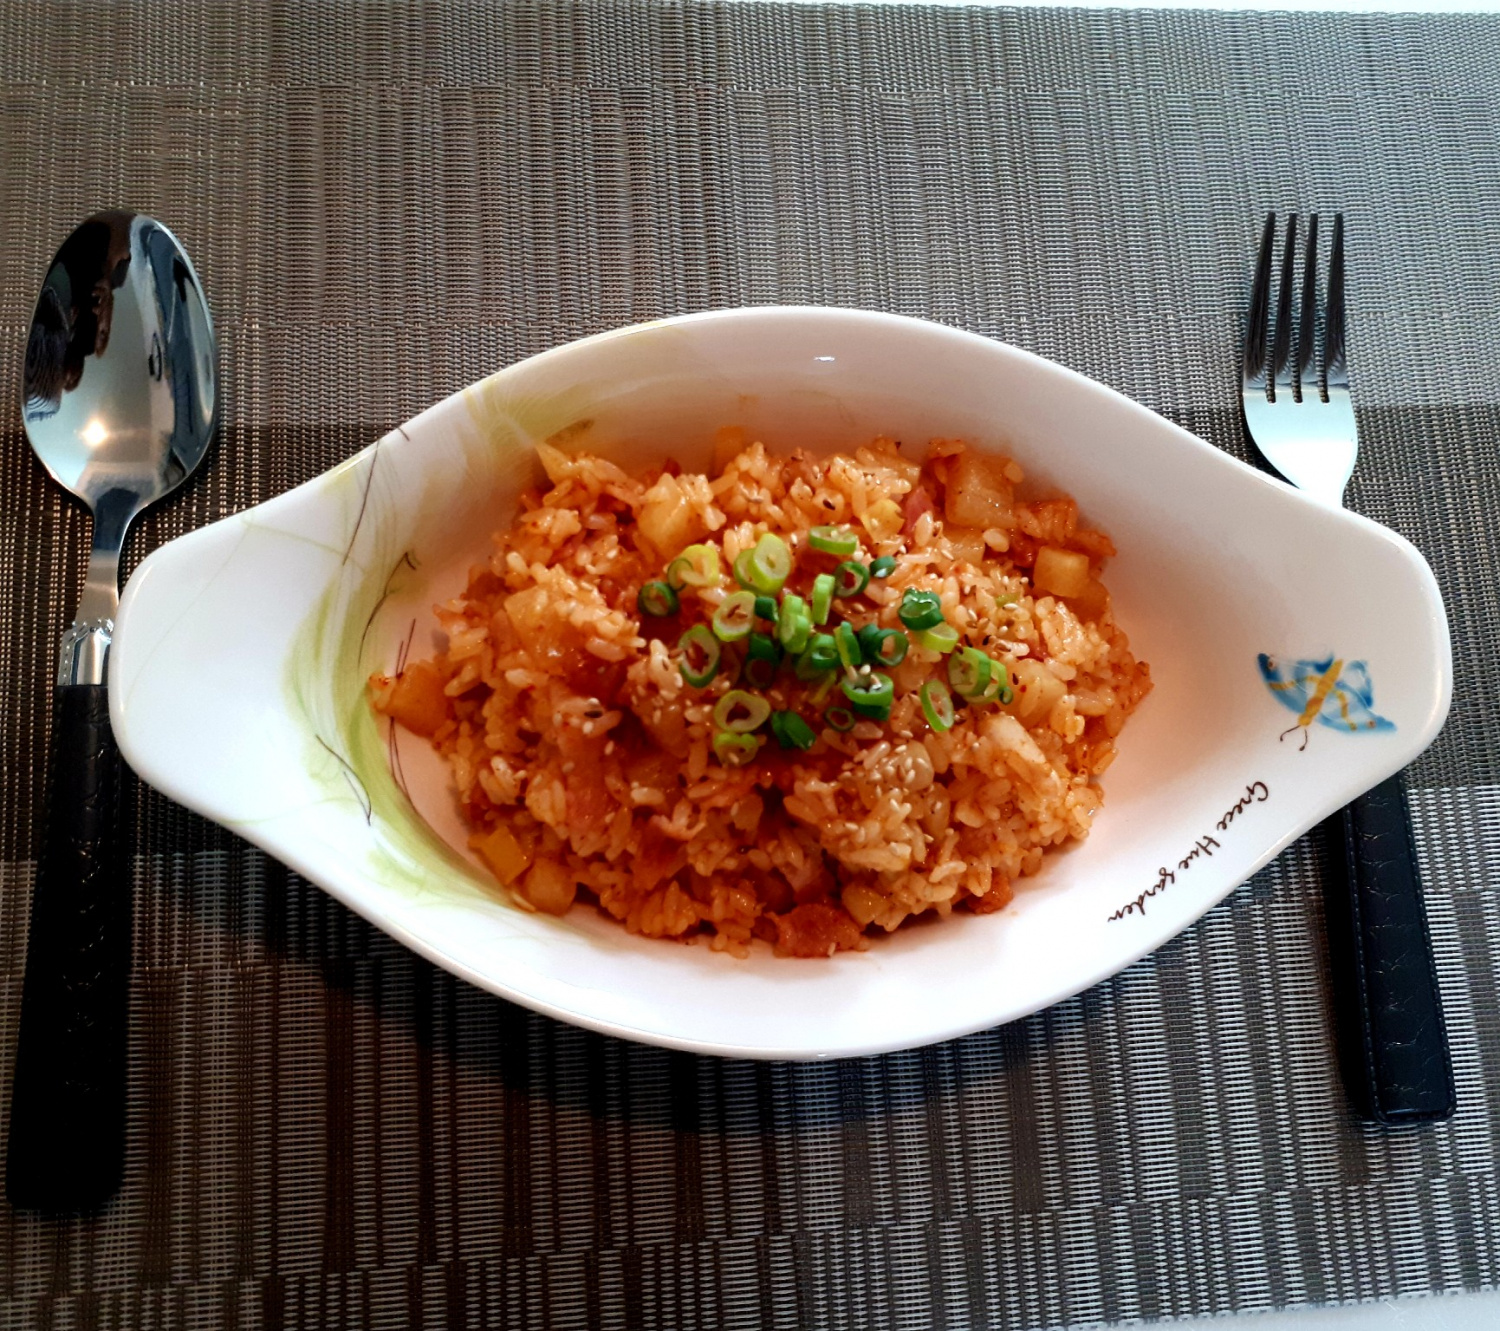
Finally, sprinkle a tablespoon of sesame seeds for extra nutty flavor, and your delicious Kkakdugi Bacon Fried Rice is ready! Enjoy it while it’s hot.
