
Crispy & Chewy Squid Jeon (Pancake)
Mom’s Secret Recipe for a Crispy and Chewy Squid Jeon – A Springtime Delight!

I recently made this quick and delicious squid jeon using leftover green onions from making kimchi and plenty of fresh squid. It pairs perfectly with our slightly fermented kimchi, creating a fantastic combination. If your appetite is lacking this spring, try enjoying this jeon with kimchi – it’s so good, you’ll be reaching for seconds even without makgeolli! Come make this delightful pancake with me.
Main Ingredients- 15 stalks green onions (approx. 300g)
- 1 squid (body, approx. 150g)
- 1/2 onion (approx. 80g)
- 1 red chili pepper (for garnish)
- 1 cup (200ml) Korean pancake mix (buchim garu)
- 1 cup (200ml) frying powder (twigim garu)
- 2 cups (400ml) water
- 1 egg
- Plenty of cooking oil (5 Tbsp or more)
Simple Dipping Sauce- 2 Tbsp soy sauce
- 2 Tbsp vinegar
- Pinch of black pepper
- 1 Tbsp minced onion (optional)
- 1 Tbsp minced red chili pepper (optional)
- 2 Tbsp soy sauce
- 2 Tbsp vinegar
- Pinch of black pepper
- 1 Tbsp minced onion (optional)
- 1 Tbsp minced red chili pepper (optional)
Cooking Instructions
Step 1
Prepare fresh squid. Turn the body inside out, remove the innards, and rinse thoroughly. If using frozen squid, soak it in cold water for about 10 minutes to thaw. Drain the thawed squid well.

Step 2
Bring a pot of water to a boil. Once boiling, add the squid and blanch for just about 30 seconds. Be careful not to overcook, as it can become tough.

Step 3
The squid is perfectly blanched when its skin turns a vibrant red. Immediately remove it from the water and let it cool slightly. Do not rinse it under cold water; this helps retain its flavor and texture.

Step 4
Wash the fresh green onions under running water and pat them dry. Cut them into manageable lengths of about 3-4 cm. Shorter pieces are easier to handle when frying the jeon.

Step 5
Slice the red chili pepper thinly on an angle for a pop of color. Peel and thinly julienne the onion. Adding onion will bring a pleasant sweetness and a nice crunch to the jeon.

Step 6
In a small bowl, combine 2 Tbsp soy sauce, 2 Tbsp vinegar, and a pinch of black pepper to make a basic dipping sauce. For extra flavor, you can add finely minced onion and red chili pepper.

Step 7
Once the blanched squid has cooled slightly, slice it into thin strips. Avoid cutting it too thickly, as this will affect cooking time.

Step 8
The secret to a crispy jeon is frying powder! Mix the Korean pancake mix (buchim garu) and frying powder (twigim garu) in a 1:1 ratio. You’ll need a total of 2 cups (400ml) of the combined mix.

Step 9
In a bowl, combine the mixed powders (total 400ml) and add 400ml of water. Whisk gently until smooth, ensuring there are no lumps. Maintaining the 1:1 ratio of powder to water is crucial. Avoid overmixing; just stir until the dry powder is incorporated.

Step 10
To the smooth batter, add the chopped green onions, julienned onion, squid, and 1 egg. Gently mix everything together until well combined. The egg will make the batter softer and richer.

Step 11
Heat a pan over medium heat and add at least 5 Tbsp of cooking oil. Once the oil is hot, ladle about a cup of the batter onto the pan and spread it thinly into a large circle. Arrange a few slices of the red chili pepper on top of the batter for decoration. Crucially, ensure the pan and oil are hot before adding the batter, otherwise, the jeon will absorb too much oil and become greasy.

Step 12
When the bottom of the jeon is golden brown and crispy, carefully flip it over using a spatula and cook the other side until evenly golden and crisp. You’ll smell that delicious aroma as it fries!

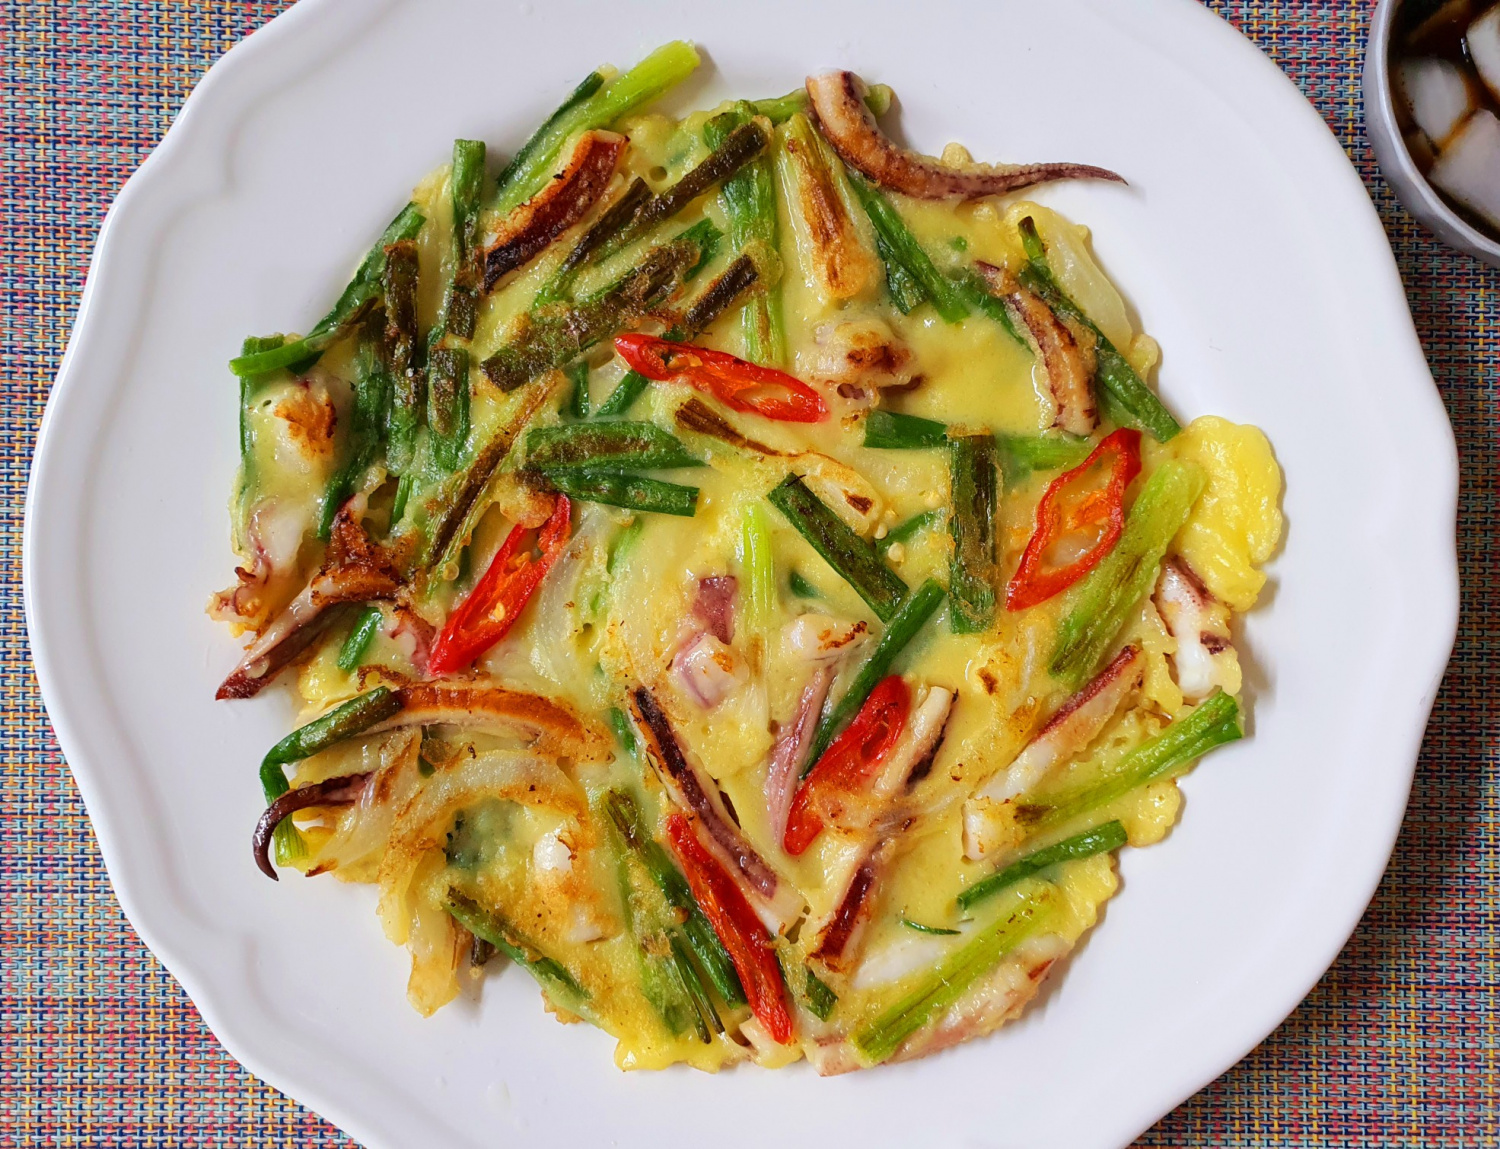
Step 13
Once both sides are perfectly cooked and crispy, transfer the squid jeon to a serving plate. Serve it immediately with the prepared dipping sauce and enjoy! It’s best enjoyed while piping hot.
