
Crispy Buchu Jeon (Chive Pancake): The Perfect Rainy Day Treat!
Achieve Ultimate Crispy Perfection! The Golden Recipe for Buchu Jeon

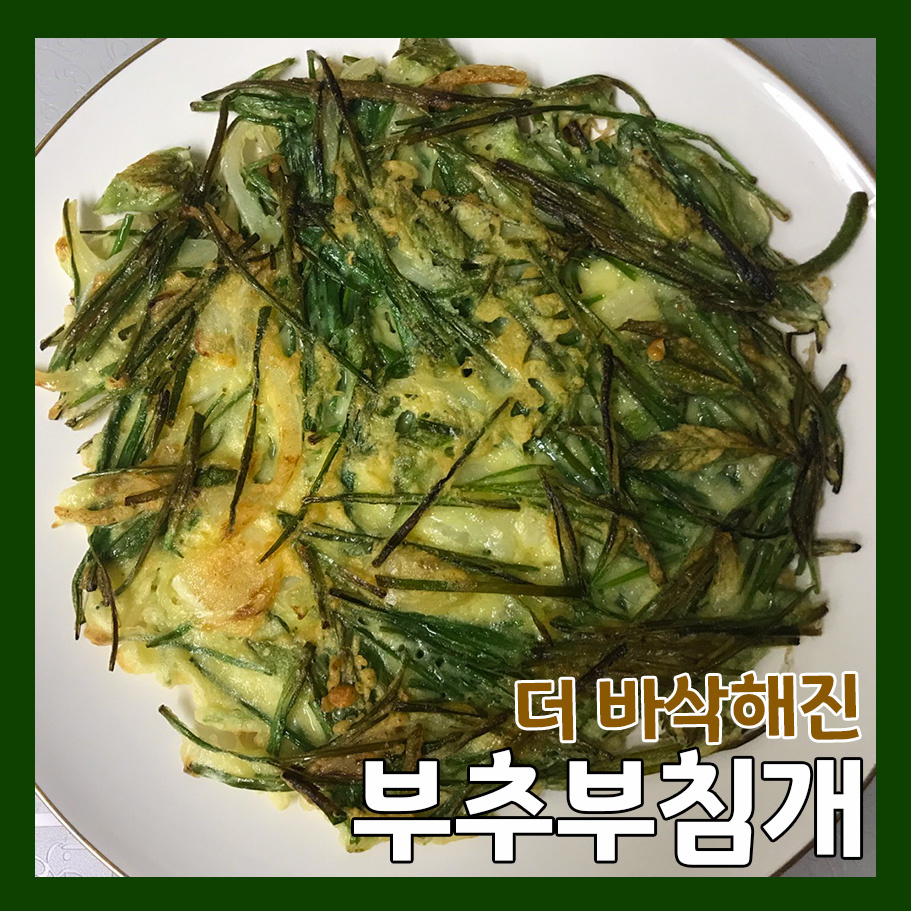
On a day like today, when the rain is gently falling, why not make a delicious Buchu Jeon to accompany your warm meal! This recipe uses fresh chives from your kitchen and any leftover vegetables you might have, making it incredibly easy for anyone to prepare. Enjoy a delightful pancake that’s crispy on the outside and wonderfully tender on the inside.
Pancake Batter Ingredients- 1 cup all-purpose flour
- 1 cup pancake mix
- 2 cups cold water
- 3 large eggs
- Pinch of salt (adjust to taste)
Cooking Instructions
Step 1
First, in a large bowl, measure and combine 1 cup of all-purpose flour and 1 cup of pancake mix. Using pancake mix helps create a crispier and easier-to-make jeon.

Step 2
Add 3 large eggs to the dry ingredients. Sprinkle in a pinch of salt. You can adjust the saltiness based on the chives or other vegetables you’re using. It’s recommended to start with a little and add more after tasting.

Step 3
Slowly pour in 2 cups of cold water while whisking with a whisk or chopsticks to break up any lumps. Mix just until no dry flour is visible; avoid overmixing.

Step 4
Let’s check the batter consistency. When you lift the batter with chopsticks, it should flow down smoothly in a stream. This ensures a delicious pancake. If it’s too thick, it will be chewy; if it’s too thin, it might fall apart. Adjust the water accordingly.

Step 5
Add the fresh chives, washed and cut into 4-5cm lengths, generously into the batter. Chives are the star of this jeon, so don’t be shy with them!

Step 6
Since I had some extra vegetables, I decided to add thinly sliced onion and trimmed young fernbrake. The onion adds a nice texture, and the fernbrake contributes a unique fragrant note. Feel free to use other vegetables you have on hand, like carrots or mushrooms.

Step 7
Gently mix the batter and vegetables together using chopsticks, ensuring everything is well combined without breaking the ingredients.

Step 8
Now, let’s get ready to cook! Generously coat a non-stick frying pan with cooking oil and preheat it over medium heat. The pan needs to be hot enough to prevent the jeon from sticking and to ensure a crispy finish.

Step 9
Using a ladle, scoop some batter into the preheated pan and spread it slightly to form a moderately thick pancake. Making the edges a bit thicker can prevent them from breaking easily. If the pan seems dry, add a little more oil around the edges.

Step 10
Cook over medium heat for about 3-4 minutes, checking the bottom until it’s golden brown and crispy. When the edges start to lift slightly or the bottom appears nicely browned when peeked under, carefully flip the jeon with a spatula.

Step 11
Cook the other side for another 3-4 minutes until it’s also golden brown and crispy. Once both sides are beautifully golden, your delicious Buchu Jeon is ready! Serve immediately with a soy-based dipping sauce for the perfect rainy day enjoyment.
