
Crispy Buchimgae with Nutritious Chives
Making Crispy Buchimgae with Nutrient-Rich Chives: A Perfect Recipe

I made this buchimgae for my child who loves it, and it’s a dish the whole family can enjoy deliciously. This is a crispy buchimgae made with nutritious chives that tastes as good as it sounds.
Ingredients- Buchimgae mix (adjust quantity as needed)
- 1 pack (approx. 100g) fresh nutritious chives
- 1/2 medium carrot
- 2 Tbsp olive oil
Cooking Instructions
Step 1
First, place an adequate amount of buchimgae mix in a bowl and gradually add water while stirring with chopsticks to create a slightly thin batter. Next, prepare the nutritious chives and carrot by washing and thinly slicing them into bite-sized pieces. Add the prepared vegetables to the batter and gently mix them together, ensuring they are evenly coated. This step is crucial for a well-balanced flavor in every bite.

Step 2
Heat a pan over medium-high heat and add 1 tablespoon of olive oil, allowing it to coat the bottom. Spoon the prepared batter into the center of the hot pan and use the back of the spoon to spread it thinly and evenly across the surface. Spreading the batter thinly is key to achieving a wonderfully crispy texture.

Step 3
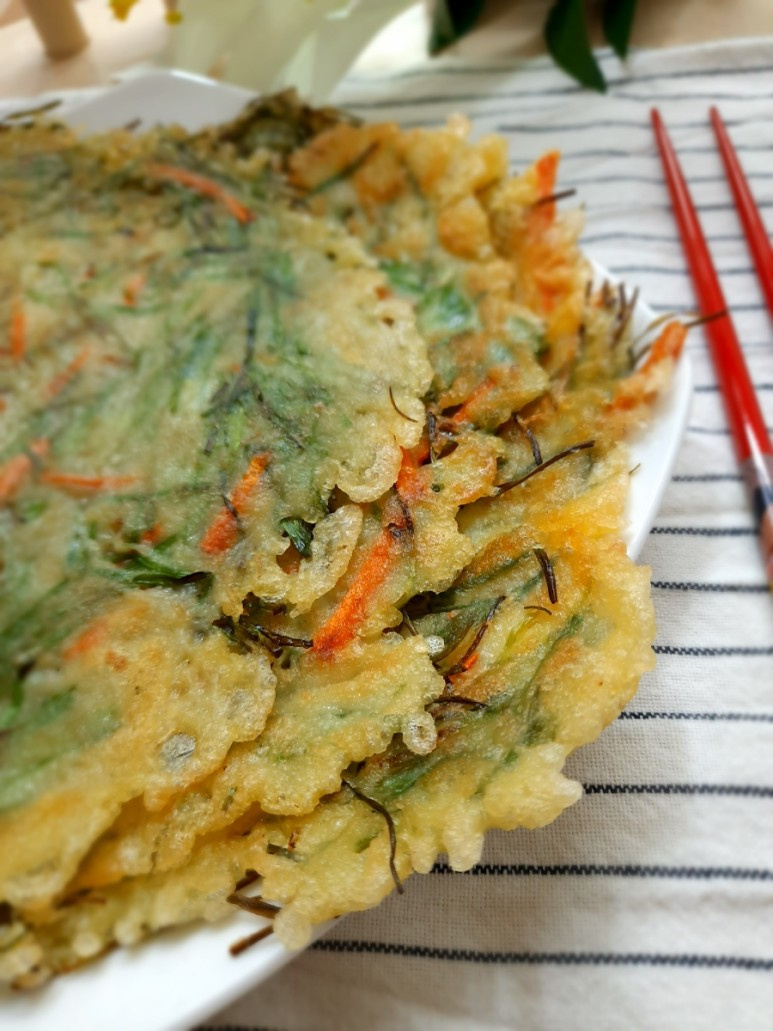
Cook over medium-low heat until the edges of the buchimgae turn golden brown and you see bubbles forming on the surface, indicating the batter is cooking. This visual cue, along with the sizzling sound, signals it’s time to flip. Carefully slide a spatula underneath and flip the buchimgae to cook the other side until it matches the beautiful golden color shown in the picture.

Step 4
After flipping, add the remaining 1 tablespoon of olive oil around the edges of the pan. This extra oil will help to make the second side extra crispy as it fries. Continue to cook until this side is also golden brown and wonderfully crisp. You can gently press down with your spatula to ensure even cooking and maximum crispiness. Once both sides are perfectly golden and crunchy, your delicious buchimgae is ready to be served and enjoyed!
