
Crispy Braised Lotus Root in Soy Sauce
The Ultimate Crispy Braised Lotus Root in Soy Sauce – A Korean Staple

Discover the secret to achieving perfectly tender yet delightfully crisp braised lotus root in soy sauce, a beloved everyday side dish in Korean cuisine. This recipe features a unique blanching technique to preserve the lotus root’s satisfying crunch, followed by simmering in a rich, savory-sweet glaze. It’s an essential addition to any Korean meal!
Main Ingredients- Blanched Lotus Root, 2/3 of a traditional Korean cold noodle bowl size (approx. 200-250g)
- Water, 450ml
- Dried Kelp (Kombu), 1 piece (approx. 10x10cm)
Cooking Instructions
Step 1
First, thoroughly peel the lotus root. Then, slice it into your desired thickness, about 0.5 cm. Thinner slices will absorb the sauce better and are easier to eat.

Step 2
To remove any astringency and enhance the crisp texture, we’ll blanch the lotus root. Bring 450ml of water to a boil in a pot. Once boiling, add 2 tablespoons of vinegar and a pinch of salt. Add the sliced lotus root and blanch over high heat for about 3-5 minutes. As soon as the lotus root pieces start to float slightly, turn off the heat. Be careful not to overcook, as it can become mushy.

Step 3
Immediately drain the blanched lotus root and rinse it briefly under cold running water. Drain well. This step is crucial for maintaining its crispness and further removing any lingering bitterness.

Step 4
Now, let’s prepare the delicious braising sauce. In a pot, combine 450ml of water, 70ml of soy sauce, and the piece of dried kelp. Add 2 tablespoons of sugar and 1 tablespoon of mirin. Bring to a boil over high heat. Once boiling, remove the kelp (leaving it in too long can impart a bitter taste!) and continue to simmer until the sauce is reduced by about 90%.

Step 5
You can either carefully remove the kelp from the sauce in the pot, or simply remove it before proceeding to the next step.

Step 6
Add the blanched lotus root to the prepared sauce. Cover the pot with a lid and bring it back to a boil over high heat to allow the sauce to penetrate the lotus root quickly.

Step 7
Once the sauce has reduced by about 50%, add 1 teaspoon of minced garlic and a tiny pinch of minced ginger (or a dash of ginger powder). Ginger adds a wonderful aroma that complements the soy sauce beautifully – it’s highly recommended, though optional if you’re not a fan! Re-cover the pot and reduce the heat to medium or low, allowing the lotus root to simmer and absorb the flavors. Cover and continue to braise.

Step 8
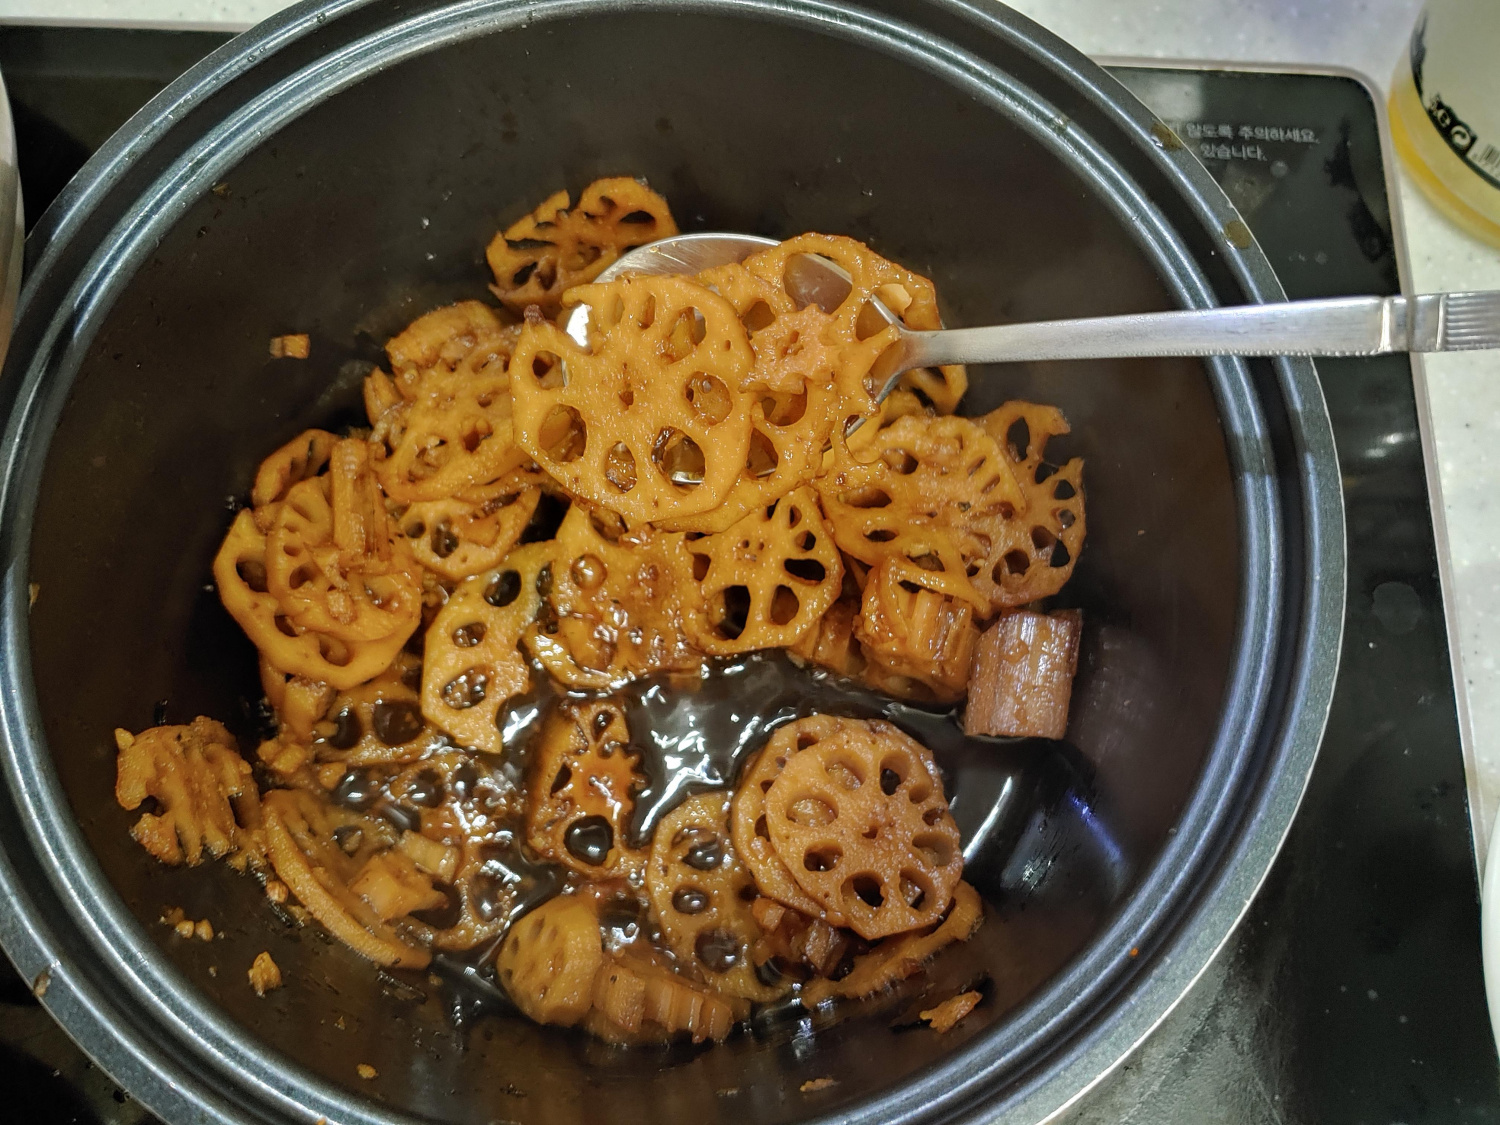
Occasionally lift the lid and gently stir the lotus root to ensure it’s evenly coated with the sauce. Simmering with the lid on helps the flavors meld and the lotus root become tender while absorbing the glaze. Continue this process until the liquid has reduced to a desirable consistency.

Step 9
When the sauce is almost completely coating the lotus root, stir in 5 tablespoons of oligosaccharide (corn syrup). Reduce the heat to low and stir continuously to prevent sticking or burning, as the syrup can caramelize quickly. Cook until the sauce is thick and syrupy, coating the lotus root beautifully. Finish by drizzling with sesame oil, a pinch of black pepper, and a sprinkle of toasted sesame seeds for a fragrant and nutty finish.
