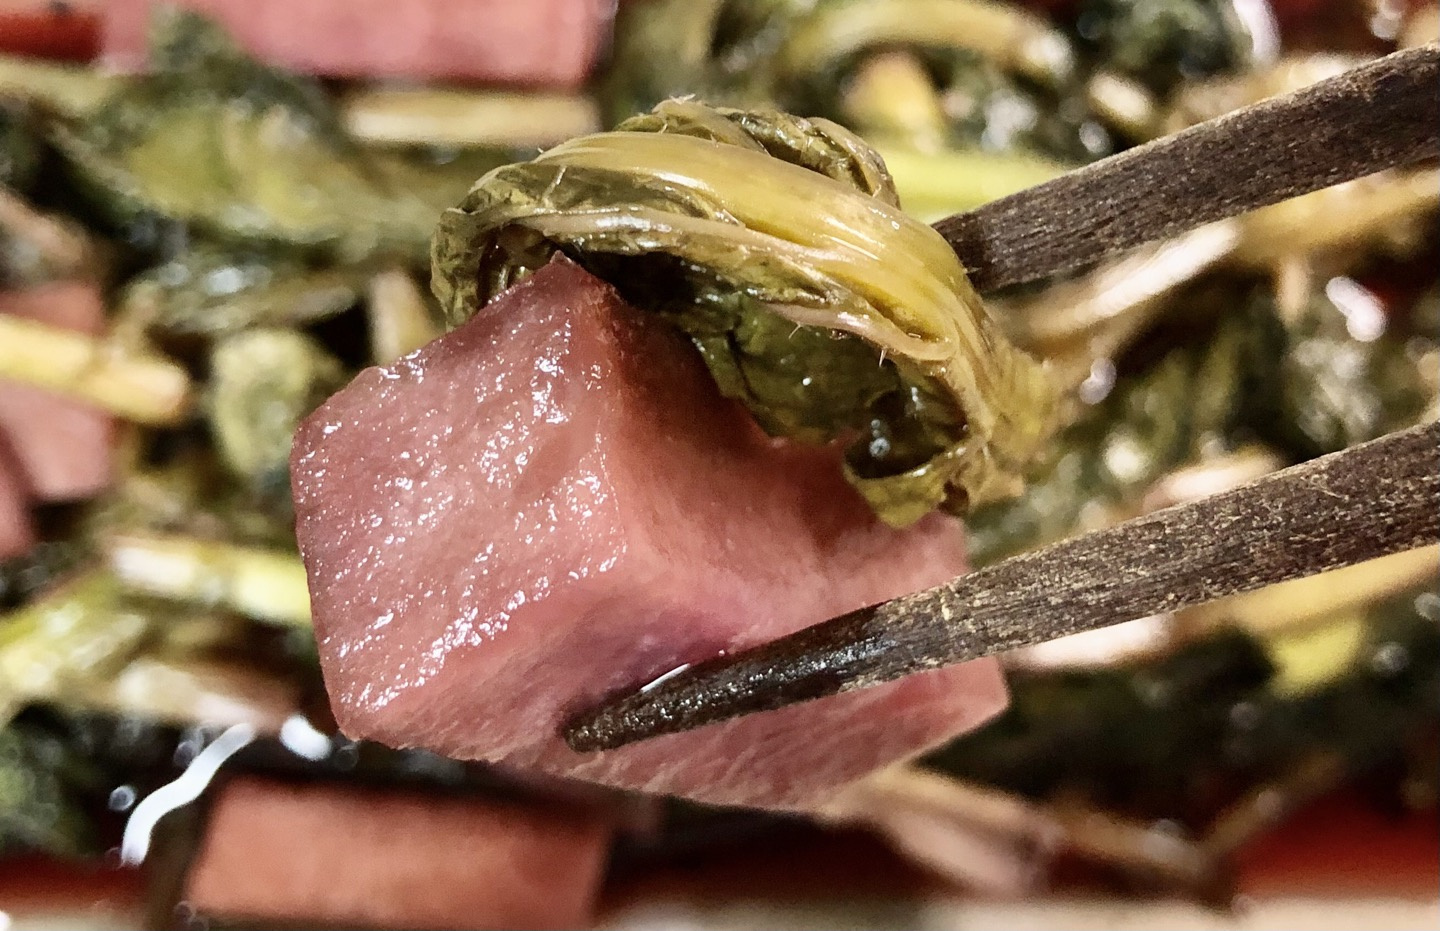
Crispy and Zesty Mustard Leaf Pickles (Hong Gat Pickle)
Beyond Kimchi Ingredient! A Fantastic Recipe for Vibrant Red Mustard Leaf Pickles That Will Delight Your Eyes and Palate

Introducing a delightful Red Mustard Leaf Pickle made with radishes, transforming a common kimchi ingredient into a star dish! The refreshing, tangy kick of the mustard leaves, combined with the crispness of seasonal radishes, creates a perfect pickle. It’s an ideal accompaniment for fried chicken or grilled meats, cutting through richness and adding a burst of flavor. Make this delicious pickle easily at home, just like a pro!
Main Ingredients- Fresh Red Mustard Leaves (Hong Gat) 850g (Ensure stems and leaves are vibrant and fresh)
- Crisp Radish 1/2 medium (approx. 400-500g)
Enchanting Pickle Brine- Pure Water 1L
- High-Quality Brewed Soy Sauce 500ml
- Tangy Brewed Vinegar 400ml
- Sweet White Sugar 300ml
- Aromatic Pickling Spice 1 Tbsp (adjust to taste)
- Whole Garlic Cloves 5
- Fresh Ginger 1 knob (thumb-sized)
- Fragrant Bay Leaves 2
- Umami-rich Kelp 2 sheets (approx. 5cm x 5cm)
- Fresh Green Onion 1 stalk (white parts preferred)
- Pure Water 1L
- High-Quality Brewed Soy Sauce 500ml
- Tangy Brewed Vinegar 400ml
- Sweet White Sugar 300ml
- Aromatic Pickling Spice 1 Tbsp (adjust to taste)
- Whole Garlic Cloves 5
- Fresh Ginger 1 knob (thumb-sized)
- Fragrant Bay Leaves 2
- Umami-rich Kelp 2 sheets (approx. 5cm x 5cm)
- Fresh Green Onion 1 stalk (white parts preferred)
Cooking Instructions
Step 1
First, prepare the fresh red mustard leaves. Trim off any yellow or wilted parts, and wash them thoroughly to remove any dirt. Trim the tough bottom ends and cut the leaves and stems into approximately 3-4cm lengths for easy eating. Rinse the cut mustard leaves gently in cold water 3-4 times to remove any remaining dust or debris. After rinsing, drain them well in a colander. Ensuring the leaves are thoroughly drained is crucial for preventing the pickles from becoming mushy and maintaining their crisp texture.

Step 2
Next, prepare the crisp radish. Peel or scrub the radish clean, then cut it into approximately 3cm long pieces. The thickness should be similar to that of chopsticks; cutting them too thinly can lead to them becoming soft quickly, so slightly thicker is better. Cutting the radish into three equal segments lengthwise will make them visually appealing and easy to handle when eating.

Step 3
Prepare the aromatics that will infuse the pickle brine with flavor. Peel the whole garlic cloves and slice them thinly. Similarly, peel the ginger and slice it thinly. Wash the green onion and cut it into large chunks, including the white parts. Cutting them too small can cause them to disintegrate during cooking, so larger pieces are essential for allowing their flavor to fully infuse the brine.

Step 4
Now, let’s make the delicious pickle brine. In a pot, combine 1L of pure water, 500ml of high-quality brewed soy sauce, 400ml of tangy brewed vinegar, and 300ml of white sugar. Stir well to dissolve the sugar. Add 1 tablespoon of aromatic pickling spice, 5 whole garlic cloves (sliced), a thumb-sized piece of ginger (sliced), 2 fragrant bay leaves, 2 pieces of umami-rich kelp (approx. 5cm x 5cm), and the large chunks of green onion. Bring the mixture to a boil over high heat. Once boiling, continue to simmer for 7-8 minutes, allowing all the ingredients to release their flavors and aromas into the brine. The vegetables will soften and add a deep flavor to the liquid.

Step 5
Once the brine is vigorously boiling and the green onions have softened considerably, indicating that the spices have fully infused their aromas, strain the liquid and discard the solid ingredients (garlic, ginger, green onion, kelp, bay leaves). Removing the solids ensures a clean pickle brine that will keep well for longer storage.

Step 6
Prepare a clean kimchi container or a glass jar. Layer the well-drained red mustard leaves and the cut radish into the container, alternating them. Carefully pour the hot pickle brine, after it has cooled slightly, over the mustard leaves and radish. Pouring slowly will help the brine evenly penetrate the ingredients. Ensure that the brine completely covers all the ingredients.

Step 7
To ensure the pickles are fully submerged in the brine, place a plate or a piece of plastic wrap on top and press down firmly. This helps the ingredients pickle evenly and minimizes air exposure, preserving freshness. Cover the container and let it sit at room temperature for one day to allow the flavors to meld. After one day, transfer the container to the kimchi refrigerator for cold storage until ready to serve.

Step 8
After letting it mature in the kimchi refrigerator for about two days, I tasted it and found it was wonderfully delicious! The crisp texture of the red mustard leaves, their subtle spiciness, and the harmonious blend of sweet and sour brine are simply fantastic. They pair perfectly with any meat dish, like fried chicken, pork belly, or bossam. You should definitely try making them! They were ready to eat and tasted great even after just sitting on the balcony, which was very convenient.


