
Colorful & Healthy Homemade Pickled Radish (Danmuji)
Easy Homemade Pickled Radish for Gimbap! Make Deliciously Colored Danmuji with Natural Ingredients

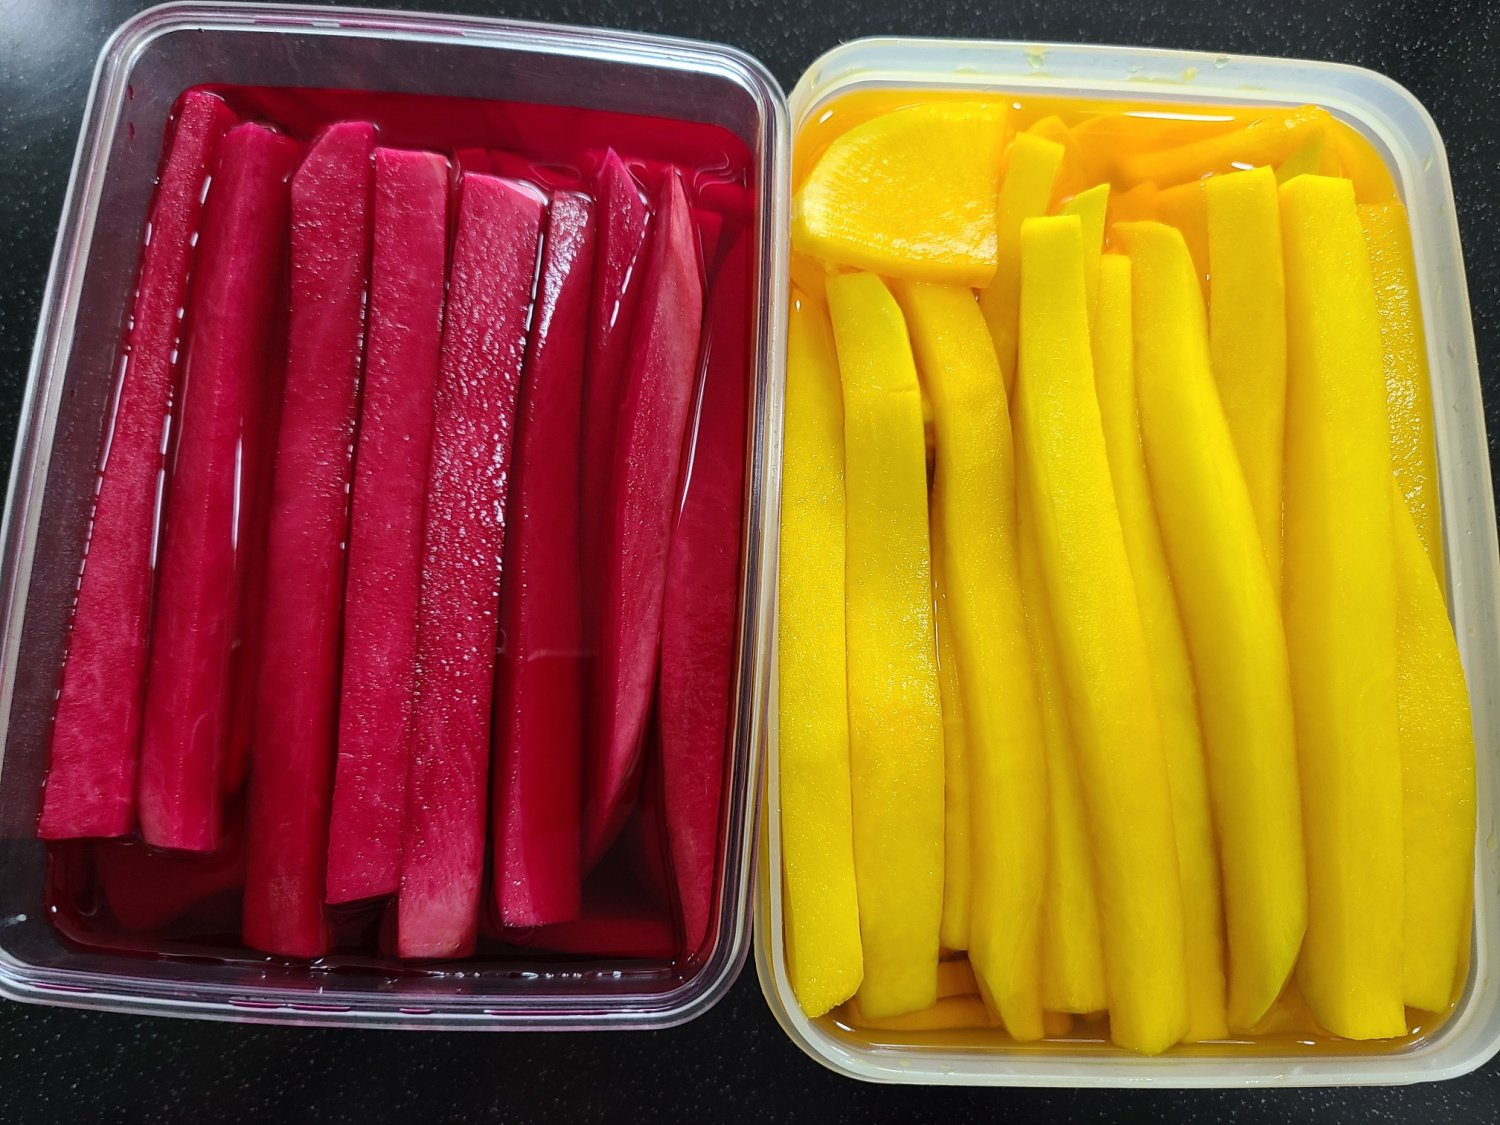
After the kimchi season, when Jeju radishes are affordable and in great condition, I decided to try making homemade pickled radish (danmuji) to complement the jangajji (pickled vegetables) and kimchi! This recipe uses natural ingredients like beets and gardenia seeds to create a beautifully colored and refreshingly tangy danmuji with a satisfying crunch. It’s simpler than you might think, so let’s make it together! You can also check out the detailed video tutorial here: https://youtu.be/Dq7D2OWxJqQ
Main Ingredients- 2 large radishes (approx. 3kg)
- 1 beet (approx. 200g)
- 25g gardenia seeds (as a natural yellow food coloring)
Brine- 1L water
- 500ml sugar
- 500ml vinegar
- 3 Tbsp coarse salt
- 1L water
- 500ml sugar
- 500ml vinegar
- 3 Tbsp coarse salt
Cooking Instructions
Step 1
For the best danmuji, choose firm and fresh radishes. Using large ones will yield a generous amount.

Step 2
Wash the radishes thoroughly, pat them dry, and then cut them into your desired shape and size for gimbap. (e.g., cut into long strips).

Step 3
To achieve the vibrant yellow color, lightly rinse the gardenia seeds under running water. Then, gently crush them using the back of a knife or a mortar and pestle to help release their color and aroma.

Step 4
Place the crushed gardenia seeds into a broth bag or a mesh tea infuser. This bag will be placed at the bottom of the container where the radishes will be stored.

Step 5
Thinly slice the beet; avoid mincing it finely. Aim for slices similar in thickness to the radish or slightly thinner. The beet will naturally release its beautiful red color as it pickles.

Step 6
In a large pot, combine 1L of water, 500ml of sugar, and 3 tablespoons of coarse salt. Stir well with a spatula or ladle and bring to a boil until the sugar and salt are completely dissolved.

Step 7
Once the mixture boils, immediately turn off the heat. Add 500ml of vinegar and stir while allowing it to cool down slightly. Adding vinegar while the liquid is very hot can cause its aroma to dissipate.

Step 8
Arrange the sliced radishes and thin beet slices attractively in a sterilized container. Pour the slightly cooled brine over them.

Step 9
You don’t need to completely submerge the radishes in the brine at this stage. As the radishes sit, they will release their own moisture and settle, eventually becoming fully immersed in the brine.

Step 10
Once the brine has cooled a bit, cover the container with plastic wrap. Place a heavy plate or lid on top to gently press down the ingredients. This is not meant to be a tight seal. Leave the container at room temperature to pickle for one day.

Step 11
After one day, check if the color has sufficiently infused into the radishes. If you are happy with the color, carefully remove and discard the gardenia seed bag.

Step 12
You can leave the beets in the brine to enjoy their natural reddish hue, or if you prefer a less intense color, you can remove the beets at this point. The longer the beets soak, the deeper their color will become.

Step 13
Transfer the finished danmuji to an airtight container and store it in the refrigerator. While it’s delicious to eat immediately, the flavor will develop further and become even more delicious after 3-4 days in the fridge. Enjoy a delicious day!
